Page 1 of 6 123456 LastLast
Results 1 to 10 of 55

Thread: SKS-AR Mag adapter Install Video & pictorial

  1. #1
    Business Member hical.ca's Avatar
    Join Date
    Apr 2011
    Location
    Mission, BC
    Posts
    3,904

    SKS-AR Mag adapter Install Video & pictorial

    We wanted to do a video of the fitting of the SKS-AR Mag adapter, Most people can do it with a simple Dremel & some patience. We show the stock parts & the modified parts side by side to see the difference.


    Here is a pictorial version of the conversion as well:


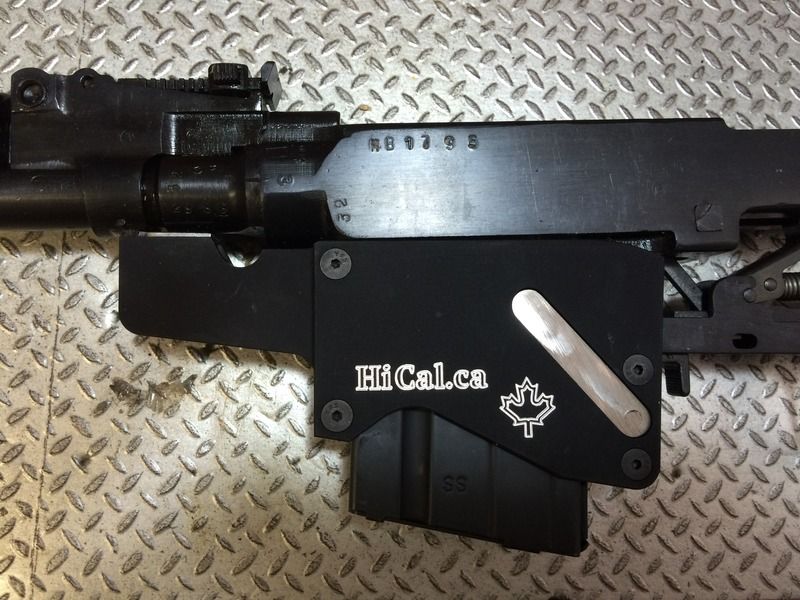
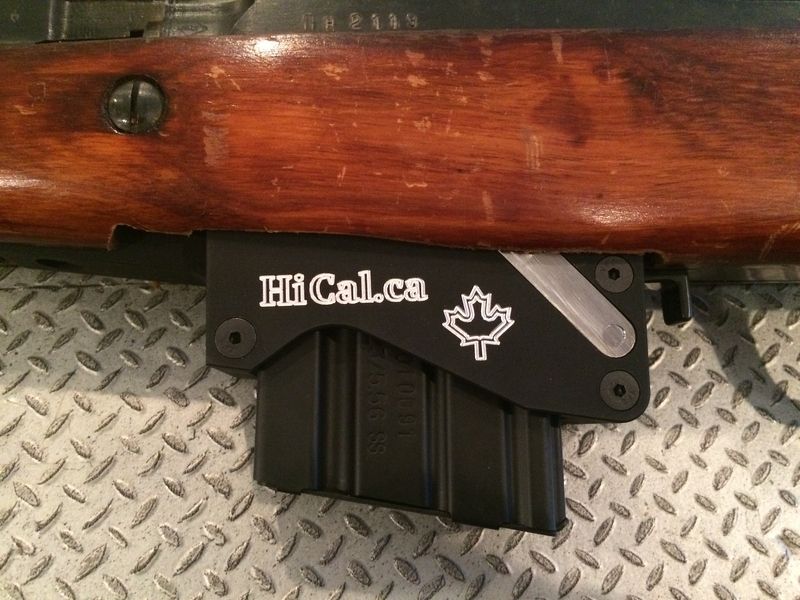
    We wanted to let you know, these Mag adapters are available on our website now, HERE. We wanted to do a SKS-AR Mag Adapter Install Guide & Pics to help everyone out. We will do a video after the weekend, but wanted to post a guide for all those who already have one to install. Here is a conversion, step by step:

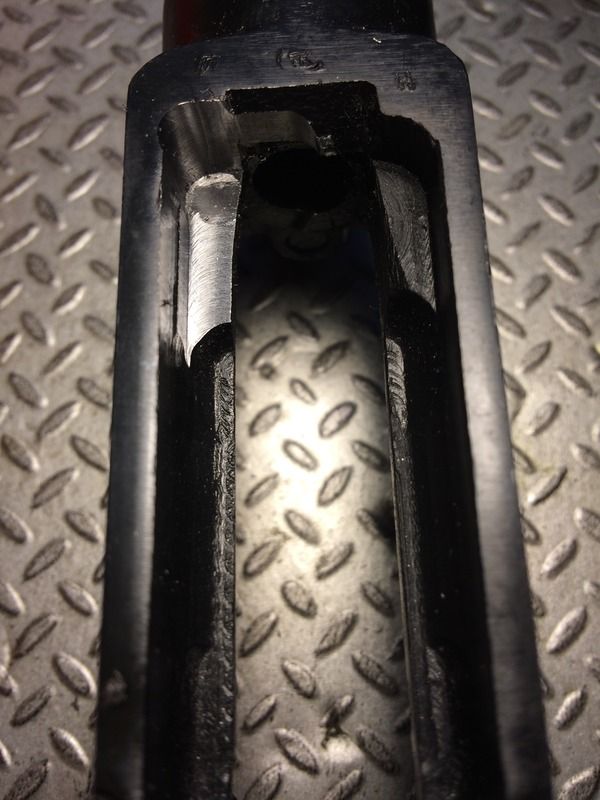
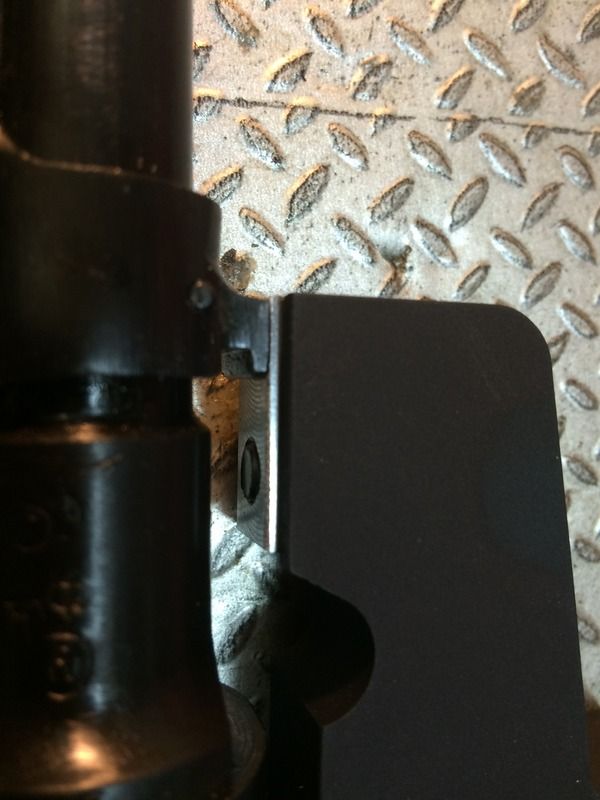
    First we Make sure the gun is UNLOADED! Remember the ACTS & PROVE? Remove some metal from the front of the receiver for clearance, shown is one side done, the other untouched:


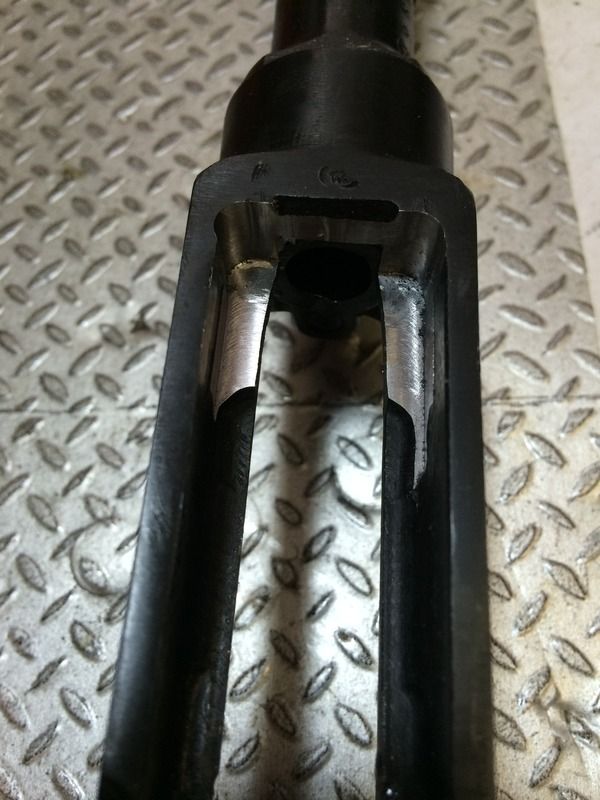
    Both sides done, note how the front is cut almost to the bevel:


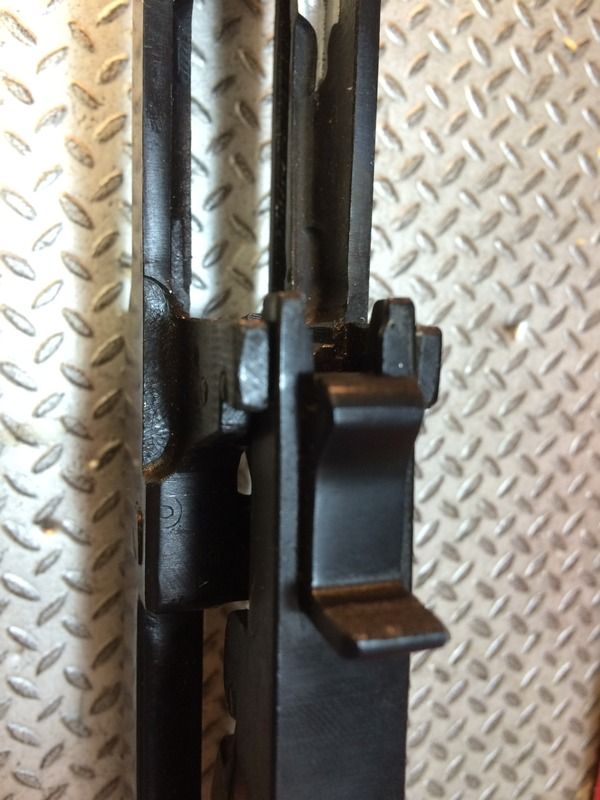
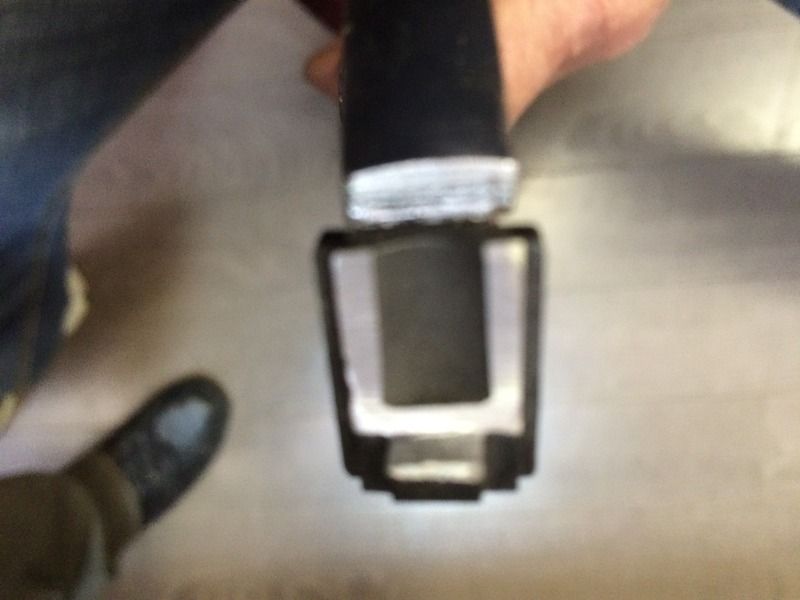
    Next, see those trigger bars? we need to shorten them to clear the new mag:


    Ta Da.....


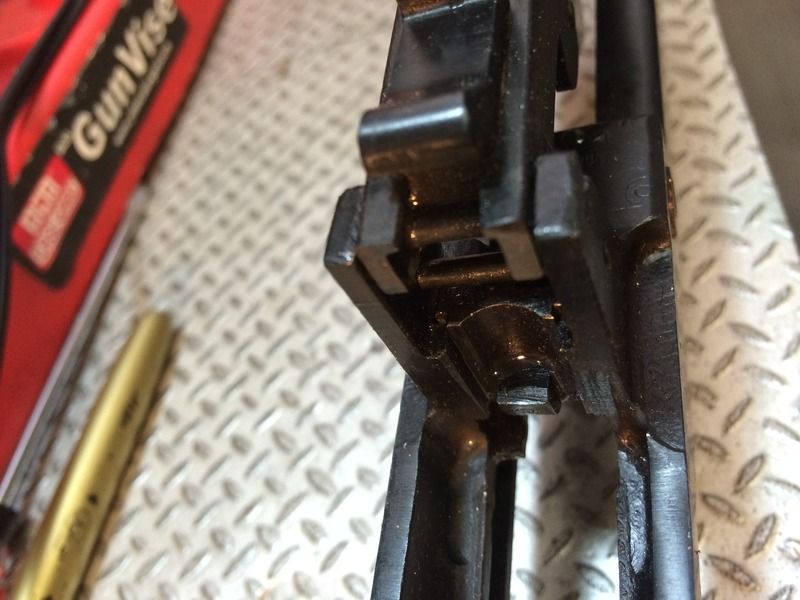
    We shorten the hold open block if the bolt will not close completely:


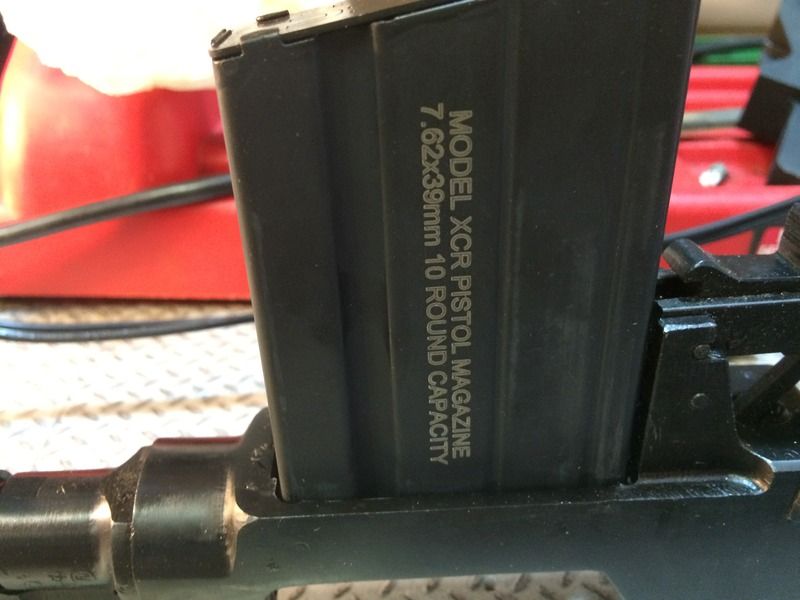
    Test fit the mag to make sure there is clearance:


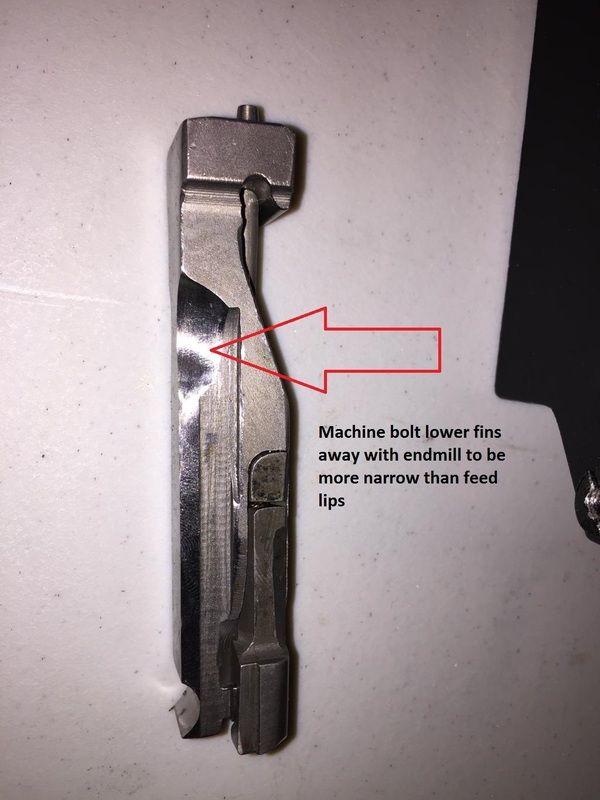
    You will also need to do a bolt mod, thin up the lower bolt fins & cut them further to the rear so the bolt can close completely without touching or modifying the mag


    Then trim the front silver mount to fit your gun, I mark it with a sharpie, then trim:


    Install & test, the bolt hold open should work, it should drop free:


    Open up your stock to clear & hit the range, or 3 gun....


    NOTE, you can still use your original factory mag or any aftermarket detachable mags still after this conversion, the adapter just pops out!
    Last edited by hical.ca; 12-06-2015 at 12:22 PM.
    High Caliber Service Corp, Proudly serving the shooting Community since 2008. Canada’s largest assortment of Firearm accessories online & in store, 33154 1st ave, Mission, BC. V2V 1G4

    We offer PAL, RPAL & CORE courses for the Fraser valley/ Vancouver area: www.palcore.ca

    Call us at 604-BUY-GUNS, (289-4867) or at hical@shaw.ca

    Like us on Facebook for all the latest info

    SERVICE is our middle name!

  2. #2
    CGN Ultra frequent flyer cyclops666's Avatar
    Join Date
    Jan 2013
    Location
    GVRD
    Posts
    2,425
    Very cool

  3. #3
    CGN Ultra frequent flyer xdmer's Avatar
    Join Date
    Jul 2011
    Location
    Back in Greater Vancouver
    Posts
    6,222
    Nice work Dave.
    Travis Kay
    Proverbs 4:27
    http://www.traviskay.ca [laughably dated]
    http://linkedin.com/in/kaytravis

  4. #4
    CGN Ultra frequent flyer Deckard's Avatar
    Join Date
    Mar 2004
    Location
    Chumperistani Gulag
    Posts
    24,725
    Clearer. I'd like to see a video of the actual mods in progress (speed up in parts). So the milling of the receiver with a Dremel - what does that look like? What actual attachment to the Dremel is to be used? How far down? It looks like you milled yours.
    Listen, and understand. That Liberal is out there. It can’t be bargained with. It can’t be reasoned with. It doesn’t feel pity, or remorse- only fear. And it absolutely will not stop, ever, until your guns are gone.

  5. #5
    Super GunNutz pc9's Avatar
    Join Date
    Mar 2004
    Location
    OKANAGAN
    Posts
    5,446
    Quote Originally Posted by Deckard View Post
    Clearer. I'd like to see a video of the actual mods in progress (speed up in parts). So the milling of the receiver with a Dremel - what does that look like? What actual attachment to the Dremel is to be used? How far down? It looks like you milled yours.
    + 1
    It's nice to show what you did but how you did it would be better. Also I asked in another thread what Dremel attachment to use and did not get a response.

  6. #6
    CGN Ultra frequent flyer Deckard's Avatar
    Join Date
    Mar 2004
    Location
    Chumperistani Gulag
    Posts
    24,725
    Exactly. Bits are expensive. We can't afford to experiment.
    Listen, and understand. That Liberal is out there. It can’t be bargained with. It can’t be reasoned with. It doesn’t feel pity, or remorse- only fear. And it absolutely will not stop, ever, until your guns are gone.

  7. #7
    Super GunNutz El_Monty457's Avatar
    Join Date
    Mar 2013
    Location
    Southern Ontario
    Posts
    277
    Quote Originally Posted by Deckard View Post
    Clearer. I'd like to see a video of the actual mods in progress (speed up in parts). So the milling of the receiver with a Dremel - what does that look like? What actual attachment to the Dremel is to be used? How far down? It looks like you milled yours.
    Hmmm,... the more I see this, the more I'm considering doing it But,...
    I'd still like some nice methodical close-ups too of the technique, unless they're trying to be vague to get the gunsmithing business too.

    But, judging by where they say you need to mill it, I'd say one of those actual small milling cutters that come with so many of the aftermarket dremel-type cutting tool accessory kits would do the job. I say "dremel" in a generic sense (like people say kleenex for tissues), as any 'dremel-type' tool should do the job. I have a couple plastic flip-open cases of the consumable drill bits, sanding drums, buffing wheels, milling cutters, etc. and I think between the milling cutter and maybe some of the grinding wheels, I might be able to do this. Clamping the piece well, small incremental cuts, and a very steady hand with the dremel will be key to a good job.

    Anybody got a crappy beat-up SKS they don't want anymore that I can practice on first? PM me, I'll give you my mailing address.

  8. #8
    Business Member hical.ca's Avatar
    Join Date
    Apr 2011
    Location
    Mission, BC
    Posts
    3,904
    Quote Originally Posted by pc9 View Post
    + 1
    It's nice to show what you did but how you did it would be better. Also I asked in another thread what Dremel attachment to use and did not get a response.
    We invested in a milling machine, because we have done a LOT of conversions & LOTS more to go! The Dremel is a lot slower, but i believe the guys who have done it have good luck with a metal burr to remove the metal fast, then a grinder to finish. Most come with an assortment to experiment with.
    High Caliber Service Corp, Proudly serving the shooting Community since 2008. Canada’s largest assortment of Firearm accessories online & in store, 33154 1st ave, Mission, BC. V2V 1G4

    We offer PAL, RPAL & CORE courses for the Fraser valley/ Vancouver area: www.palcore.ca

    Call us at 604-BUY-GUNS, (289-4867) or at hical@shaw.ca

    Like us on Facebook for all the latest info

    SERVICE is our middle name!

  9. #9
    CGN Ultra frequent flyer skneub's Avatar
    Join Date
    Sep 2011
    Location
    Was Tween Digby and Yarmouth .....Escaped back home to Alberta :-)
    Posts
    5,799


    If you buy cheep burrs you will destroy them quickly
    I used a good quality burr that was trashed from work lol Took longer than it should have
    also used a 3/16 split point drill bit in the corners


    Wear EYE protection and decent gloves

  10. #10
    CGN frequent flyer boss351cleveland's Avatar
    Join Date
    Sep 2012
    Location
    Down by the river
    Posts
    1,153
    Sorry but thats not ''instructional'' enough for me to start dremling parts , You need to zoom in on the parts with better light and maybe some good still shots of the mods . You need something like the T97.ca FTU instructions , they were very easy to see what needs to be done .

Page 1 of 6 123456 LastLast

Posting Permissions

  • You may not post new threads
  • You may not post replies
  • You may not post attachments
  • You may not edit your posts
  •