


Webley No.5
CGN Regular
- Location
- Rural Alberta/Calgary
Update 2 is post #20 on page 2 - adding a scope
Carcano in 7.62x25
What?
Well a 7.35mm carcano that was sporterized converted to 7.62x25mm using minimal new parts and tooling.
Why? If because I can isn’t enough of a reason then.
I had a sporterized carcano that is not very valuable
7.35mm ammo is basically non existent and annoying to reload and I reload enough annoying cartridges.
I have no carcano clips
I like the 7.62x25mm cartridge
I enjoy my 45acp Rhineland enfield
Many surplus guns have 0.310-0.314in bores, many surplus 7.62x25mm surplus rounds are 0.306-0.308in. Not a great combination. My other option would be to butcher a rifle with a 0.308in bore which would be more costly. I would agree a 0.300in isn’t ideal but it’s a cheap rifle and I like to shoot my surplus. The pistol cartridge will keep pressures down.
I’m waiting for a work transfer and bureaucracy is slow so I have lots of time.
The plan
Rechamber the rifle in 7.62x25mm
For this I chamber cast and determined I’d have to cut the barrel roughly at the shoulder of 7.35mm cartridge. The issue with this is the barrel OD at this point is too small to make proper threads to thread directly into the action. Then I thought I’m cutting the chamber portion off I might as well use it! So I would bore it out and thread the inside in an appropriate size. As well I like the way the Rhineland arms set for the Lee enfield set headspace so I decided I would do the same jam nut system. My final issue would be to build my own reamer since a proper one would not have the correct pilot for the carcano bore and would likely cost more then the rifle.
The build
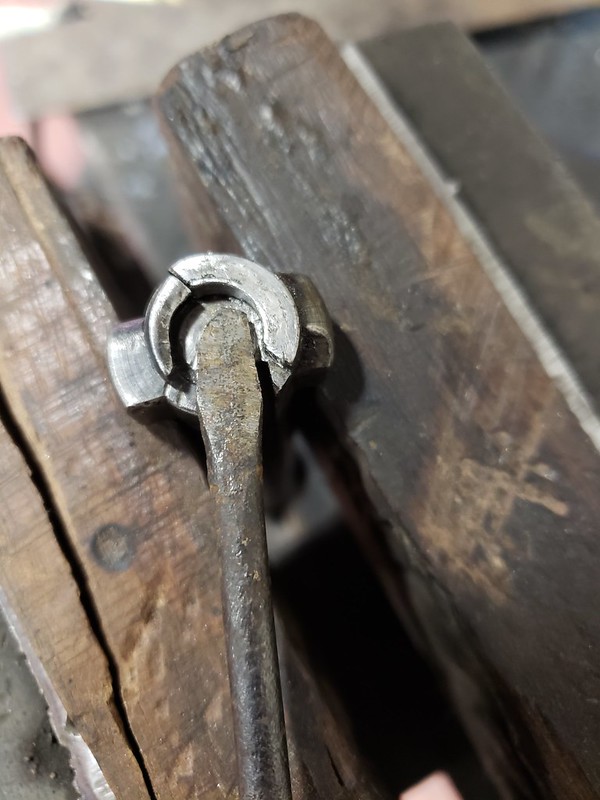
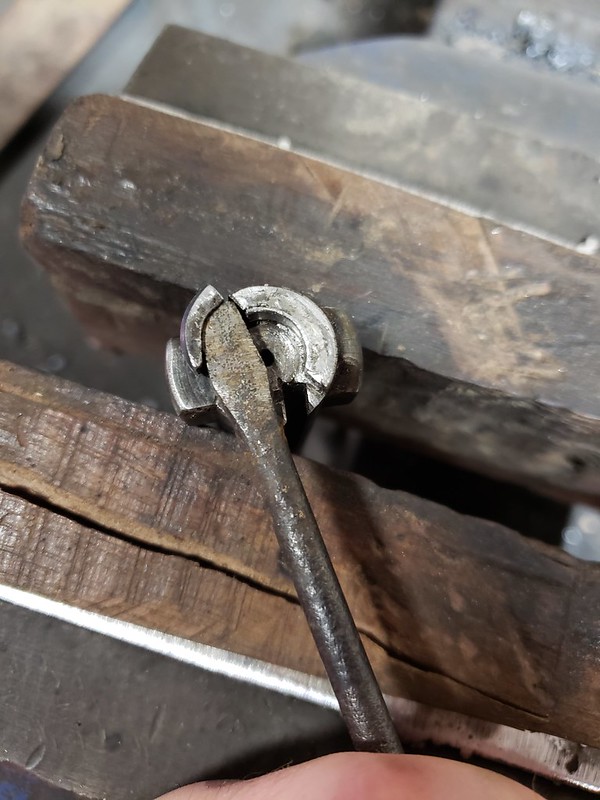
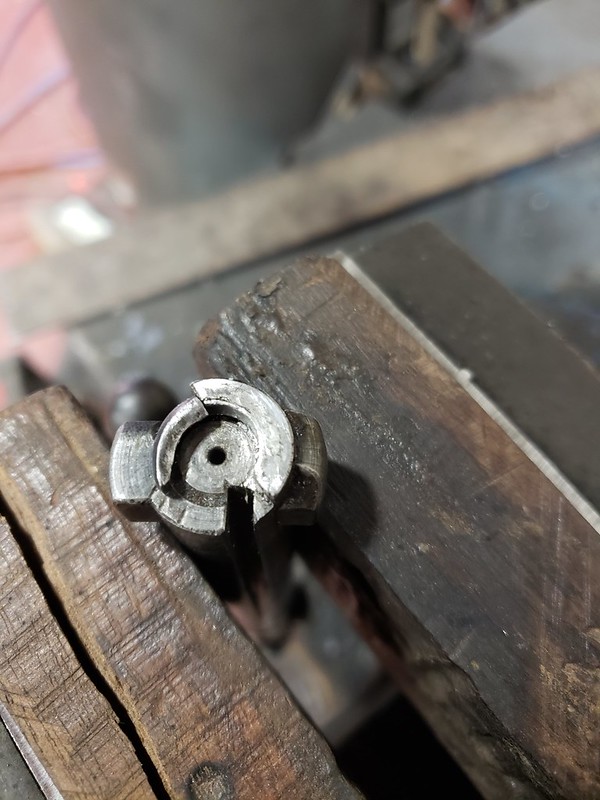
Sight removal: So first I removed the carcano sights. Front sight is soldered with a little set screw under the post. (I didn’t know about the set screw so I heated the sight and tapped it forward when solder ran out like mauser I learned about the set screw in a small indentation in the barrel after). The rear sight has a alignment screw that has to be removed and it was press fit and soldered on and it was on there! I ended up clamping the barrel in my barrel vise, heating the sight and turning the rear sight with open end of a wrench. One I got it rotating I had to twist it while tapping it with a hammer to get it to release.
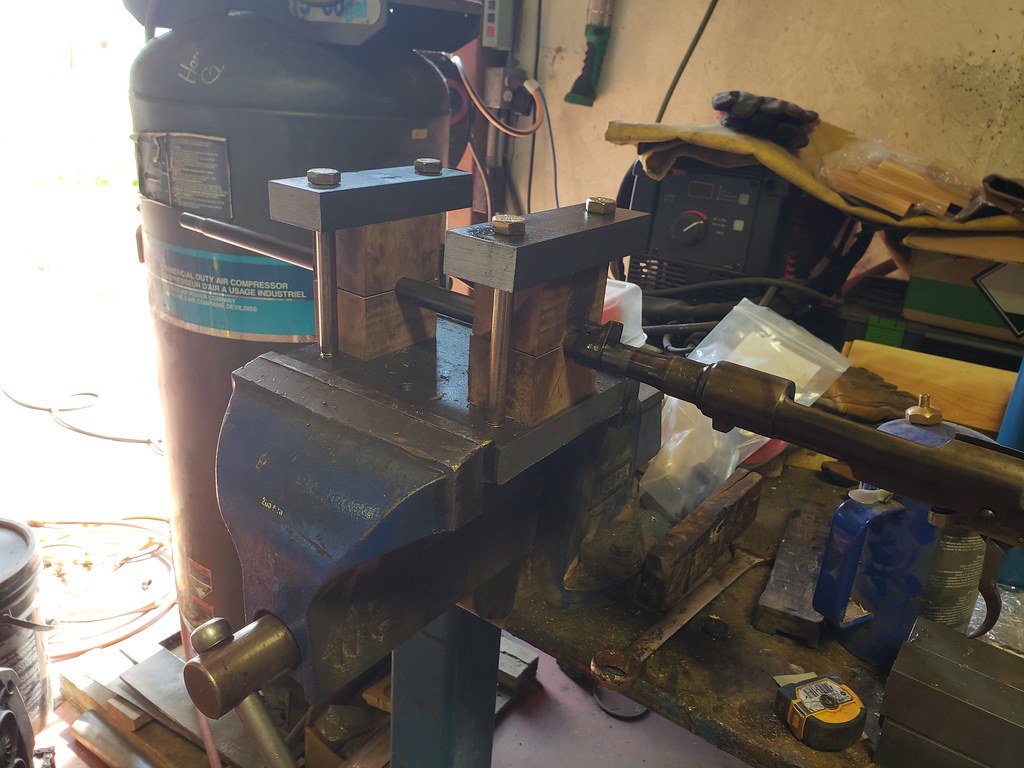
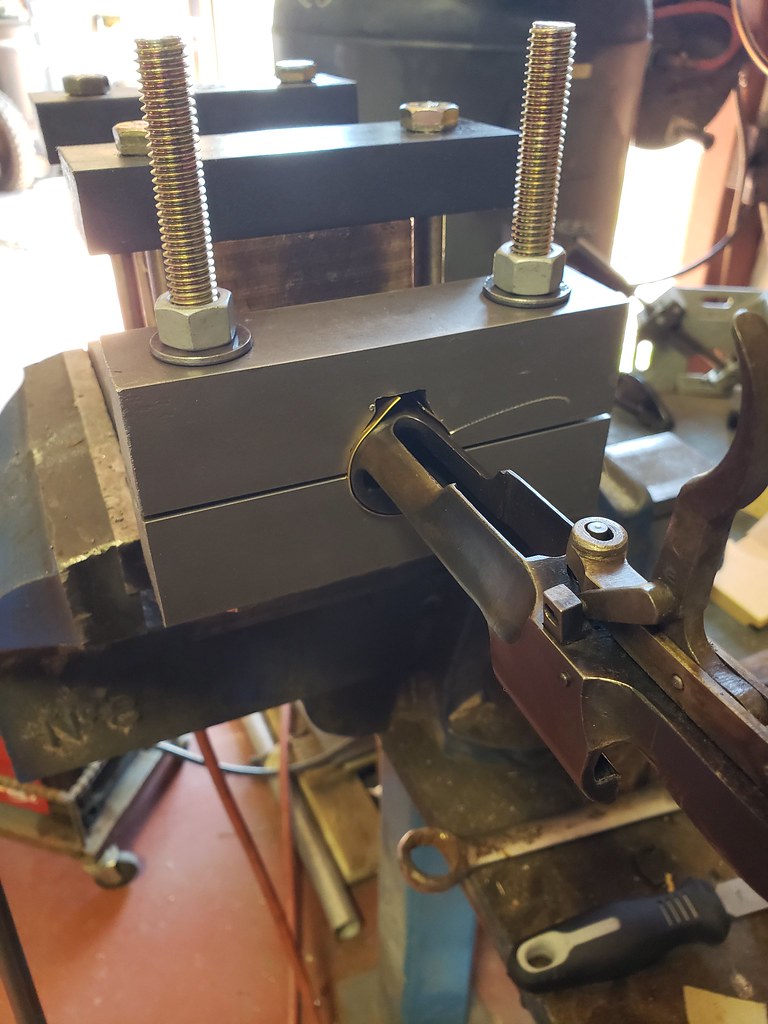
Barrel vice being used to remove rear sight
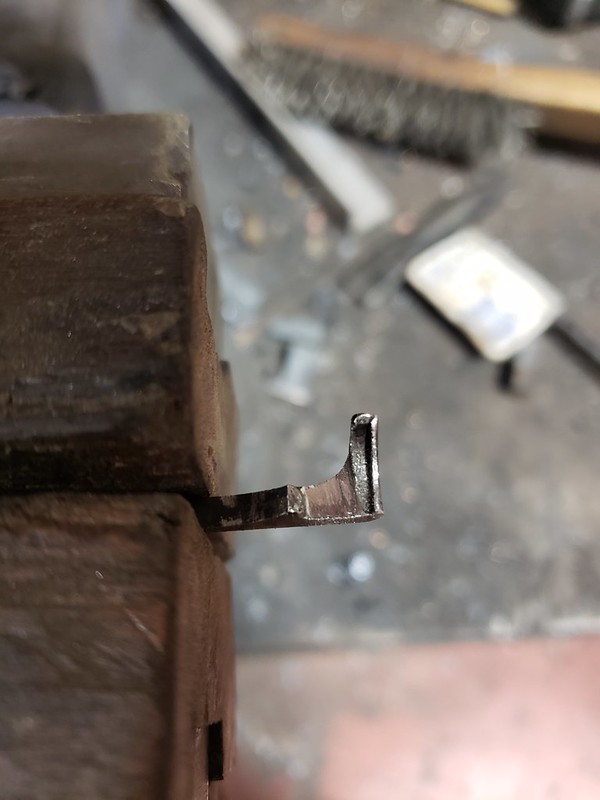
Barrel removal: with a barrel vice an what I consider a well built action wrench the barrel was surprisingly easy to remove (I did soak it in penetrating oil over night).
Action wrench before I added my handle
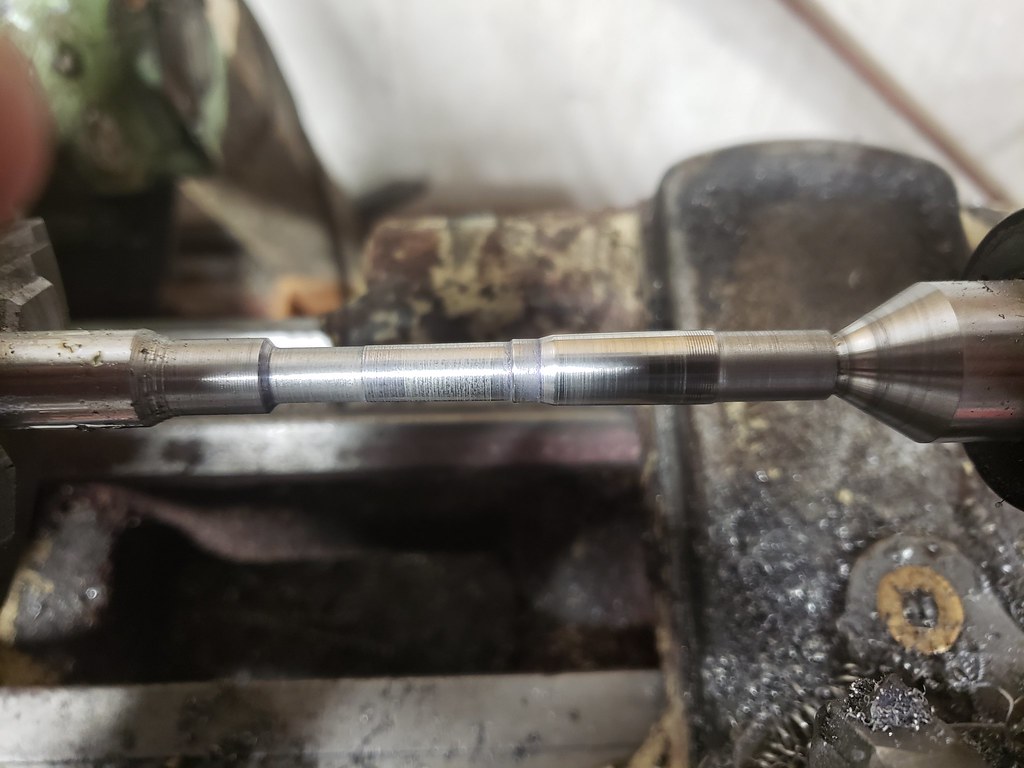
The reamer: for the reamer I used a piece of 1/2 O1 tool steel round stock. Chamber dimensions were from CIP, which has easy to locate dimensions for minimum chambers, so I aim for those while erring on the larger side of the dimension. I would rather a bit of brass growth then a non functional chamber. I did some alteration to the design for transition from neck to the rifling as the CIP is for 0.308in bore. From just in from of the neck it tapers from 0.310in down to 0.300in over 0.5in. I figured this should size the bullet down well without too many spikes in pressure. As well it will allow for reloading of 0.308in rifle bullets should I choose later. Once I had the profile turned on the lathe, I milled two flutes, 0.002in offset from center (one up and one down) to hopefully reduce chatter. I did this using a simple collet block. I choose two flutes because I sharpen by hand and on complex shapes it’s a pain. Once the flutes are cut, heat it to non magnetic in my mini forge and quench in atf. I clean off forge scale and file test on a area that will be ground for relief. Once happy, I mark my cutting edges for a right hand cutter and grind secondary reliefs on a bench grinder up to my sharpie marks on the cutting edges. The primary reliefs are ground using a bench stone. Once I’m happy that I have a functional cutter I can begin with the barrel.
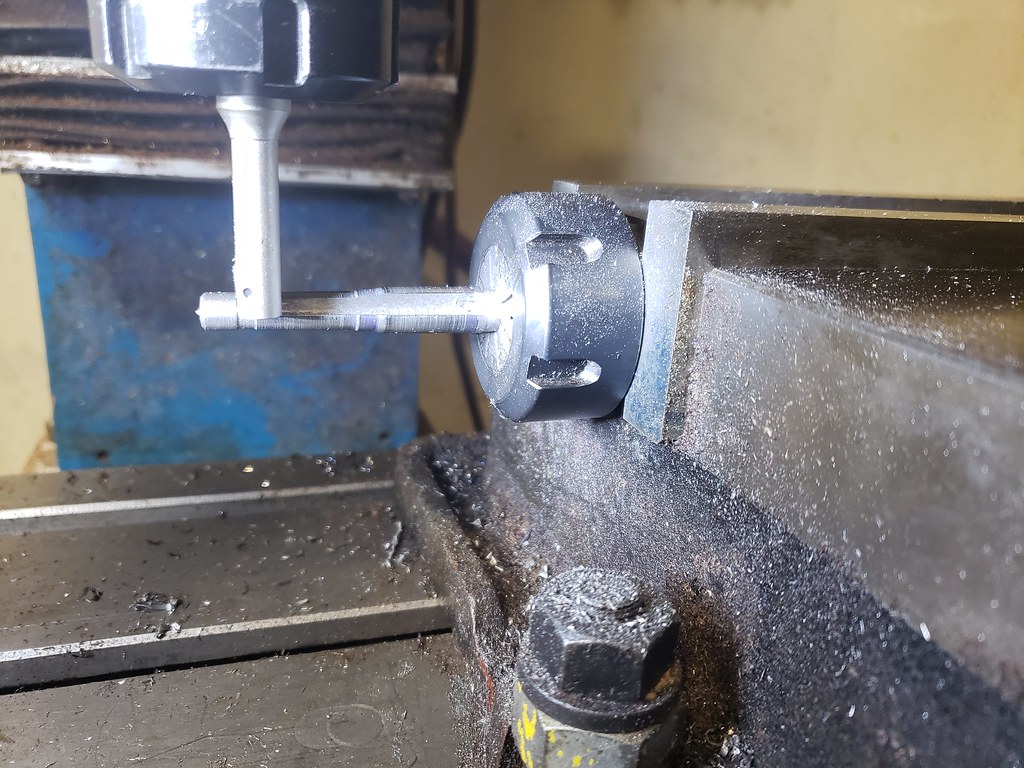
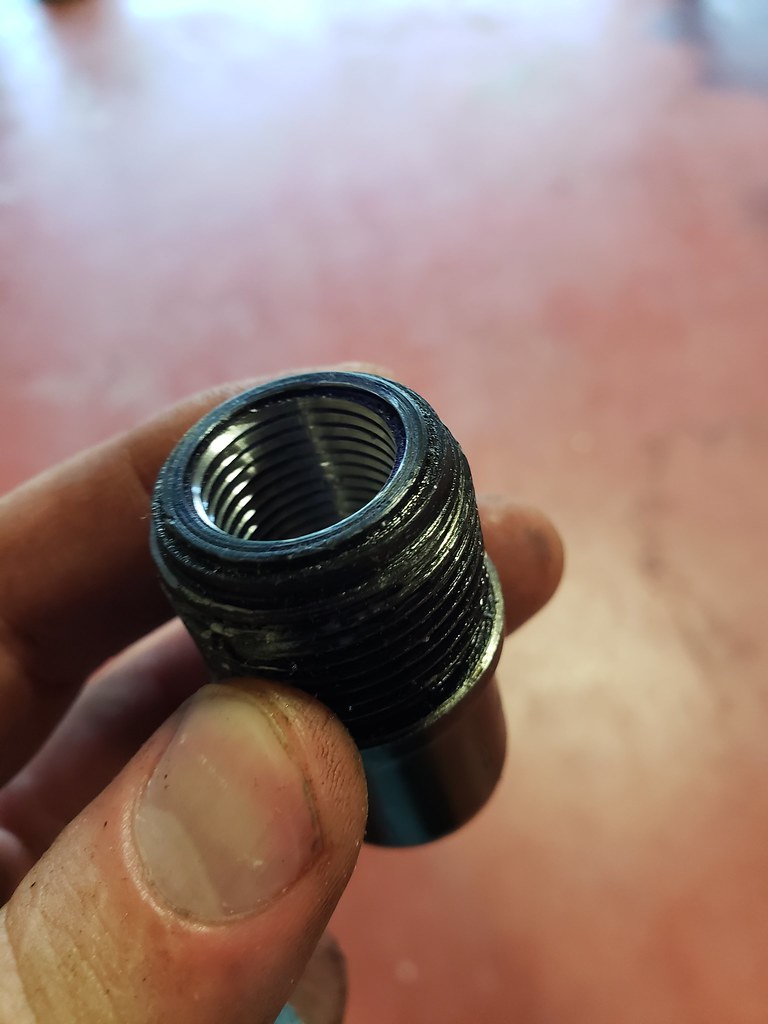
The barrel cutoff: I part off the barrel just ahead of where it tapers down which leaves me with the neck of chamber in the barrel and the rest in the cut off. I put cut off piece in the lathe and centered it off the chamber. I then drilled and bored out the inside so I could thread for 11/16in 16tpi. Why that thread? I felt 5/8in thread left too little on the barrel side and 3/4in too little on the bushing side. 16 tpi because I did some playing with threads (on scrap) and cold welded a finer pitch to the point I couldn’t budge it with a 12in pipe wrench and decided that wouldn’t be great on this project.
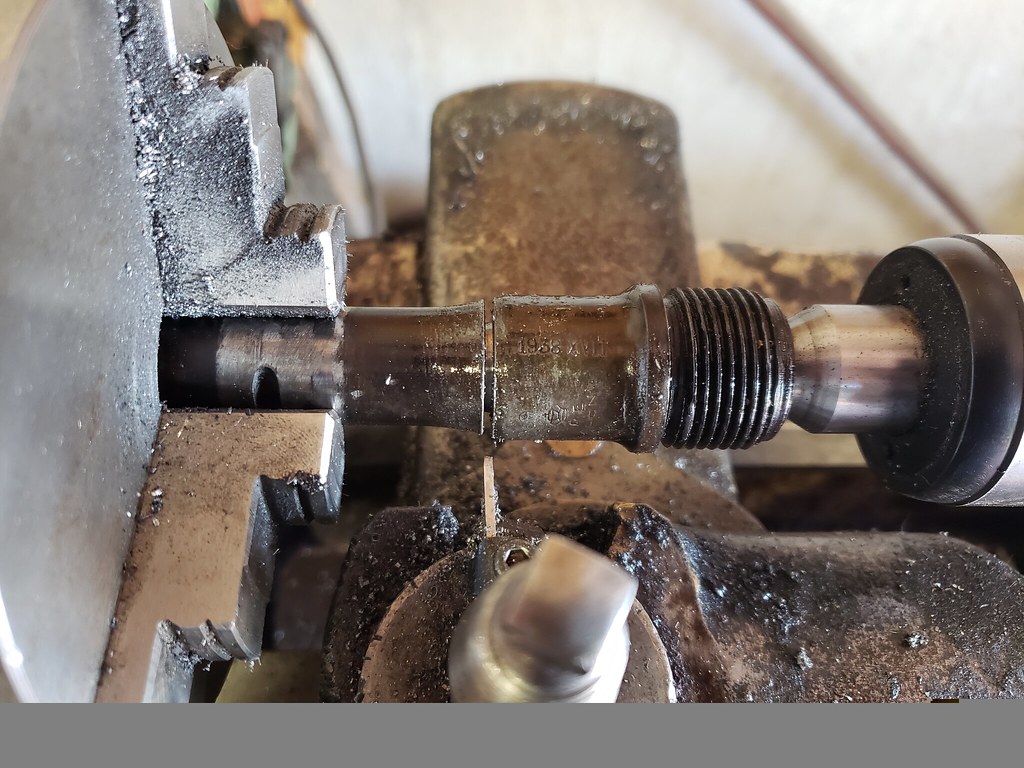
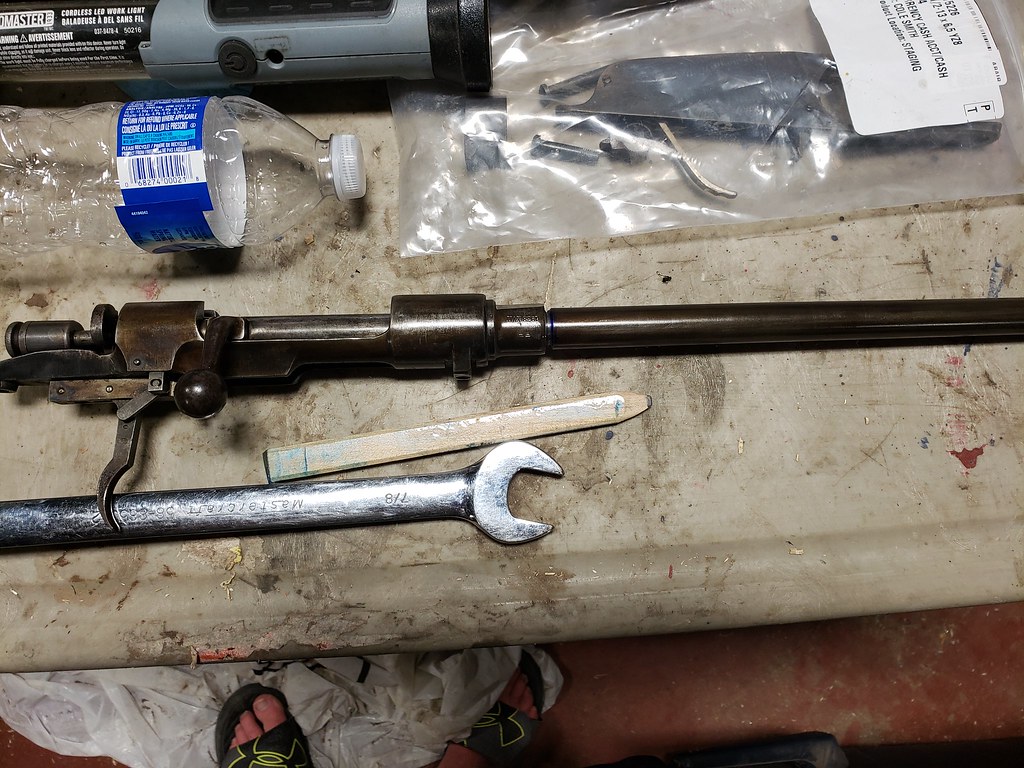
The barrel: I then mounted the barrel in the lathe centering off what was left of the chamber. Turned and cut the threads. Next I rough drilled the chamber with a couple of drills and then very slowly reamed the chamber. Using a homemade headspace gauge I set depth including the inlet in the carcano bolt. I then went 0.020in over because it is easier to face the barrel than realign the barrel and reamer nicely.
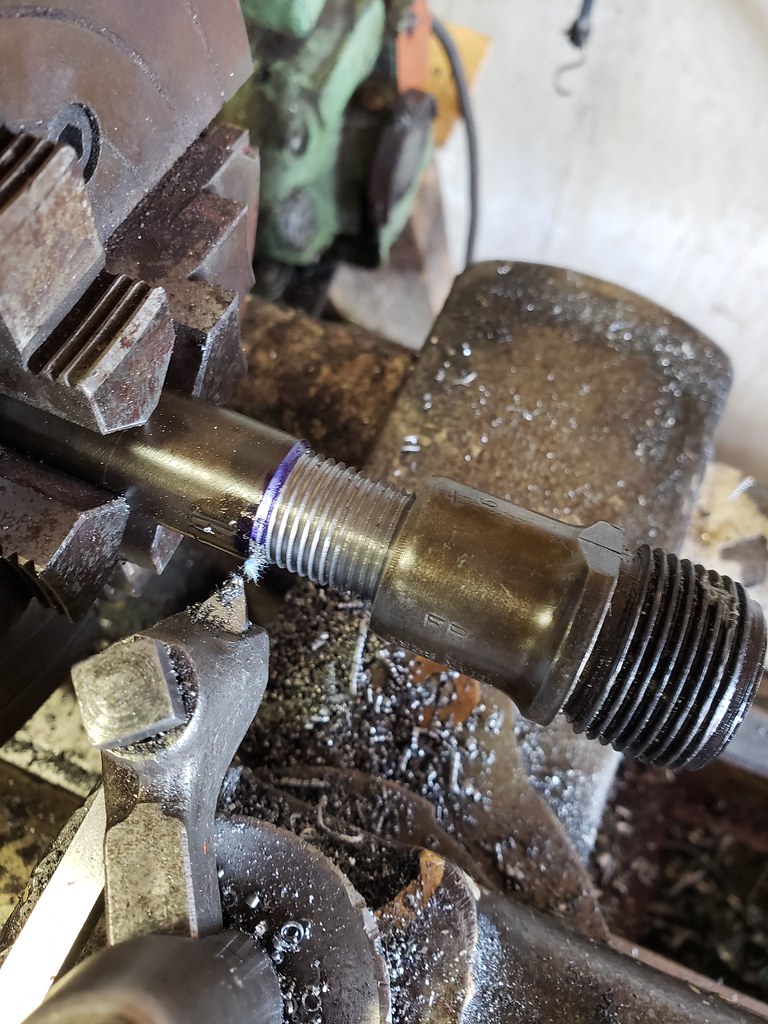
Finally I cold blued the parts and assembled, I was able to set what I think is a reasonable headspace without facing the barrel.
Text fired two rounds, both fired, extracted easily (the extractor has a light hold on the smaller cartridge when fully chambered but slips of once the cartridge is part way out) both shots the bullet left the barrel, only issue on the brass was pierced primers, I’m guessing the carcano firing pin is a bit excessive for pistol rounds (I found in my Rhineland enfield, pistol primers are more sensitive)

The future
The rifle needs sights, taking suggestions. Right now I’m thinking a PU side mount
Bolt face and possibly an extractor work to better fit the new case head
A magazine, plan to adapt to use tt33 mags
Update 1
The bolt alteration for a smaller cartridge
First I soldered a shim to the left side of the bolt to account for the change radius of cartridge
To do this I had to remove the extractor, to do this I took an old flat head screwdriver and ground the side of the tip to be similar profile to the extractor.
The extractor is slotted at back into the bolt and has to be pulled out the front. It also has a little retain nub that has to clear first. So you have to push it away from the bolt body far enough to clear and then pry forward.
With the extractor out I filed the contact points on the extractor down 0.015in and gave it a slight more bend.
I then reinstalled it on the bolt and it now you can see it sit further towards center of the bolt.
Now it is able to grasp a cartridge

Carcano in 7.62x25
What?
Well a 7.35mm carcano that was sporterized converted to 7.62x25mm using minimal new parts and tooling.
Why? If because I can isn’t enough of a reason then.
I had a sporterized carcano that is not very valuable
7.35mm ammo is basically non existent and annoying to reload and I reload enough annoying cartridges.
I have no carcano clips
I like the 7.62x25mm cartridge
I enjoy my 45acp Rhineland enfield
Many surplus guns have 0.310-0.314in bores, many surplus 7.62x25mm surplus rounds are 0.306-0.308in. Not a great combination. My other option would be to butcher a rifle with a 0.308in bore which would be more costly. I would agree a 0.300in isn’t ideal but it’s a cheap rifle and I like to shoot my surplus. The pistol cartridge will keep pressures down.
I’m waiting for a work transfer and bureaucracy is slow so I have lots of time.
The plan
Rechamber the rifle in 7.62x25mm
For this I chamber cast and determined I’d have to cut the barrel roughly at the shoulder of 7.35mm cartridge. The issue with this is the barrel OD at this point is too small to make proper threads to thread directly into the action. Then I thought I’m cutting the chamber portion off I might as well use it! So I would bore it out and thread the inside in an appropriate size. As well I like the way the Rhineland arms set for the Lee enfield set headspace so I decided I would do the same jam nut system. My final issue would be to build my own reamer since a proper one would not have the correct pilot for the carcano bore and would likely cost more then the rifle.
The build
Sight removal: So first I removed the carcano sights. Front sight is soldered with a little set screw under the post. (I didn’t know about the set screw so I heated the sight and tapped it forward when solder ran out like mauser I learned about the set screw in a small indentation in the barrel after). The rear sight has a alignment screw that has to be removed and it was press fit and soldered on and it was on there! I ended up clamping the barrel in my barrel vise, heating the sight and turning the rear sight with open end of a wrench. One I got it rotating I had to twist it while tapping it with a hammer to get it to release.
Barrel vice being used to remove rear sight
Barrel removal: with a barrel vice an what I consider a well built action wrench the barrel was surprisingly easy to remove (I did soak it in penetrating oil over night).
Action wrench before I added my handle
The reamer: for the reamer I used a piece of 1/2 O1 tool steel round stock. Chamber dimensions were from CIP, which has easy to locate dimensions for minimum chambers, so I aim for those while erring on the larger side of the dimension. I would rather a bit of brass growth then a non functional chamber. I did some alteration to the design for transition from neck to the rifling as the CIP is for 0.308in bore. From just in from of the neck it tapers from 0.310in down to 0.300in over 0.5in. I figured this should size the bullet down well without too many spikes in pressure. As well it will allow for reloading of 0.308in rifle bullets should I choose later. Once I had the profile turned on the lathe, I milled two flutes, 0.002in offset from center (one up and one down) to hopefully reduce chatter. I did this using a simple collet block. I choose two flutes because I sharpen by hand and on complex shapes it’s a pain. Once the flutes are cut, heat it to non magnetic in my mini forge and quench in atf. I clean off forge scale and file test on a area that will be ground for relief. Once happy, I mark my cutting edges for a right hand cutter and grind secondary reliefs on a bench grinder up to my sharpie marks on the cutting edges. The primary reliefs are ground using a bench stone. Once I’m happy that I have a functional cutter I can begin with the barrel.
The barrel cutoff: I part off the barrel just ahead of where it tapers down which leaves me with the neck of chamber in the barrel and the rest in the cut off. I put cut off piece in the lathe and centered it off the chamber. I then drilled and bored out the inside so I could thread for 11/16in 16tpi. Why that thread? I felt 5/8in thread left too little on the barrel side and 3/4in too little on the bushing side. 16 tpi because I did some playing with threads (on scrap) and cold welded a finer pitch to the point I couldn’t budge it with a 12in pipe wrench and decided that wouldn’t be great on this project.
The barrel: I then mounted the barrel in the lathe centering off what was left of the chamber. Turned and cut the threads. Next I rough drilled the chamber with a couple of drills and then very slowly reamed the chamber. Using a homemade headspace gauge I set depth including the inlet in the carcano bolt. I then went 0.020in over because it is easier to face the barrel than realign the barrel and reamer nicely.
Finally I cold blued the parts and assembled, I was able to set what I think is a reasonable headspace without facing the barrel.
Text fired two rounds, both fired, extracted easily (the extractor has a light hold on the smaller cartridge when fully chambered but slips of once the cartridge is part way out) both shots the bullet left the barrel, only issue on the brass was pierced primers, I’m guessing the carcano firing pin is a bit excessive for pistol rounds (I found in my Rhineland enfield, pistol primers are more sensitive)
The future
The rifle needs sights, taking suggestions. Right now I’m thinking a PU side mount
Bolt face and possibly an extractor work to better fit the new case head
A magazine, plan to adapt to use tt33 mags
Update 1
The bolt alteration for a smaller cartridge
First I soldered a shim to the left side of the bolt to account for the change radius of cartridge
To do this I had to remove the extractor, to do this I took an old flat head screwdriver and ground the side of the tip to be similar profile to the extractor.
The extractor is slotted at back into the bolt and has to be pulled out the front. It also has a little retain nub that has to clear first. So you have to push it away from the bolt body far enough to clear and then pry forward.
With the extractor out I filed the contact points on the extractor down 0.015in and gave it a slight more bend.
I then reinstalled it on the bolt and it now you can see it sit further towards center of the bolt.
Now it is able to grasp a cartridge
Last edited:

")


