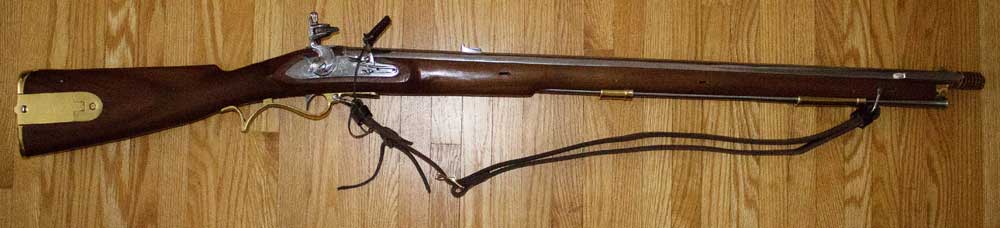
As I have way more time than money, I bought a 1806 replica Baker rifle, without a vent hole or much workmanship.
Yes, a nice muzzleloader woud be about $1,200 but this one was only $500.00 on sale so I knew there would be lots of work to make it happy.
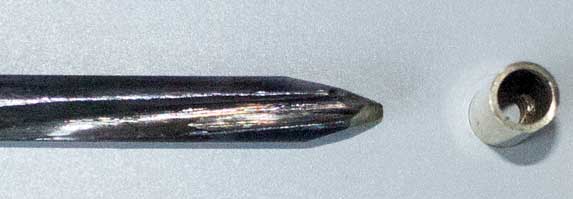
After drilling the vent hole, the next thing that I did was strap the gun to an outside table with 120 grains of fffg and a proper ball and patch. I fired it off with a long string and small torch at the end of the string. I figure that that's a pretty good barrel proof as I don't intend on going over 60 grains when shooting.
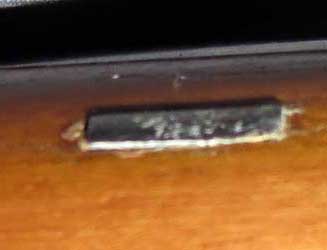
It didn't take long to get the cosmetic work done - barrel lugs, some decent screws and fitting stuff to the stock.
But out of the box, trigger 12 pound pull, frizzen 16 pound pull and the hammer a 23 pound pull.
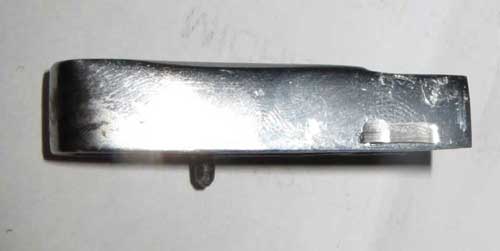
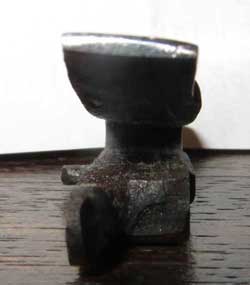
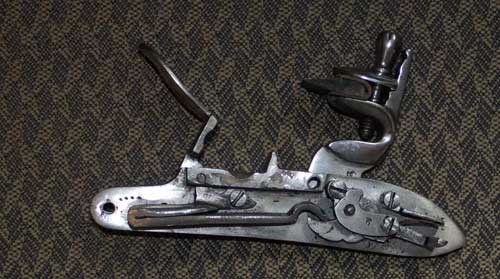
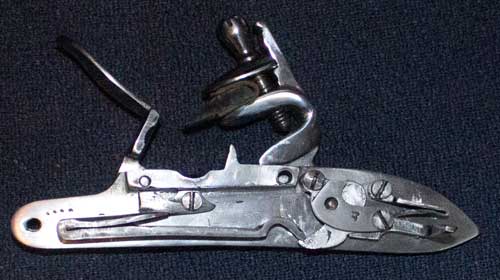
The frizzen spring was a real mess with the top of the spring at a weird angle so that about 20% of the frizzen nub was actually gouging the spring and the other 80% not touching the spring at all. With a dremel and some 400 wet/dry paper I managed to get all of the nub touching a now proper looking spring and brought the frizzen pull down to 8 pounds. Taking some off the inside edge of the spring brought that down to 5 pounds. This of course took about 4 fittings to make sure I didn't go too far.
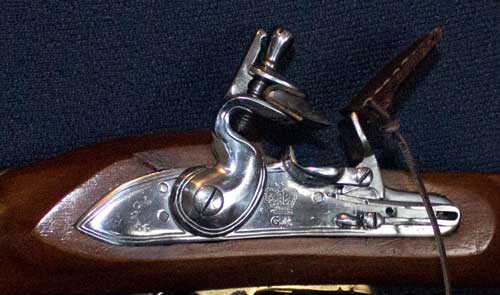
I then took the entire lock apart and spend quite some time sanding using 400 then 800 grit on all moveable parts to get them smooth. Almost everything needed smoothing. Just doing that alone brought the trigger pull down to 5 pounds which I think I'll leave for a while. (I'm not sure where to remove metal to bring the trigger pull down to a 3 pound pull so it's not happening now.)
The reason for all this I'm not sure what to do about the hammer cocking pull of 23 pounds. I figure that would translate into shattered flints. Do I start shaving the inside of the main spring? Any ideas would be greatly appreciated.
Thanks
Ted
Yes, a nice muzzleloader woud be about $1,200 but this one was only $500.00 on sale so I knew there would be lots of work to make it happy.
After drilling the vent hole, the next thing that I did was strap the gun to an outside table with 120 grains of fffg and a proper ball and patch. I fired it off with a long string and small torch at the end of the string. I figure that that's a pretty good barrel proof as I don't intend on going over 60 grains when shooting.
It didn't take long to get the cosmetic work done - barrel lugs, some decent screws and fitting stuff to the stock.
But out of the box, trigger 12 pound pull, frizzen 16 pound pull and the hammer a 23 pound pull.
The frizzen spring was a real mess with the top of the spring at a weird angle so that about 20% of the frizzen nub was actually gouging the spring and the other 80% not touching the spring at all. With a dremel and some 400 wet/dry paper I managed to get all of the nub touching a now proper looking spring and brought the frizzen pull down to 8 pounds. Taking some off the inside edge of the spring brought that down to 5 pounds. This of course took about 4 fittings to make sure I didn't go too far.
I then took the entire lock apart and spend quite some time sanding using 400 then 800 grit on all moveable parts to get them smooth. Almost everything needed smoothing. Just doing that alone brought the trigger pull down to 5 pounds which I think I'll leave for a while. (I'm not sure where to remove metal to bring the trigger pull down to a 3 pound pull so it's not happening now.)
The reason for all this I'm not sure what to do about the hammer cocking pull of 23 pounds. I figure that would translate into shattered flints. Do I start shaving the inside of the main spring? Any ideas would be greatly appreciated.
Thanks
Ted
Last edited: