Leuchtkafer
Member
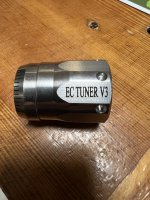
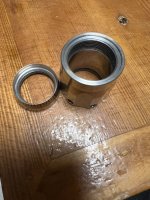
Follow along for an in-depth look at what goes into making a barrel tuner. I can virtually guarantee these are made by CNC commercially, as you see what I'm going to go through to make one manually, there's no way they're doing that. This is a project I started planning a year and a half ago. I needed to order things and make things to be able to create all the features specified. The design is reverse engineered from the Harrells tuner, though with some modification to achieve a lower overall weight. A quick note on that is I believe the Harrells is too heavy for the barrel profile I intend to use this device on. The only way to know for sure is to go ahead and make it to try it out!
The material is too large to fit into the lathe spindle bore, so I will have to deploy the steady rest. I started by taking light cuts until a fully machined surface was present to engage the steady rest fingers on.
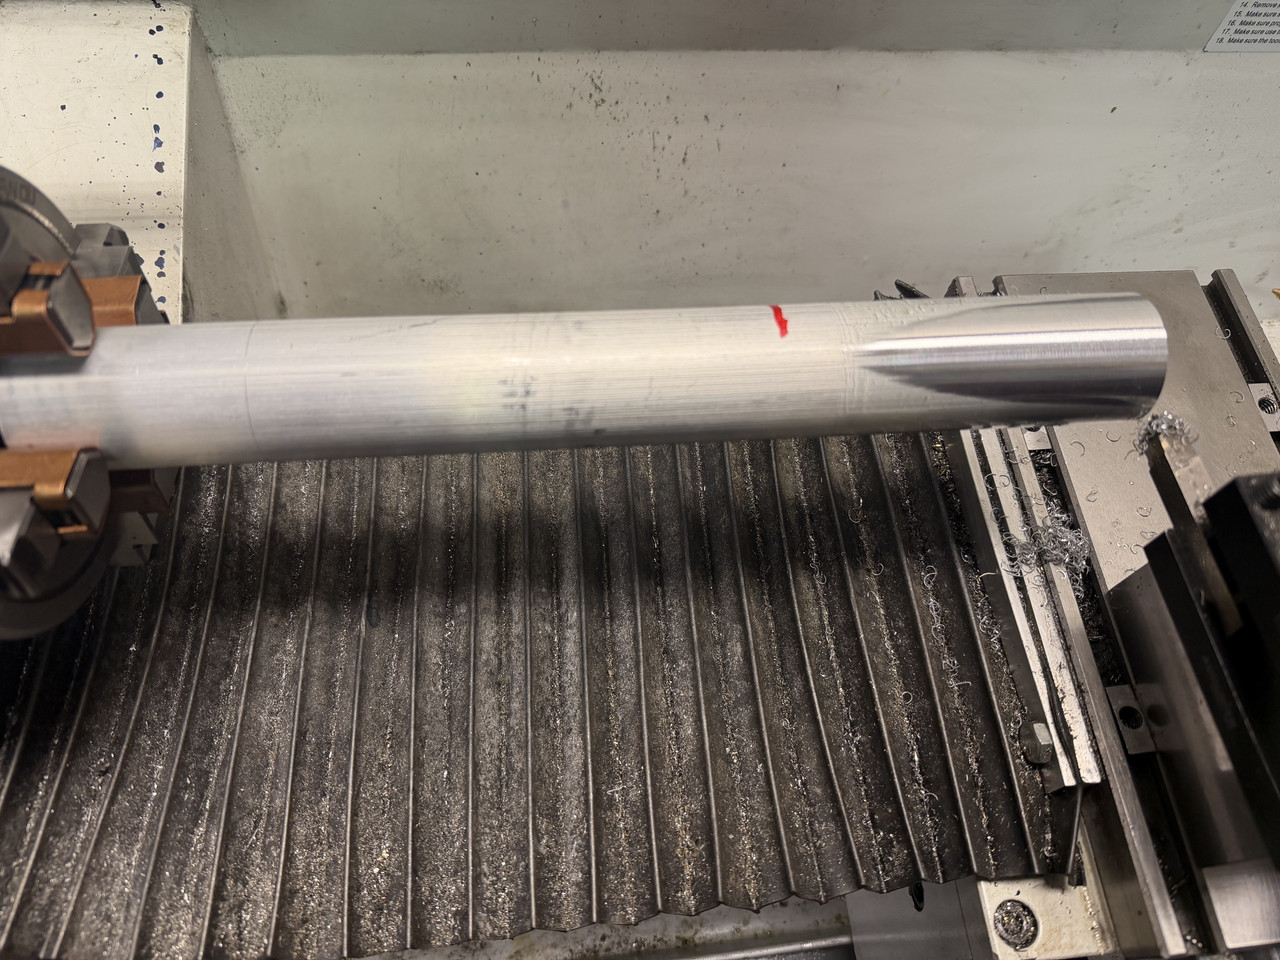
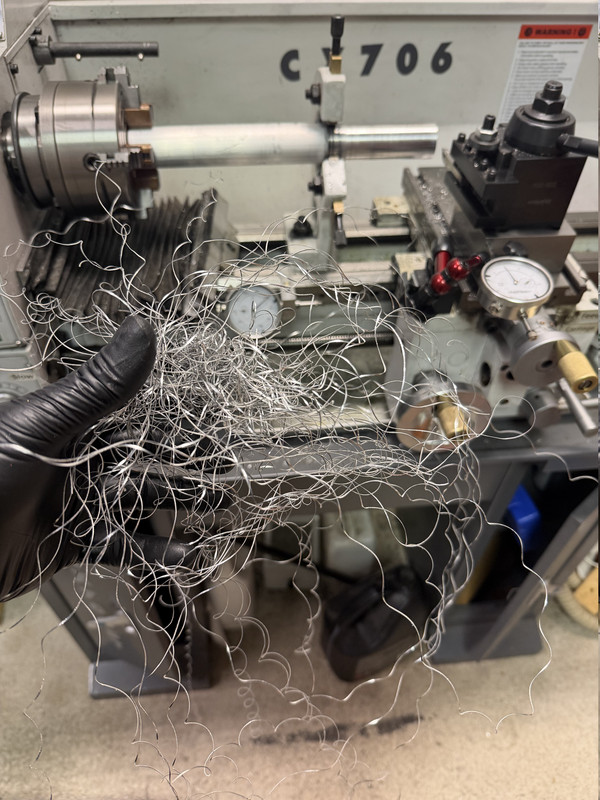
The real work could now begin. These are the chips made from a single pass. I call it "Satan's spaghetti".
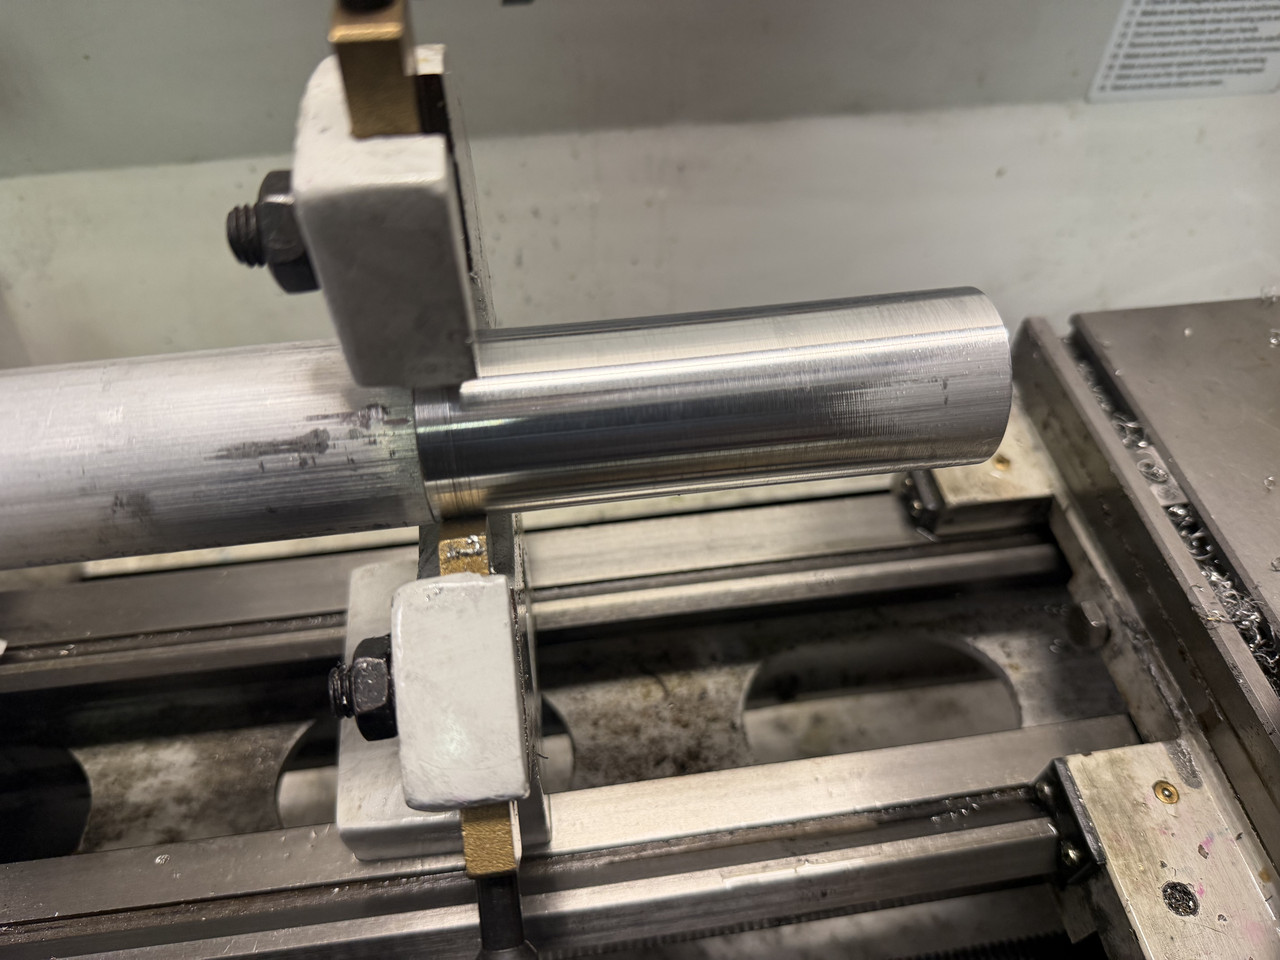
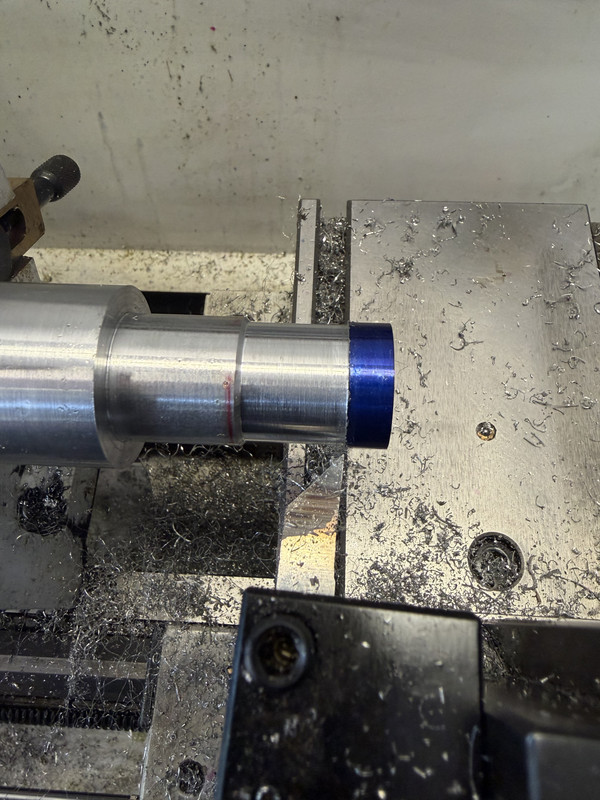
A few weeks later I was able to get back to it. I have no ego about it, I had a mental lapse in concentration and took too deep of a cut, overshooting my target dimension by 0.044". After an assessment of the situation, I determined that I could salvage the part. I just had to adjust some other dimensions accordingly and do some extra work. I spent an hour grinding a cutter bit to undercut this section, it should have been the same diameter as the blued tip. More complicated machining process than it all being the same diameter, but doable.
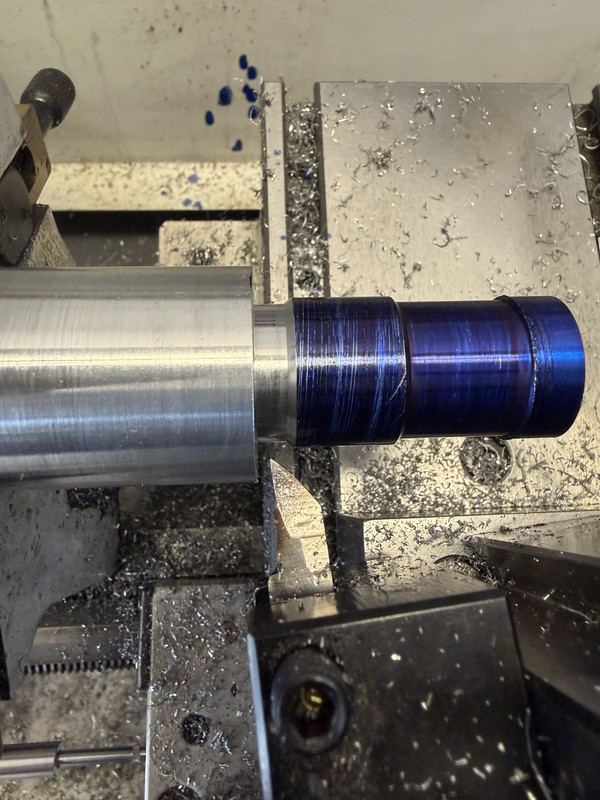
I already had a bit ground to cut this next section close to the large diameter shoulder, just a matter of doing the work. This created a relief section for the threading tool that will be used later to single point cut threads into the part.
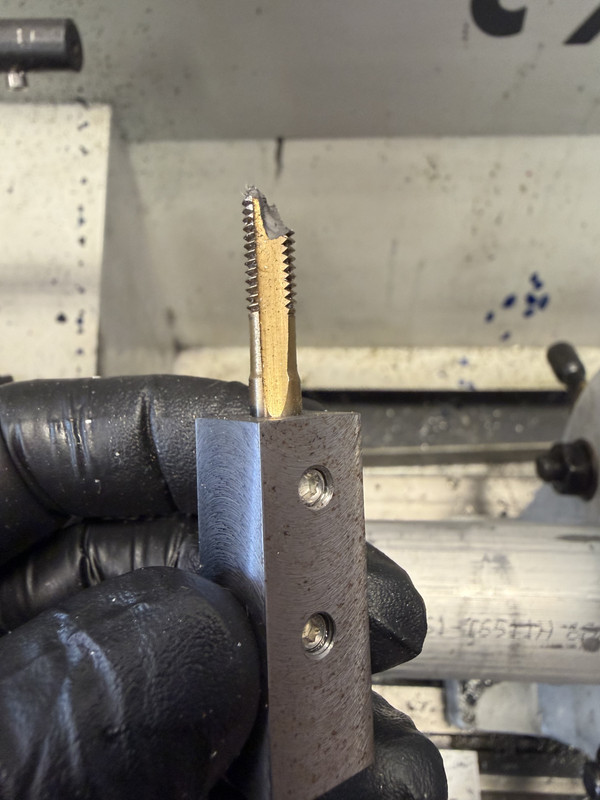
I need to put a 0.074" wide groove into the part near the tip, this is for an o-ring. I made this awhile ago, a holder for a broken tap. My next task is to head back over to the grinder and turn this into a custom grooving tool.
That's all for now. I'm not making any promises for frequency of updates, I'll get to it when I get to it. 'Tis a busy, busy time.
The material is too large to fit into the lathe spindle bore, so I will have to deploy the steady rest. I started by taking light cuts until a fully machined surface was present to engage the steady rest fingers on.
The real work could now begin. These are the chips made from a single pass. I call it "Satan's spaghetti".
A few weeks later I was able to get back to it. I have no ego about it, I had a mental lapse in concentration and took too deep of a cut, overshooting my target dimension by 0.044". After an assessment of the situation, I determined that I could salvage the part. I just had to adjust some other dimensions accordingly and do some extra work. I spent an hour grinding a cutter bit to undercut this section, it should have been the same diameter as the blued tip. More complicated machining process than it all being the same diameter, but doable.
I already had a bit ground to cut this next section close to the large diameter shoulder, just a matter of doing the work. This created a relief section for the threading tool that will be used later to single point cut threads into the part.
I need to put a 0.074" wide groove into the part near the tip, this is for an o-ring. I made this awhile ago, a holder for a broken tap. My next task is to head back over to the grinder and turn this into a custom grooving tool.
That's all for now. I'm not making any promises for frequency of updates, I'll get to it when I get to it. 'Tis a busy, busy time.