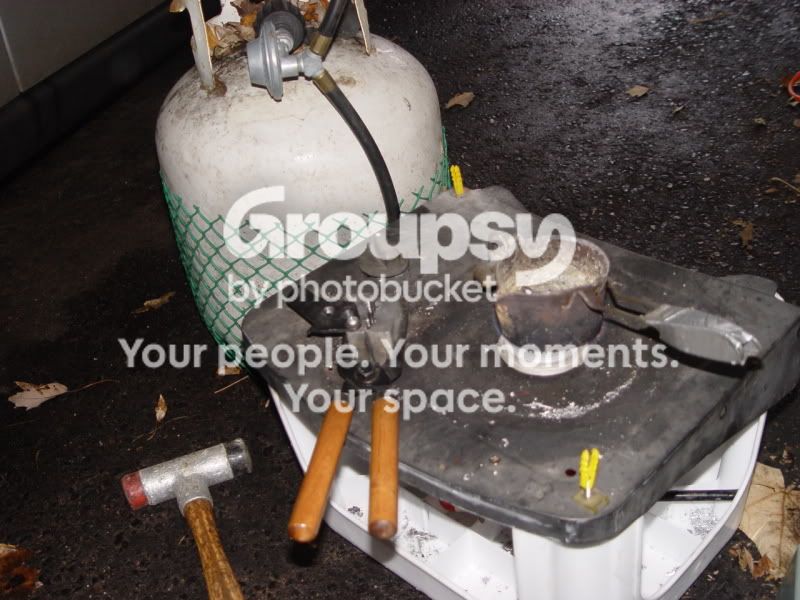
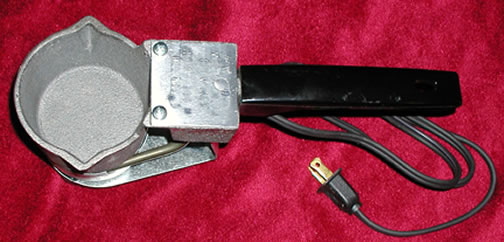
First time casting today, and overall it worked out well. Just thought I'd throw a few pics up for those that are considering it.
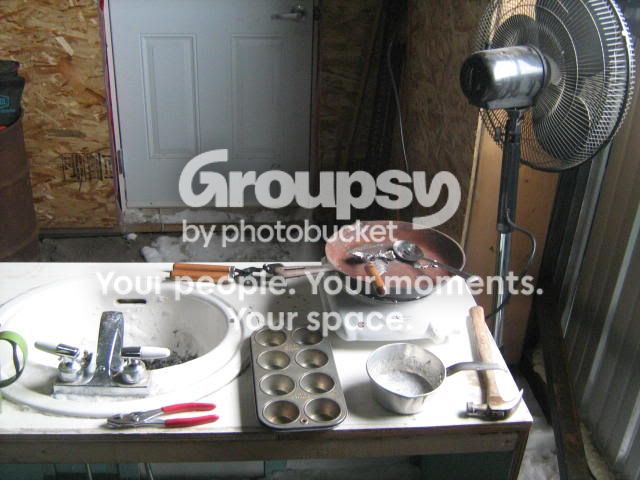
Here's the setup, it's pure vanity - torn out of the bathroom in a recent renovation Heat is provided by a 1000w element (a present from my wife's grandmother two years ago, now used for the first time), Betty Crocker no less! Cast iron frying pan for the dirty wheel weights, obligatory "holy" stainless steel spoon for stirring/skimming. Cupcake ingot tray. Then a smaller pot for the cleaner alloy, a Lee lead dipper, and Lee mold. Not shown is the ice cream pail full of snow for the arctic quench.
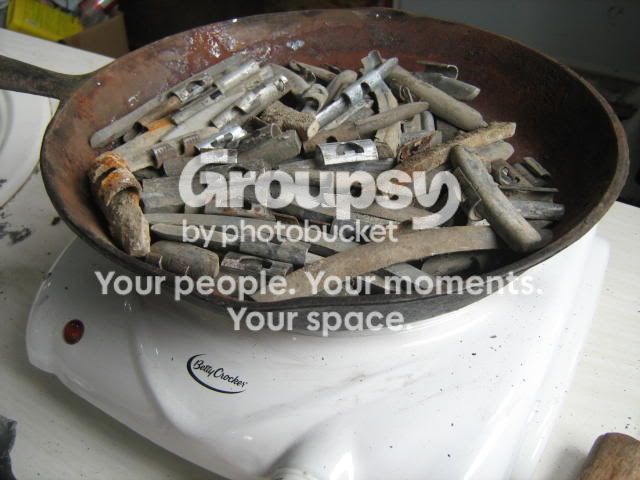
Here's a pan full of weights just starting to smoke. I had the big door cracked and a fan sucking away from the pan. I had pre-sorted the weights so that I wasn't heating a bunch of iron needlessly.
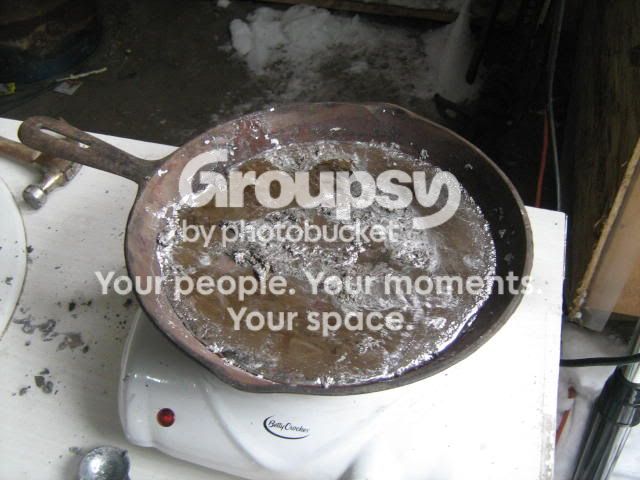
Here Betty's done her work and we have a melted pan of alloy, clips out (they go in the sink!) but not yet skimmed or fluxed. Speeking of Ms. Crocker, I don't advise the use of an electric element for this task. It did work, but I was barely able to get the alloy hot enough for my mold to work well. I must find something with a little more jam, or just "bite the bullet" and buy a melter
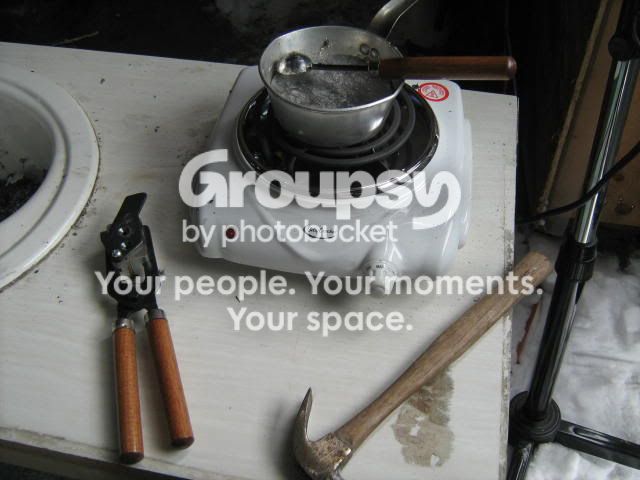
Here's the clean pot heating, my mold ready to go. This is a Lee two bullet mold, making round nosed, tumble lube 158 gr. for my .357. I used the hammer handle to knock the sprue open and tap the bullets out.
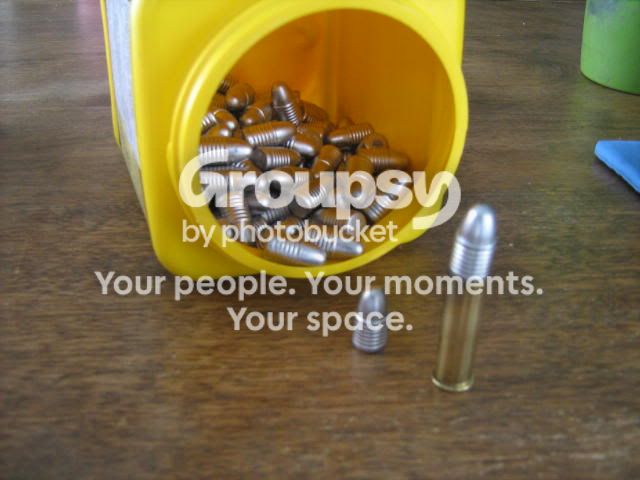
My first little batch. They came out looking really good, and here they are ready for the Fliechmann's Lubra-tastic tumble!
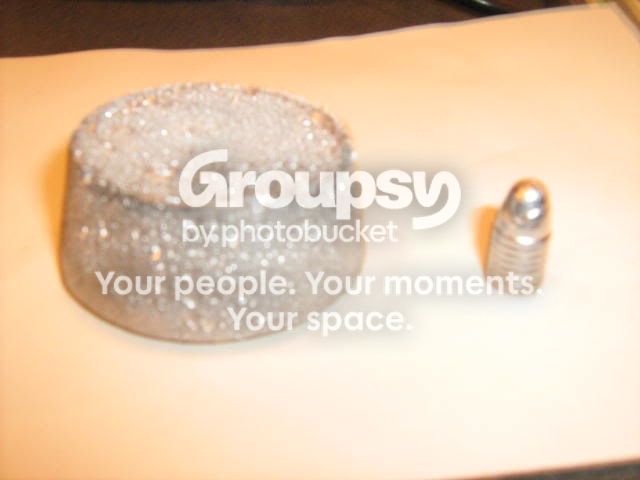
Over all, a great first experience. I did a second pan-sized batch which didn't work as well. The mold didn't want to fill out properly, and for awhile I thought I had maybe gotten some lube in the cavities; I had lubed the grooves and locator bars like the instructions say. Judging by the ingots, though, I'm starting to wonder if I got one of the dreaded Zinc weights in my mix, because no matter how hot I got the mix, the bullets kept coming out in overlapping layers, like when the mold is too cold. The ingot was quite porous, which I thought was odd. Here's a poor pick of the result, maybe somebody can confirm what exactly my screw-up was
Here's the setup, it's pure vanity - torn out of the bathroom in a recent renovation
Heat is provided by a 1000w element (a present from my wife's grandmother two years ago, now used for the first time), Betty Crocker no less! Cast iron frying pan for the dirty wheel weights, obligatory "holy" stainless steel spoon for stirring/skimming. Cupcake ingot tray. Then a smaller pot for the cleaner alloy, a Lee lead dipper, and Lee mold. Not shown is the ice cream pail full of snow for the arctic quench.
Here's a pan full of weights just starting to smoke. I had the big door cracked and a fan sucking away from the pan. I had pre-sorted the weights so that I wasn't heating a bunch of iron needlessly.
Here Betty's done her work and we have a melted pan of alloy, clips out (they go in the sink!) but not yet skimmed or fluxed. Speeking of Ms. Crocker, I don't advise the use of an electric element for this task. It did work, but I was barely able to get the alloy hot enough for my mold to work well. I must find something with a little more jam, or just "bite the bullet" and buy a melter
Here's the clean pot heating, my mold ready to go. This is a Lee two bullet mold, making round nosed, tumble lube 158 gr. for my .357. I used the hammer handle to knock the sprue open and tap the bullets out.
My first little batch. They came out looking really good, and here they are ready for the Fliechmann's Lubra-tastic tumble!
Over all, a great first experience. I did a second pan-sized batch which didn't work as well. The mold didn't want to fill out properly, and for awhile I thought I had maybe gotten some lube in the cavities; I had lubed the grooves and locator bars like the instructions say. Judging by the ingots, though, I'm starting to wonder if I got one of the dreaded Zinc weights in my mix, because no matter how hot I got the mix, the bullets kept coming out in overlapping layers, like when the mold is too cold. The ingot was quite porous, which I thought was odd. Here's a poor pick of the result, maybe somebody can confirm what exactly my screw-up was