Ruger .44 Carbine Refinish

Zedbra

CGN Ultra frequent flyer
Rating - 100%
45   0   0
Location
Squamish
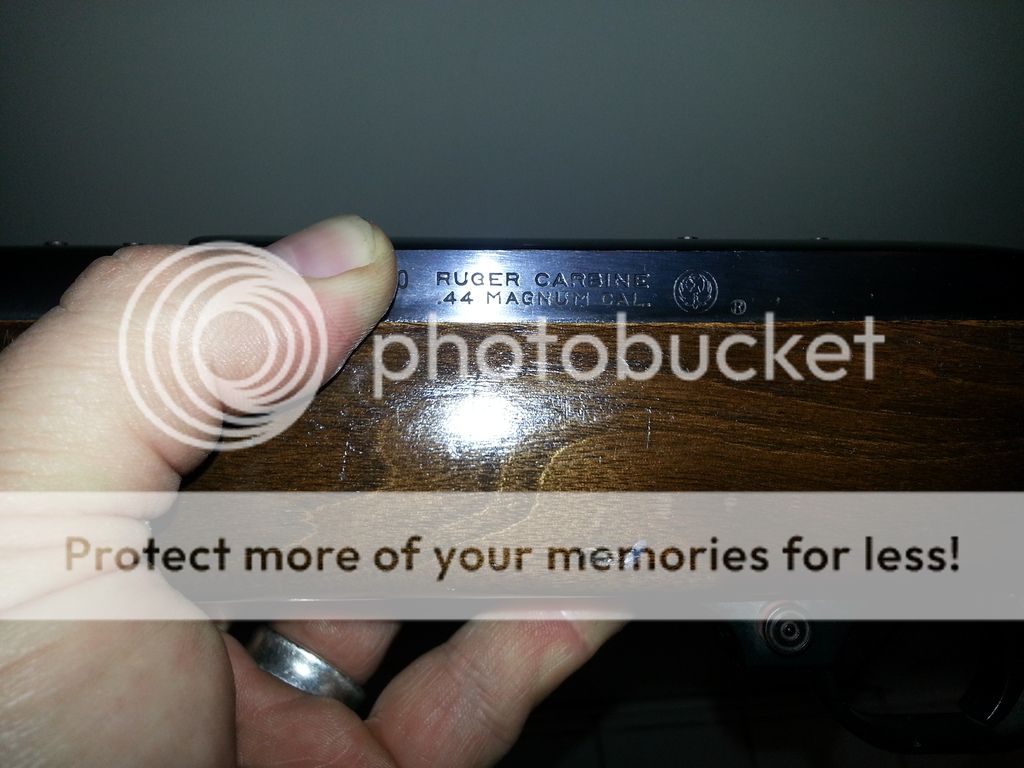
I've been working on cleaning/repairing/refinishing my friend's Ruger .44 Carbine over the last several months. The rifle was in really rough shape when I first picked it up from him, I have lost most of the pictures but the stock was beaten, dented, cracked, and both the stock and inside the action had never been cleaned. Ever - since 1974.


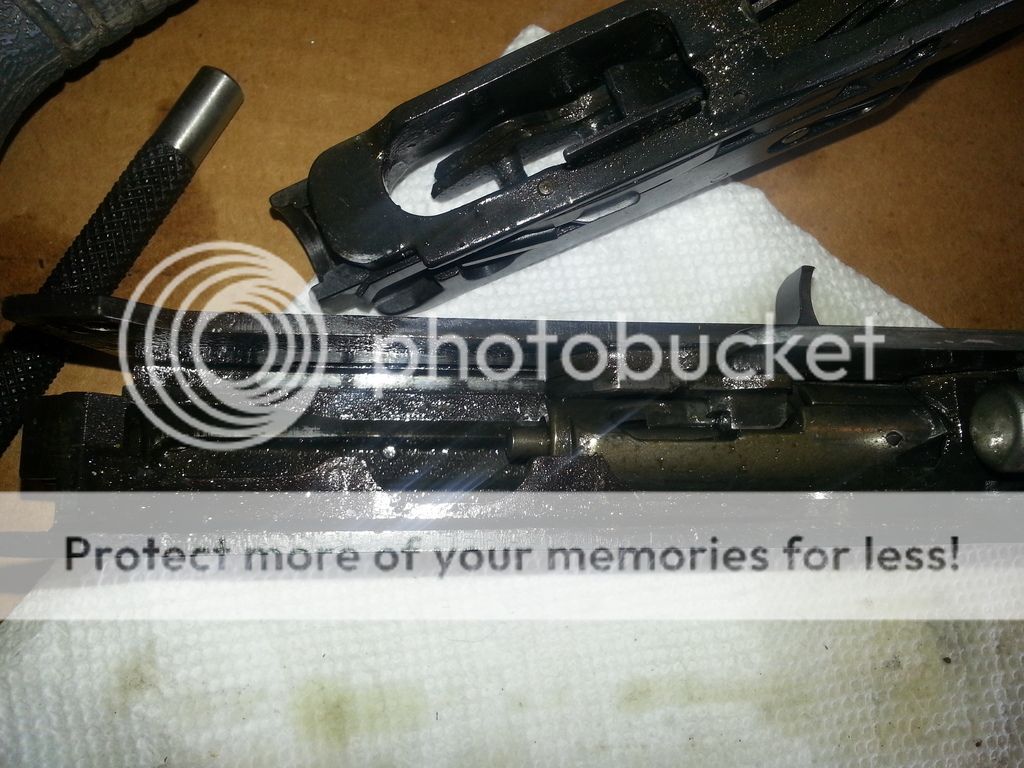
So I stripped it down, started reading how to try to restore this poor old stock. I stripped it with Circa 1864, steamed all the dents over the course of another weekend, then let it dry before applying epoxy to a large crack and then letting it sit for another month to completely cure.


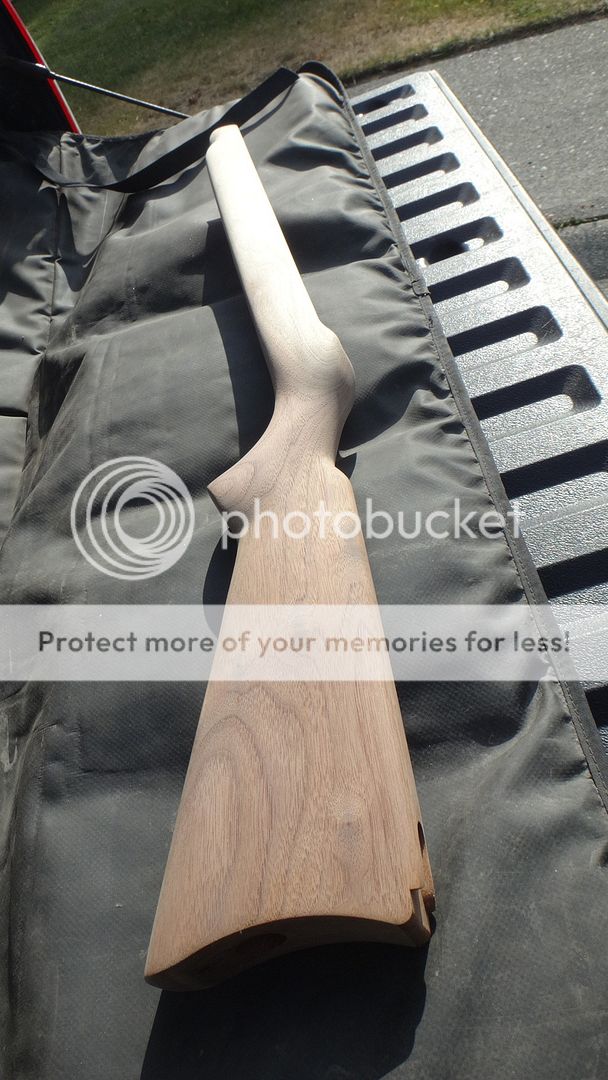
I sanded the stock first with 100, then 220, then 600 before starting to add my layers of Tru Oil. I only did one coat per day of Tru Oil and after the first 8 coats I started to smooth the finish with 1000 grit and then the final two coats I sanded with 2000 grit to get it smooth.

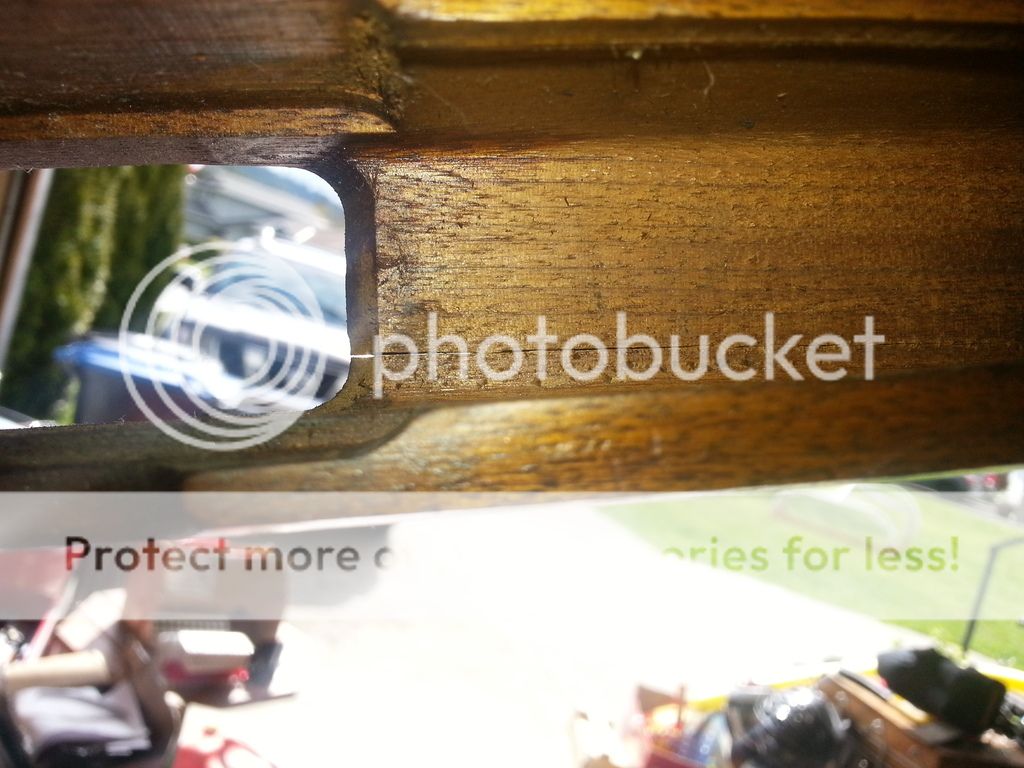
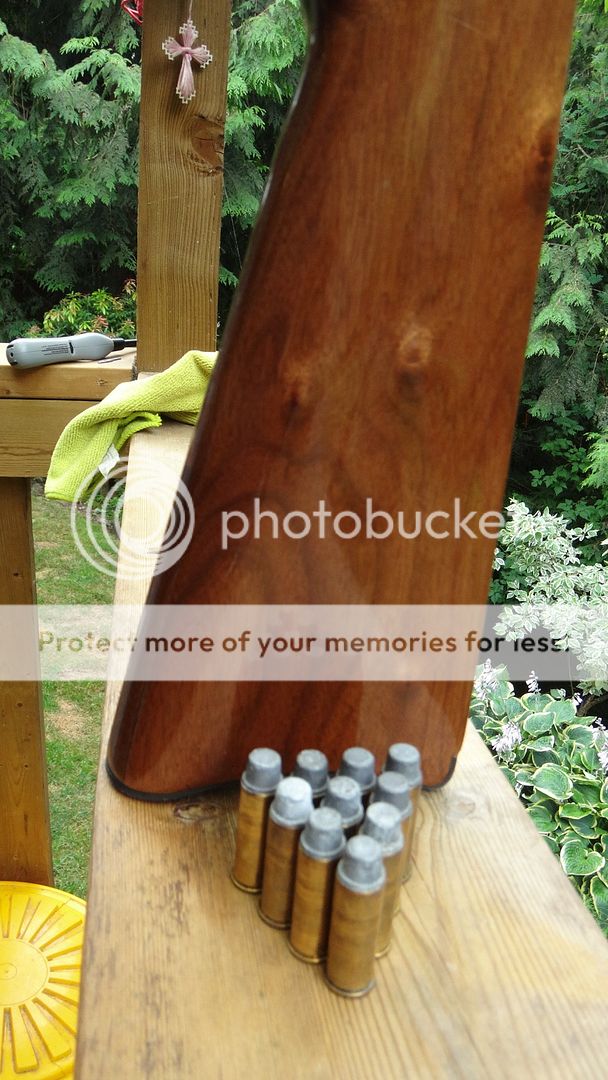
I discovered what I initially thought was a scratch filled with dirt was actually a crack across the grain on the pistol grip. From another thread that I asked about this crack, I learned that this piece of walnut is an outside cut and the crack could have happened during falling or perhaps a wind crack. My neighbour knew it was an outside cut just from looking at the stock while I was sanding - as most of the stock is a nice cherry walnut but the front forearm on one side is completely blonde - it's kind of unique.


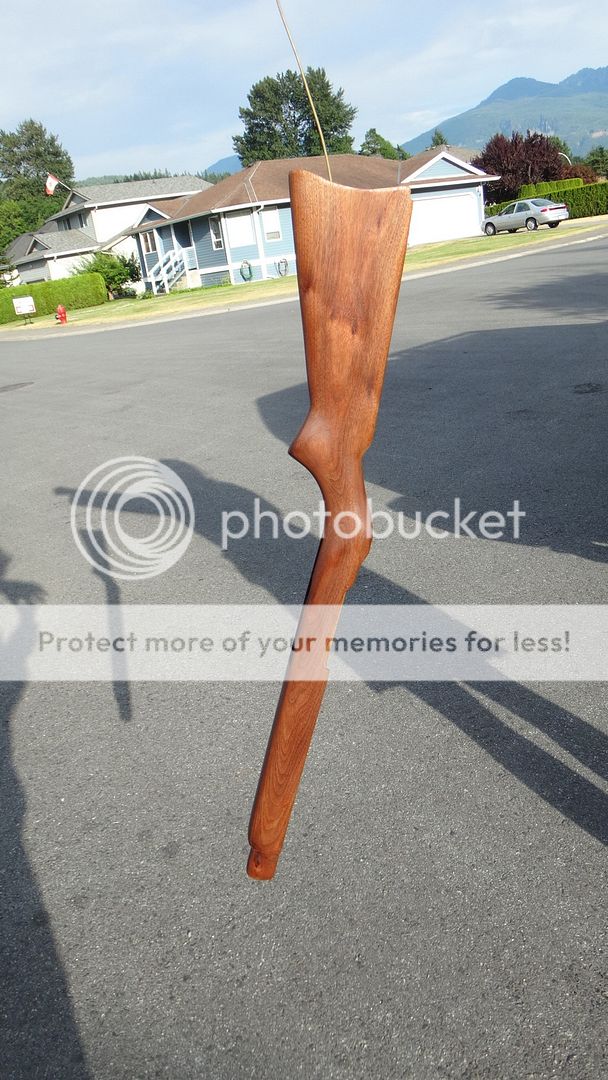
Here it is after three coats


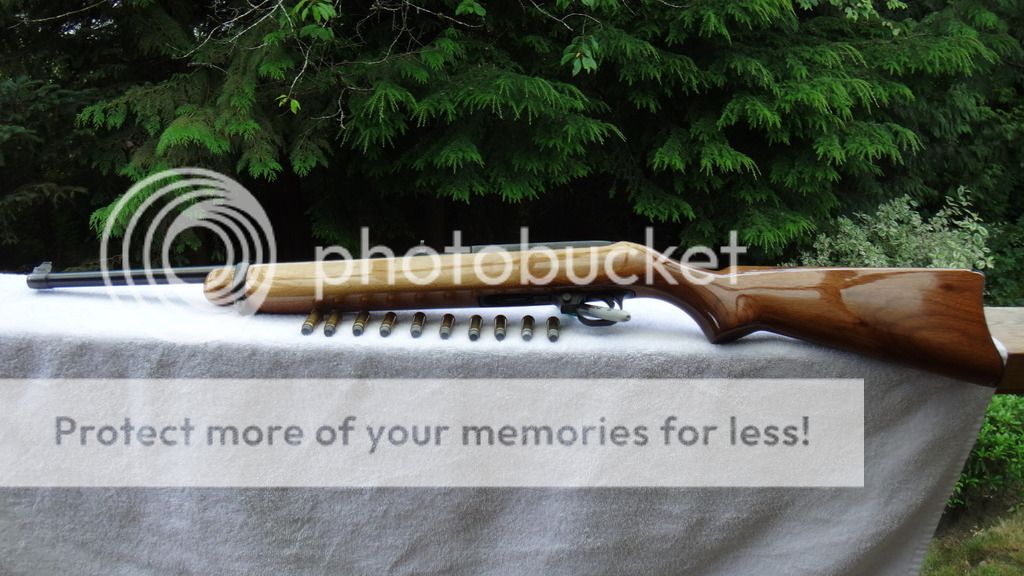
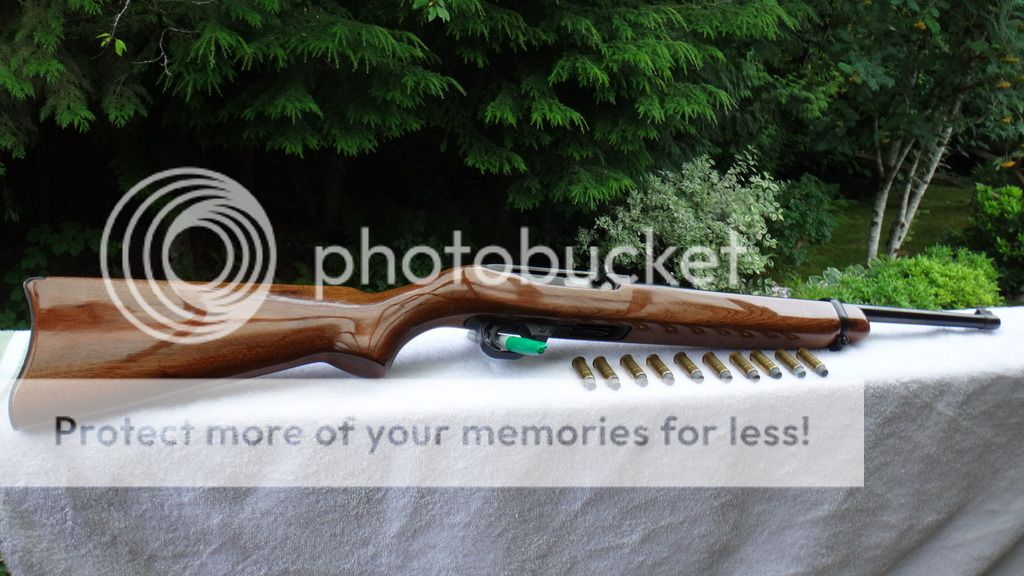
Here it is after 12 coats, polished and also carnuba waxed:

The half blonde side -
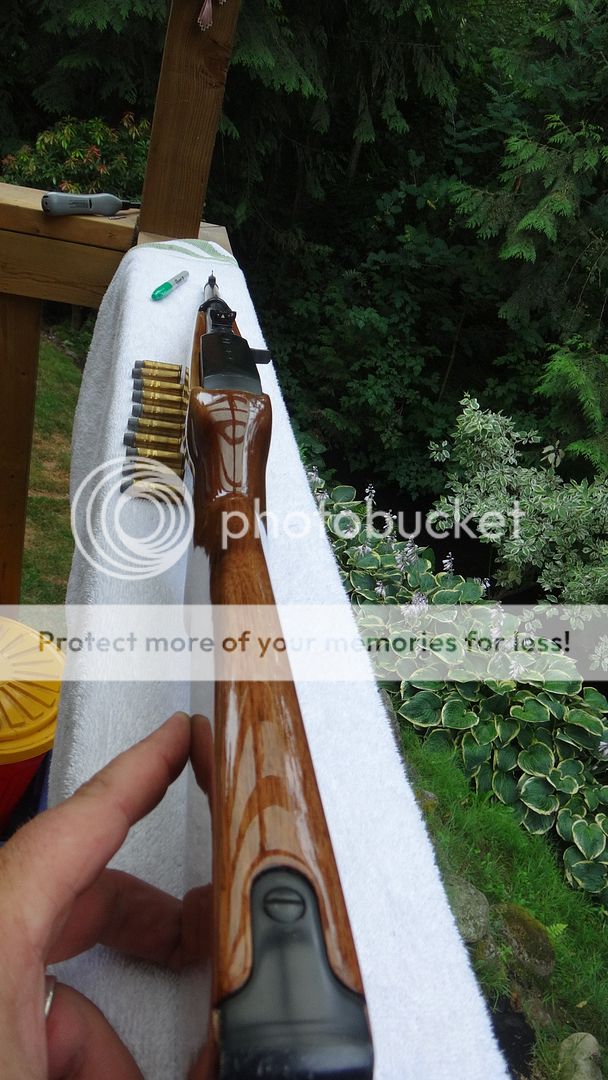


Reflection finish


I messed up the finish a little during the polishing stage - so that took more time to correct. This whole project was all about learning how to do this properly and now I think I am ready to try another project with some of my other stocks. It was a lot of labour but a lot of fun, I really enjoyed seeing it slowly come back to life.

Thanks to fellow CGN'ers that posted similar threads, it gave me the inspiration and confidence that I could tackle this myself - just needed to invest the time.

I can't wait to get this back to the range.
 
Last edited:
As a former certified lumber grader, i can tell you that the last crack you found is commonly referred to as 'stump break', almost certainly caused by high winds or some other similar form of bending stress to the tree while still standing and growing. The fiber is torn apart across the grain and then regrows back together although not nearly as strong as before the damage occurred. Not at all unlike a muscle tear or rip. One of the more difficult deficiencies to find and grade out, especially in softwood lumber.

Amazing work btw. Taking on any projects?.
 
Thanks gents. My friend has only seen a few pics - it will be in my safe for a while yet.

bassman - thanks for the info. Here is what the crack looks afterwards. I wet sanded sawdust/Tru Oil into the crack for several coats. You can see it, but it is now smooth.

 
Do him a favour and epoxy bed the rear of the receiver to the stock. Recoil is the usual cause of splits in the stock right behind the receiver due to an ill fit. Awesome job, i will bet you inspired a few others today!

Thanks. I had to Google glass bedding - but I don't think it is an option for this rifle, as the action rotates up and out of the stock, so it needs room behind the action/receiver. Have a look: www.youtube.com/watch?v=muV5e-3E4Dg


What was interesting is that you can see Ruger used a very similar action for the 10/22 - this was literally its predecessor.
 
You've done a lovely job! Kudos to you and your process was excellent. If you don't mind, I'd like to express a personal preference. I don't like high gloss on a stock. I prefer a matte finish that won't catch the sun, so I do all my wood stocks as a flat finish. When I've refinished walnut that has heart and sap wood, I stain the blonde wood to match and then start applying my finish coats of oil. You can dull a gloss with three or four zero steel wool without harming the nice work you've done to date, but as I mentioned that's a personal thing with me. Congratulations of bringing a neglected rifle back to life.
 
Very nice work. The time invested and procedure you took very much shows in the quality of the finish you achieved, and that comes fro a fella who has finished a lot of gun stocks. A first rate professional job.
 
You've done a lovely job! Kudos to you and your process was excellent. If you don't mind, I'd like to express a personal preference. I don't like high gloss on a stock. I prefer a matte finish that won't catch the sun, so I do all my wood stocks as a flat finish. When I've refinished walnut that has heart and sap wood, I stain the blonde wood to match and then start applying my finish coats of oil. You can dull a gloss with three or four zero steel wool without harming the nice work you've done to date, but as I mentioned that's a personal thing with me. Congratulations of bringing a neglected rifle back to life.

Thanks for the feedback. I'm not sure I like the high gloss look myself and I'm aware of being able to matte the finish with steel wool. However, I wanted to physically do the work to see if I could get it to the level it is currently at, then leave it to my friend to decide what he prefers afterwards. This carbine will just sit in his safe, he rarely shoots anymore; this rifle had been sitting for over ten years without a round down it. I gave him a Winchester .44 lever gun over a year ago and he has yet to get it out to the range - I've oiled it a few times for him though (he is my sons' Godfather and he works on my cars for free).

My next project I think I am going to try working with pure tung oil and not Tru Oil, as I like the look of tung oil and it will be on my hunting rifle - a Parker Hale 1200C
 
You did a great job - looks just like my work!

I like the gloss look for an older rifle like this - brings out the character of the wood and that two tone stock really pops.

Kudos
 
Zedbra,

I have one of the Ruger 44mag carbines, in fact I have had two in my day. I find the wood to metal fit to be very proud and the pistol grip to thick, as it feels like your holding on to the end of a baseball bat, especially with gloved hands. I trimmed both my stocks down. Blended off round corners and edges, carved a proper slimmer pistol grip and then refinished them. I did mine in a dull tone as that is what I prefer. My current one has had about 100 rds. through it since being remodeled with no stock crack age issues. If I can get some pictures done of mine I will post them. Once again you did a nice job.
 
You did a great job - looks just like my work!

I like the gloss look for an older rifle like this - brings out the character of the wood and that two tone stock really pops.

Kudos

Thanks - your Breda thread was my final inspiration to get going and just get my hands dirty.

Zedbra,

I have one of the Ruger 44mag carbines, in fact I have had two in my day. I find the wood to metal fit to be very proud and the pistol grip to thick, as it feels like your holding on to the end of a baseball bat, especially with gloved hands. I trimmed both my stocks down. Blended off round corners and edges, carved a proper slimmer pistol grip and then refinished them. I did mine in a dull tone as that is what I prefer. My current one has had about 100 rds. through it since being remodeled with no stock crack age issues. If I can get some pictures done of mine I will post them. Once again you did a nice job.

I remember you posting in another thread about reshaping the pistol grip area but you didn't have any pictures. I agree, it feels fat in that area but seeing as how this isn't my rifle, I played it safe. If you don't mind sharing a few pictures, I would love to see what you did to your Ruger! You can email me if you prefer - please and thanks.
 
Nice work, I also like the oiled look without the gloss as seen in this picture.
Cool picture, with a little photoshop it would look like magic... :)

DSC01133_zpstjshrsvr.jpg
 
I've been working on cleaning/repairing/refinishing my friend's Ruger .44 Deerslayer over the last several months. The rifle was in really rough shape when I first picked it up from him, I have lost most of the pictures but the stock was beaten, dented, cracked, and both the stock and inside the action had never been cleaned. Ever - since 1974.

I messed up the finish a little during the polishing stage - so that took more time to correct. This whole project was all about learning how to do this properly and now I think I am ready to try another project with some of my other stocks. It was a lot of labour but a lot of fun, I really enjoyed seeing it slowly come back to life.

Thanks to fellow CGN'ers that posted similar threads, it gave me the inspiration and confidence that I could tackle this myself - just needed to invest the time.

I can't wait to get this back to the range.

Very nice job on refinishing the Carbine. Sure hope your friend looks after it this time around. Those rifles are getting harder and harder to find.

Not wanting to appear as a smart azz but just so you know Ruger never made a rifle called the Deerslayer. Ithaca made a shotgun with the trade name Deerslayer. When Ruger first issued its .44 mag carbine Bill Ruger named it the Deerstalker. When he became aware of the Ihthaca Deerslayer he dropped the Deerstalker name because of the similarities in the name and re-named it the “Ruger .44 Carbine".

Check out this thread for more detail on the Ruger Carbine and the more recent 99/44 Deerfield. http://www.canadiangunnutz.com/forum...7#post10670777
 
^ noted and edited the title. I knew there was something there with Ithaca, but I never read into it, I was just focused on getting the job done. ;)
 
Back
Top Bottom