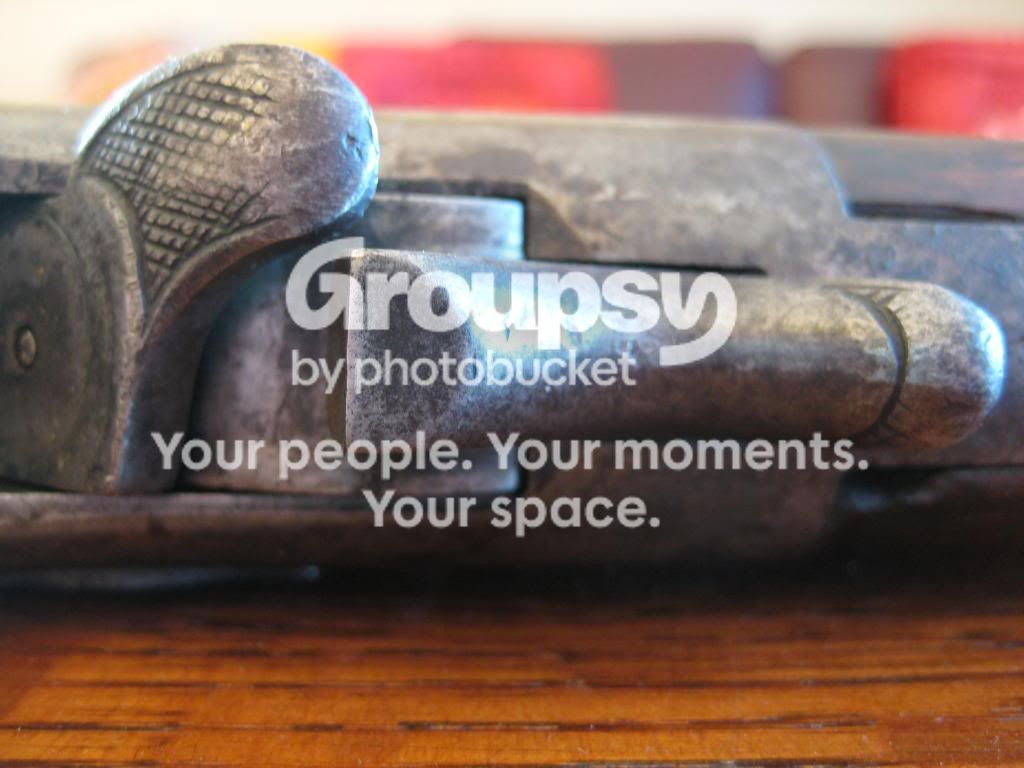
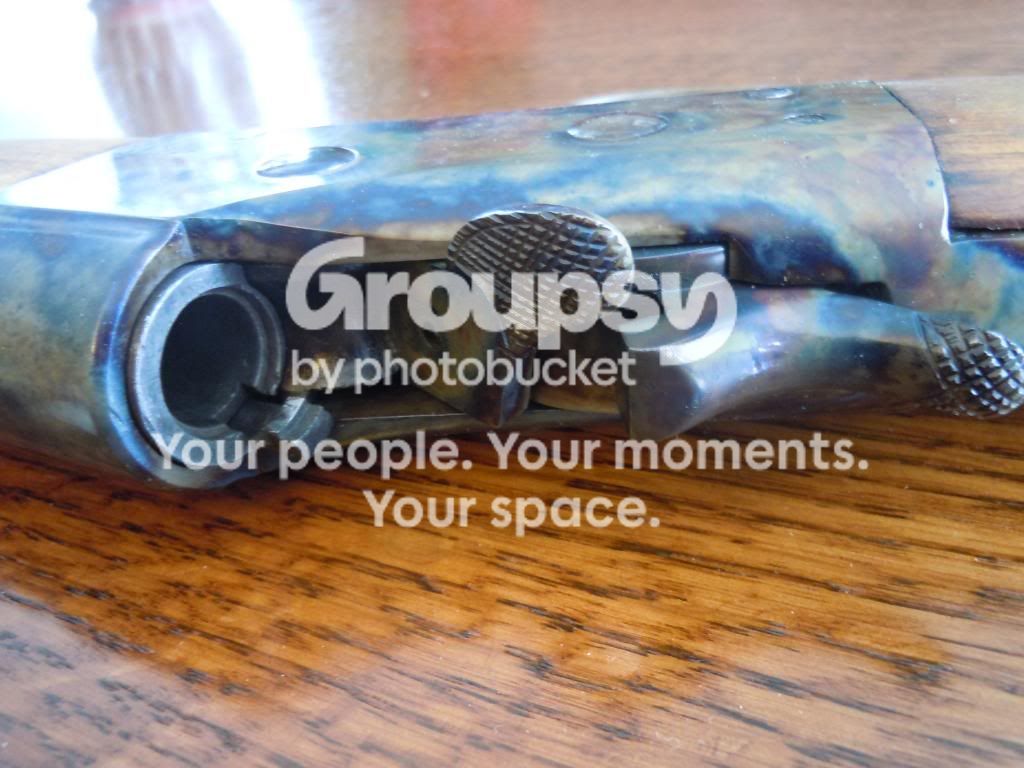
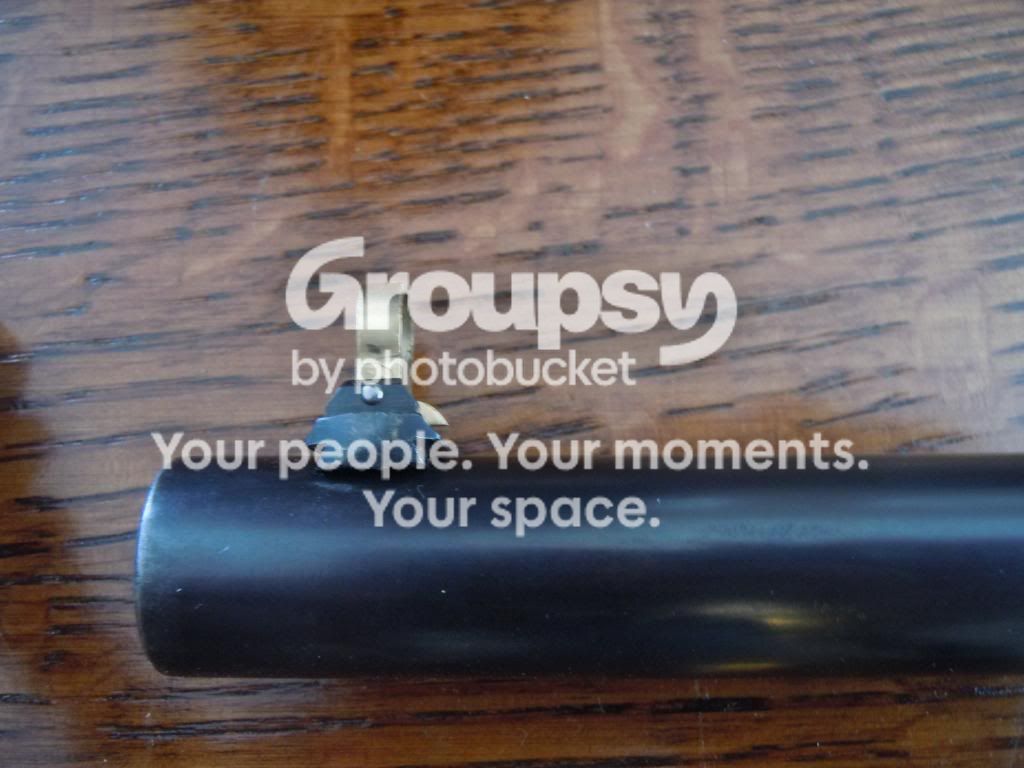
Swede Rolling Block resto with questions... *UPDATED* near completion

That's some mighty fine work there.
Thanks, it's my first crack at something this involved.

Well...
Done! Finally. The metal work I mean. Filling in the sling swivel, filling in some pitted areas, the "Fiddle-ee-dee! Back to the grinder with me!" countless times after I stuck the damn tig electrode in the filler rod YET AGAIN...
And filing. Lots of filing. I dream about filing now.
I even catch myself wandering through toolshops browsing the file section. Who the hell "browses" the file section?!

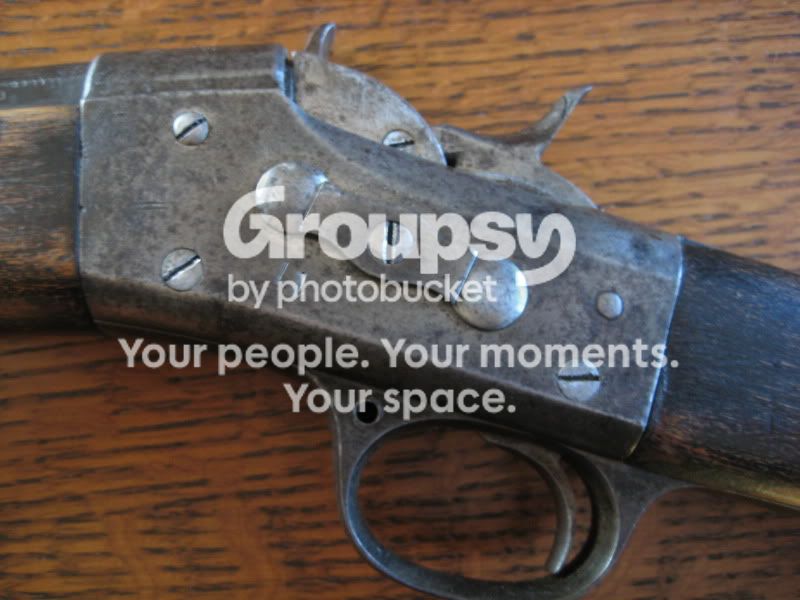
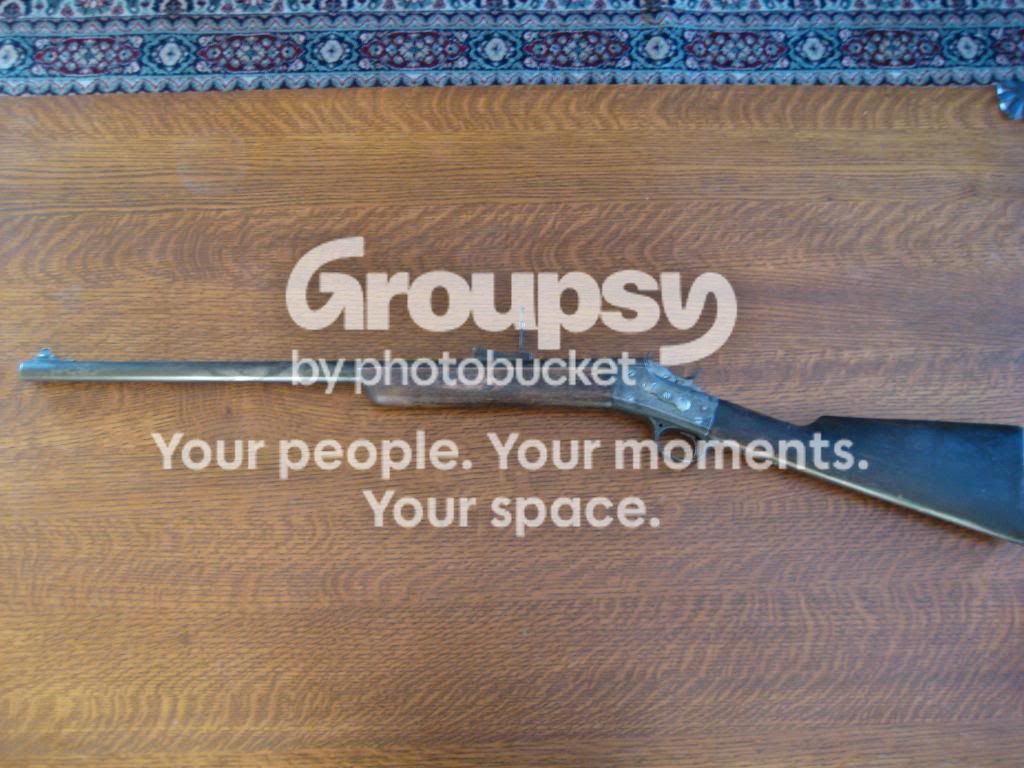
As delivered:
IMG_1353.jpg


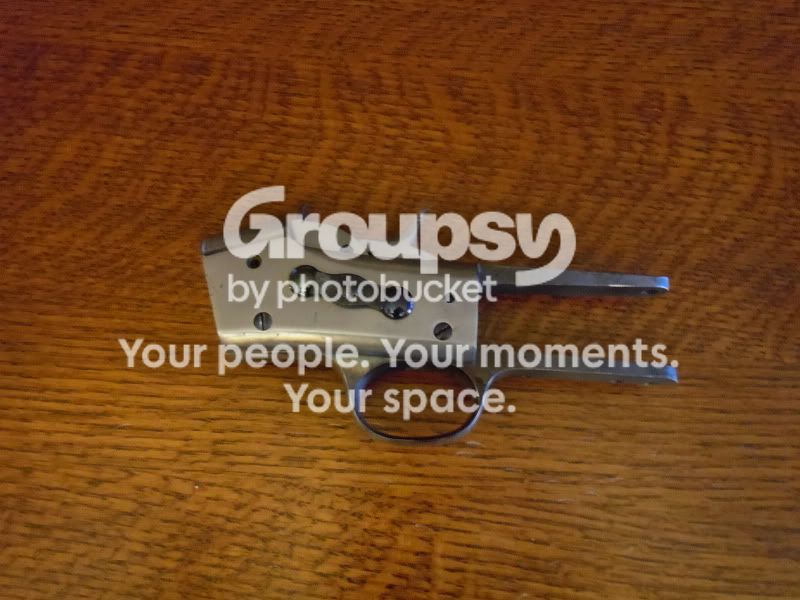
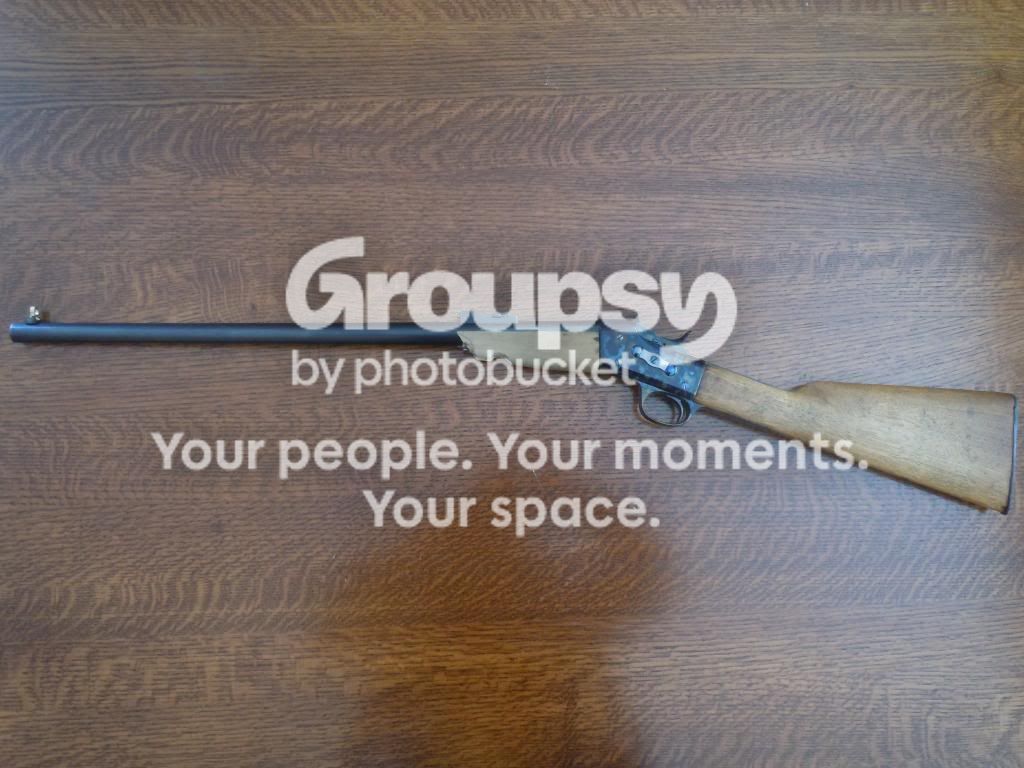
And after, just before packing to send off for case hardening:
DSCN0443.jpg


DSCN0449.jpg
 
Last edited:
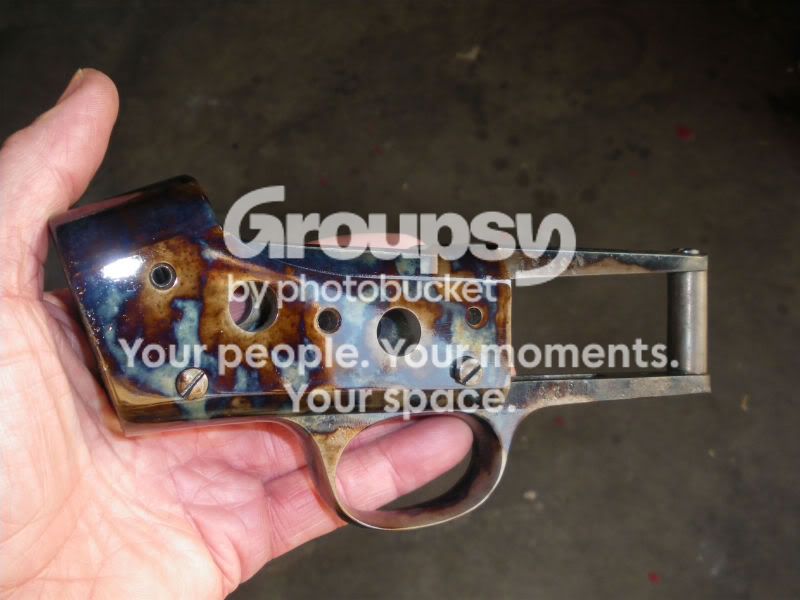
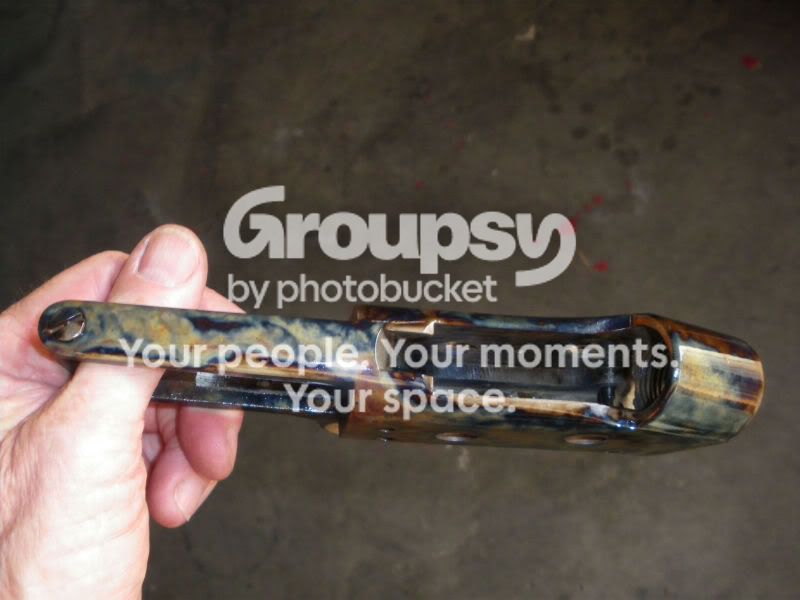
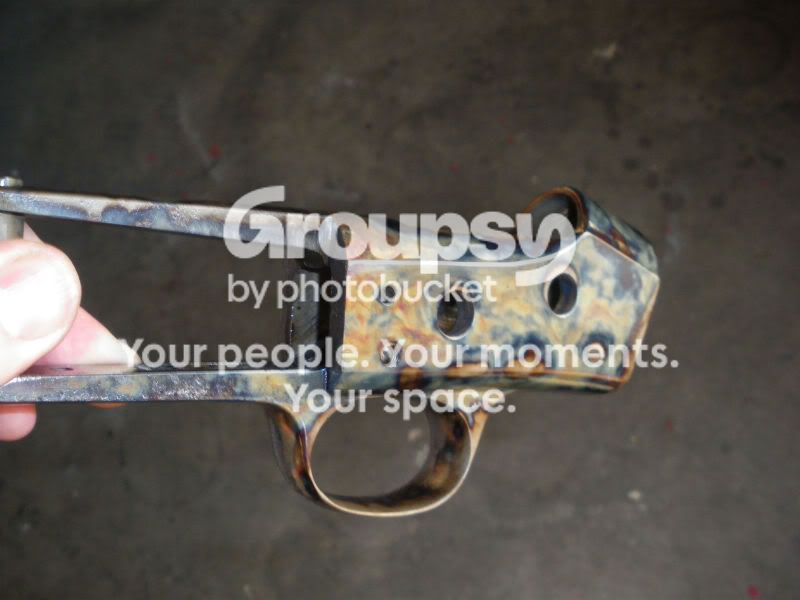
Dear God. Oskar's done. He sent me some pics before he dropped it in the mail.
Stunning IMHO. I'm DYING to get this back and assembled.
trip046.jpg

trip045.jpg

trip044.jpg
 
Hmmm, can't tag for interest on Crackberry, must bump and find later. That is some beautiful work to see. Have you been on Youtube and viewed the series by MidwayUSA on "custer's rolling block". It shows great info for a rebuild like this and really has me thinking about my own project or two. Also a couple other rolling block related videos there as well.
 
Dear God. Oskar's done. He sent me some pics before he dropped it in the mail.
Stunning IMHO. I'm DYING to get this back and assembled.
trip046.jpg

trip045.jpg

trip044.jpg

Its a blizzard outside so I was looking for case treating and rediscovered these amazing pictures. Did you ever get this back together and take it north as planned?
Any chance of some updated pictures with wood or a range report? Would also like to know more about getting the case hardening done - cost, or contact info for Oskar.
 
Absolutely beautiful! I too would like to see further pictures.

Oddbawl - If you were interested in showing how you do nitre bluing I'd love to see it. I know the basics but have never seen it in action or done it myself.
 
I sure can. She's 90% done.
I'm waiting on a block of pewter to do a nosecap on the forend, and was going to update then, but since you asked, this is where it's at right now. I've had a ball doing it, I had no money to get work done so had to learn how to do it all myself. Most of it is old world techniques, no complicated tools etc, just time and patience. The Case hardening was the only thing I farmed out and worth every penny.

The rust pit and sling hole filling was done with a TIG welder, all the draw filing by hand. A tip for anyone doing the same- don't anneal the part before filling it in. I found that once it was filled in with weld, draw filing was really easy because the file wouldn't touch the receiver, just the new steel gobbed in there. I cut new spur checkering with needle files and got rid of the front sight, cutting a dovetail to put a tidy little Beech flip sight on.
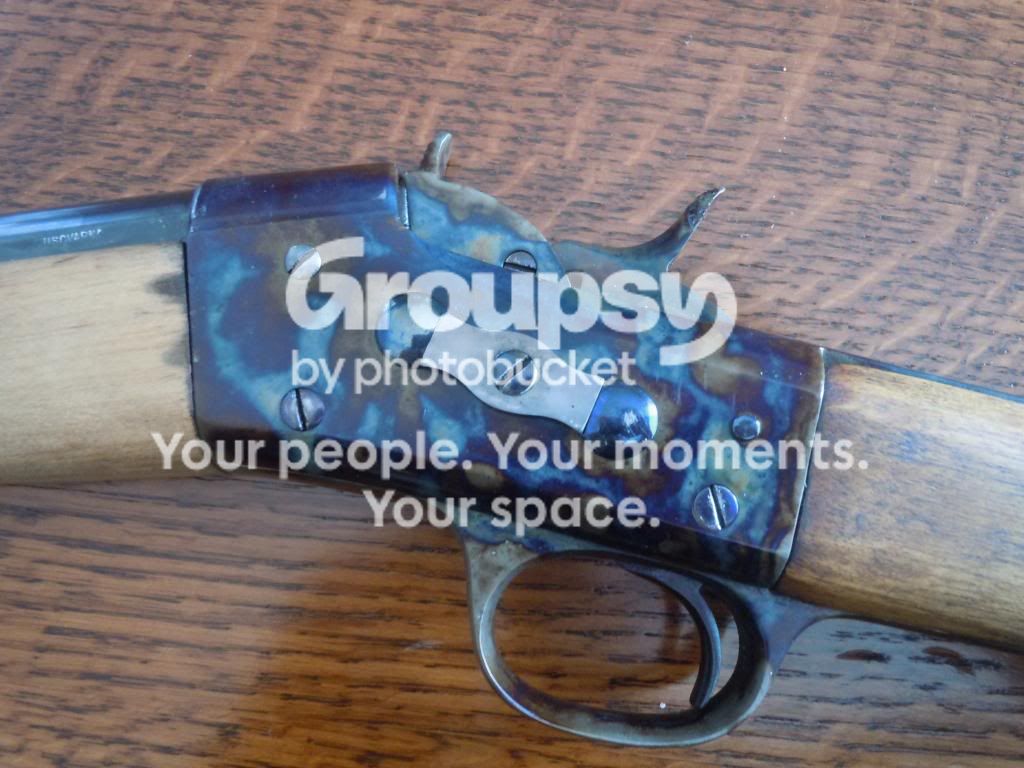
A clean up of the parts and nitre bluing as previously mentioned really sets it all off. I'm no photographizer, I just can't get pics that do it justice. They pop like jewels in real life. As they sit right now, you can see in the pics, they're a little worn. I didn't clear coat them, and it's suffered from a lot of disassembly so I'm going to redo them all again at a later date. No hurry for me though.
The fore end was held on by a crappy pin run horizontally, so I made up a threaded dovetail adapter to run a 1/4-20 screw in perpendicularly from the bottom, no more wobbly fore end for me, no sir.

I sweated the rear sight back on the barrel and rust blued the whole shot, I'll probably nitre blue alternating bits on the ladder the next time I gear up for it.
I'll see what I can do for the nitre bluing, but if you check out youtube, the guys doing on there aren't lying. It's really easy, the hard part is getting the saltpeter. What an ordeal that is.
Stay tuned!

Here we go!

As found:
IMG_1374_zps1c029fdf.jpg


As she sits, waiting on fore end completion, picture that foreend about 1" longer in pewter:
DSCN1007_zpseaf01d71.jpg


Reciever in state du crappy:
IMG_1353.jpg


Filled in, drawfiled, polished, nitre blued, jeweled and new firing pin:
DSCN1000_zps63588f1a.jpg


Hammer and block with worn checkering, craptacular firing pin and generally tired:
IMG_1367-1_zps7643db15.jpg


And Fini:
DSCN0998_zps44f3ba8f.jpg


Front sight before:
91c38b9e-be90-4beb-b821-e6d42e92bedd_zpsf983c459.jpg


And after cut dovetail and Beech installation:
DSCN1008_zps35cb7cf6.jpg

DSCN1009_zps94385057.jpg


So, I've got a few more hours of pewter/fore end work and it's done.
I've put about 50 rounds of 50/70 through it, so that's like what? 25 pounds of lead?
Anyway, I wasn't getting scientific about it, but I was sledgehammering a 10" gong at 100yds 8 er 9 out of ten times off hand.

Next, I think I NEED to work over another in 45/70 in a cavalry carbine kind of style like one of these:
MI25506_HR.jpg

I'm all geared up for casting and loading 45/70, so I'd be an idiot not to, right?

 
Last edited:
Oh yes. I totally destroyed the for end with the abortive pewter attempt.
This thing survives 140 years and I devistate it in about 3 minutes.
Gonna order a new fore end.
 
Last edited:
SON OF A B:(TCH!
It's done. Completely finito. Final assembly complete, a new (to me- thanks DaveF) fore end installed.
The speed and grace with which I totally destroyed the original fore end whilst trying to do a pewter end cap was really something to behold.
Pics tomorrow in daylight.

Now the SON OF A B:(TCH part.

All assembled... happy happy. Or so I thought. "Just when I thought I was out... they pull me back in!"
I inserted dummy shell to make sure all is swell, and the tab on the ^@##% extractor that cams on the block is busted off!

GAAAAH!
Anybody know of a good source for a bar type extractor?

Will this project ever end?
 
Dixie Gun Works have original sliding extractors for .43 Spanish listed, Part Number MP0321, for $15.00.
If they will ship it can likely be modified to work.
Regards, DaveF.
 
Back
Top Bottom