













































I'm fairly new to reloading and my purpose of this log is to interest other new hobbiests into reloading, and to essencially keep all my questions, progress, recipes, and techniques I learn in one place. Im also looking for any knowlegeable reloaders to post their techniques, and ideas to help make my learning curve easier.
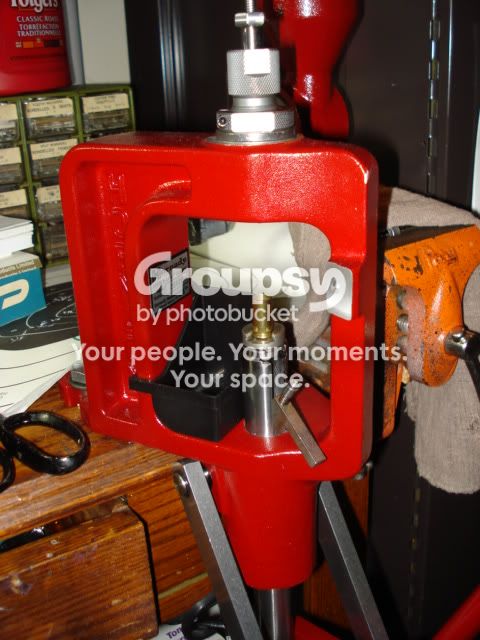
Finally I calmed down and thought out what I wanted in my reloading gear. Its very easy to go over the top with this stuff. There is just soo much available. For any beginner the single stage units are going to be the best dollar and most convienient stations available. Your decision will essentially become what is easily available to you and what also has good product support. These single stage units allow you to focus on each stage of your reloading. They are also fairly compact and fit the bill for a recreational reloader. Personally I cant justify a progressive kit. I prefer to take my time with each stage and produce a smaller batch of perfected ammo. Another thing to consider is the construction of the press. Many are of aluminum construction and use a 'c' shaped frame. Depending on the size or calibre you are loading, those c shaped frames can be distorted. The Hornady single stage press has a solid frame, with support in the front and rear to promote proportional stresses on the press. Often presses will come in kit forms and include many of the required items in the kit. This is why Hornady won out for me with their Lock-&-Load Classic kit. This kit will do very well for any pistol calibers and also doubles for rifle cases.
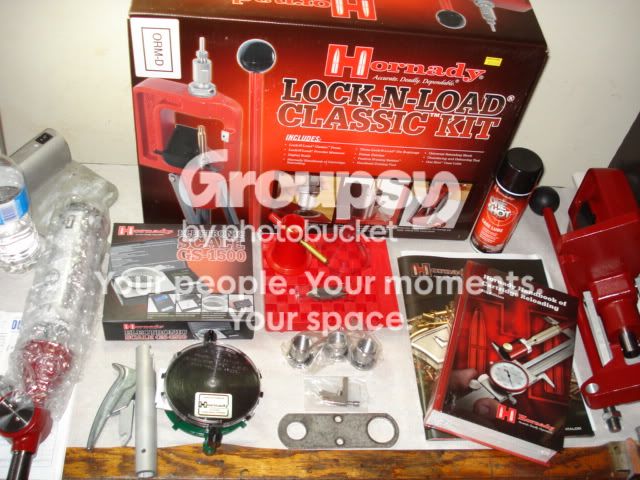
The kit included;
-Press frame
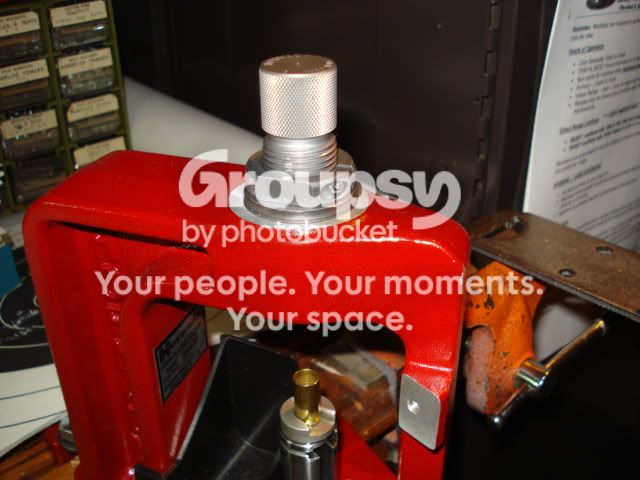
-all metal powder drop (comes with rifle insert/rotor only!, needs pistol rotor to drop smaller powder loads)
-GS-1500 Scale, works great for the cost but lacks in some ways. (review below)
-hand priming tray,, works very well
-The Hornady Reloading Handbook,, great info!
-powder trickler
-One Shot spray case lube,, it works but really dry lube
-3 lock and load bushings included,, will need more for each die set up if you dont remove them from your dies setups
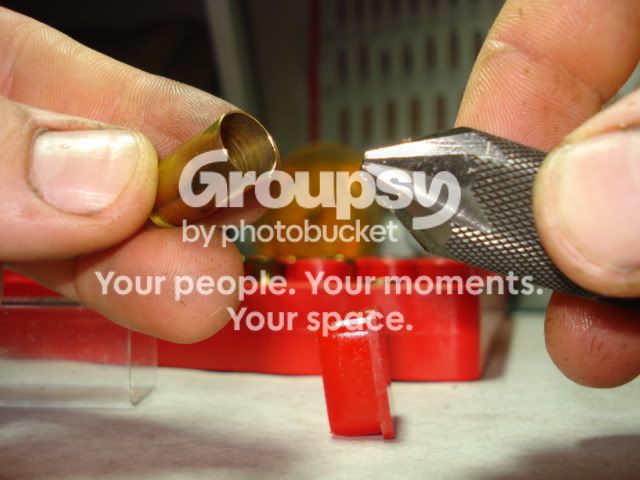
-de-burring tool for chamfering cases
-loading tray for rifle and pistol cases,
-powder funnel,
Requires;
-dies
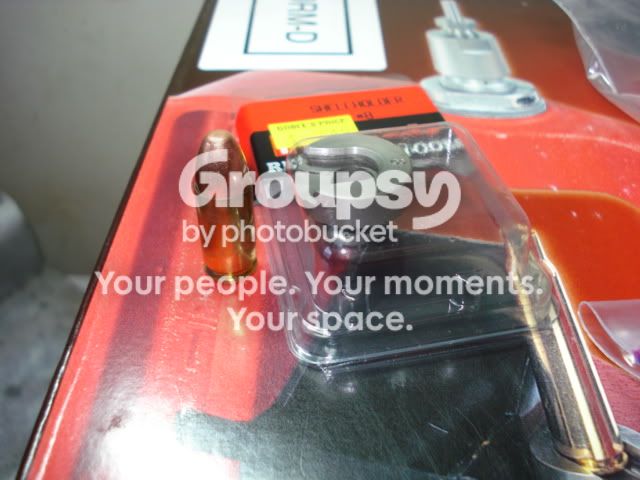
-shell holders,, per calibre
-pistol rotor for powder drop if you intend to load pistol.. $40
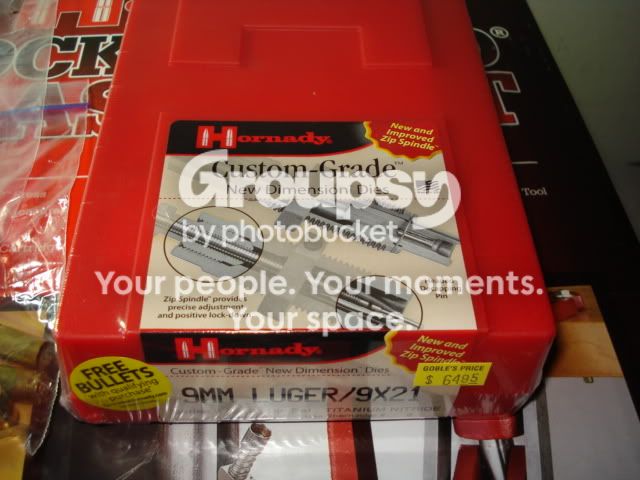
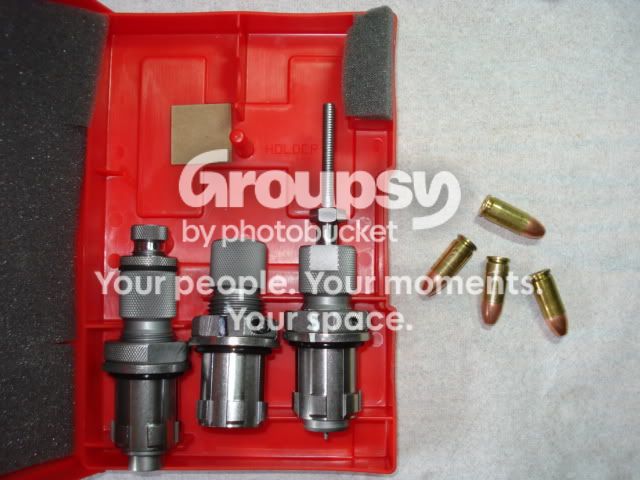
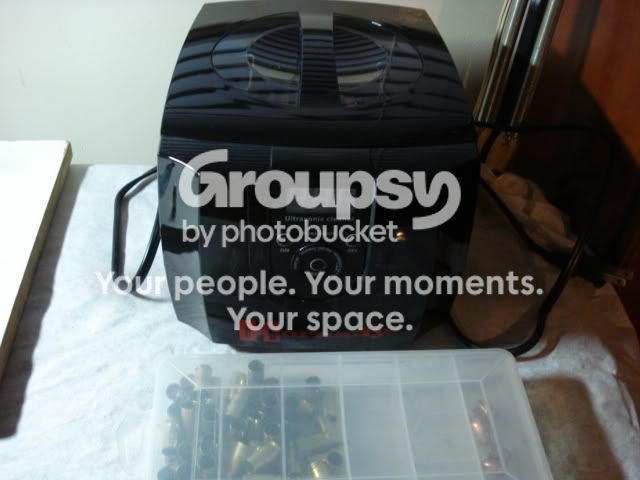
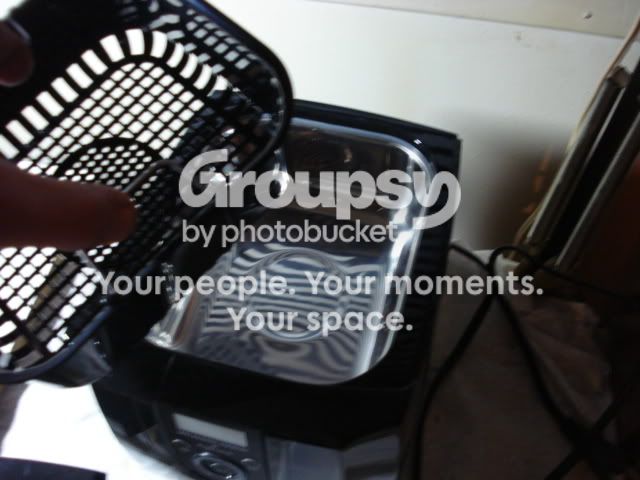
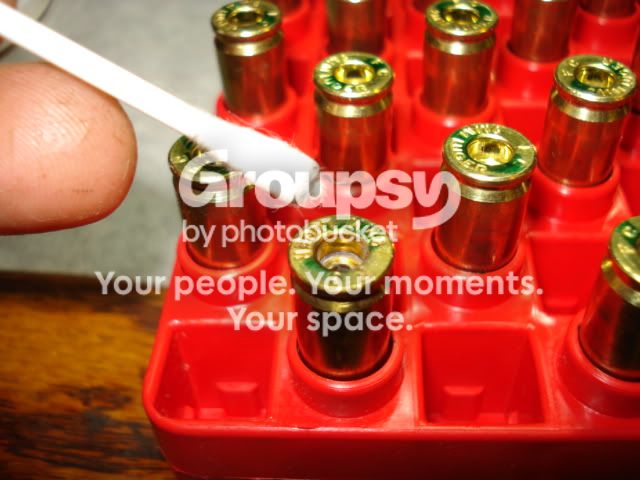
On top of the press I've acquired more gear to set up my bench. For anyone wondering if sonic cleaners are worth the money,, they really are! I was very doubtfull that they would do such a great job. Be aware, sonic cleaners clean the inside of the cases beautifully with just a few cycles. It also cleans primer pockets effectively, but usually with help of a brush or q-tip before the wash. A tumbler does NOT clean inside of cases or primer pockets, tumblers simply polish and are completely cosmetic. I feel a sonic cleaner is a necessary piece of equipment. I picked up an inexpensive hornady cleaner for under $60, and it works beautifully and does a bunch of brass efficently.
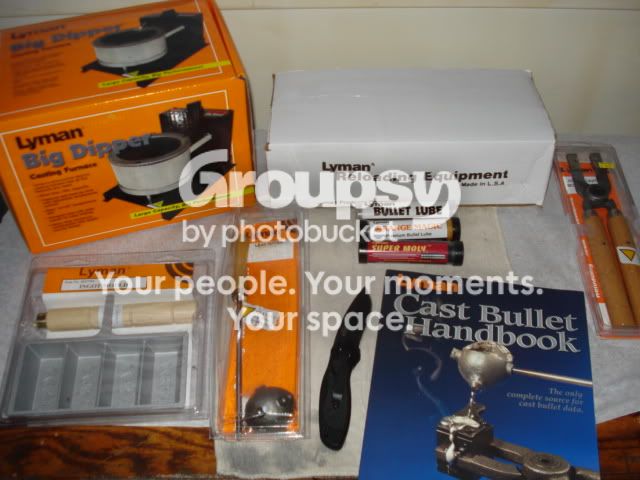
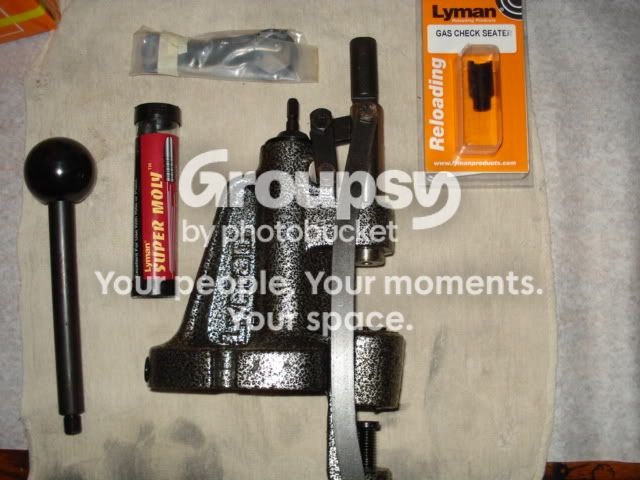
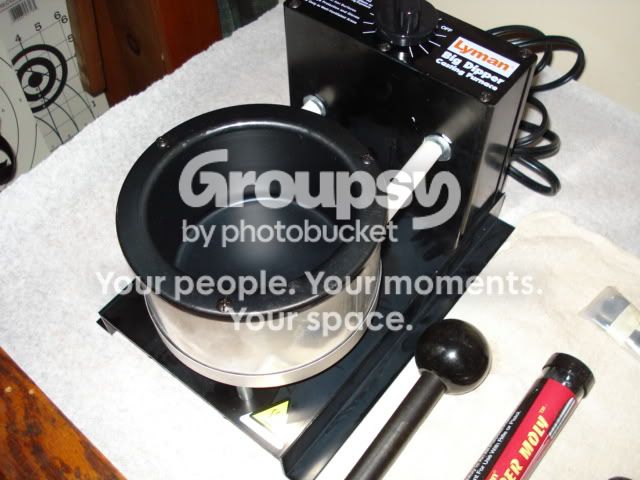
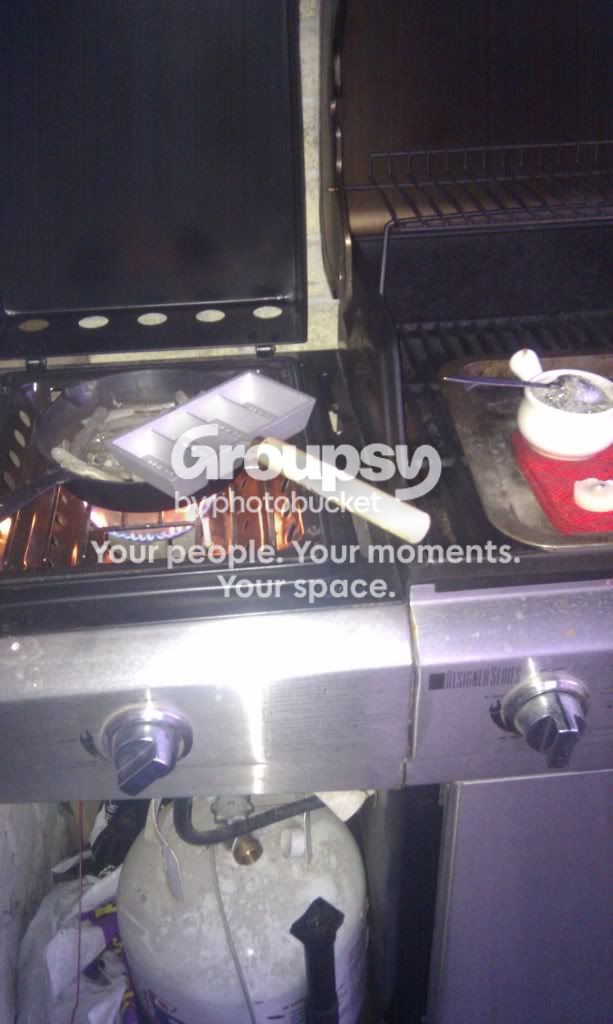
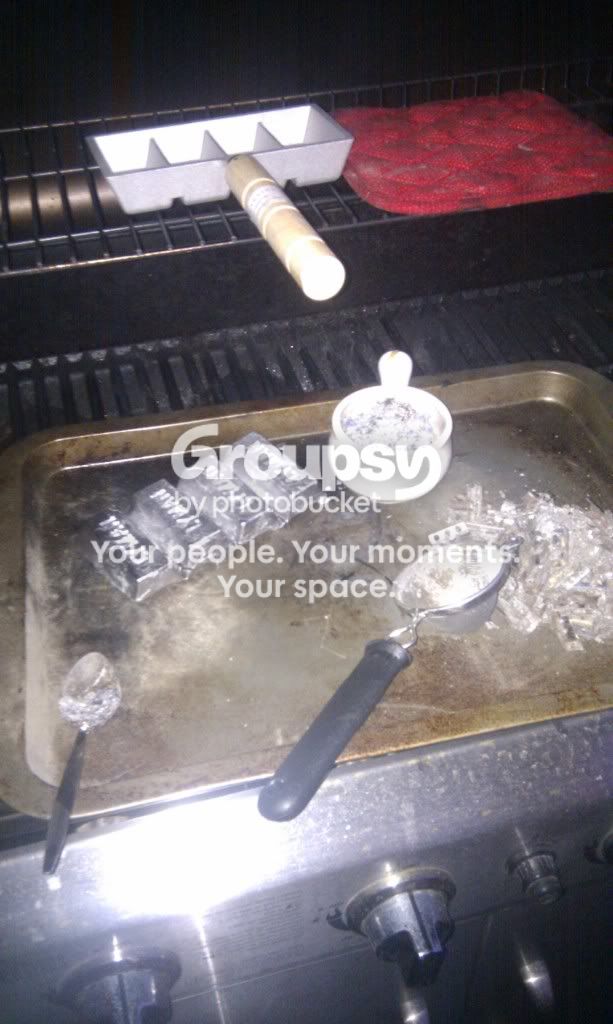
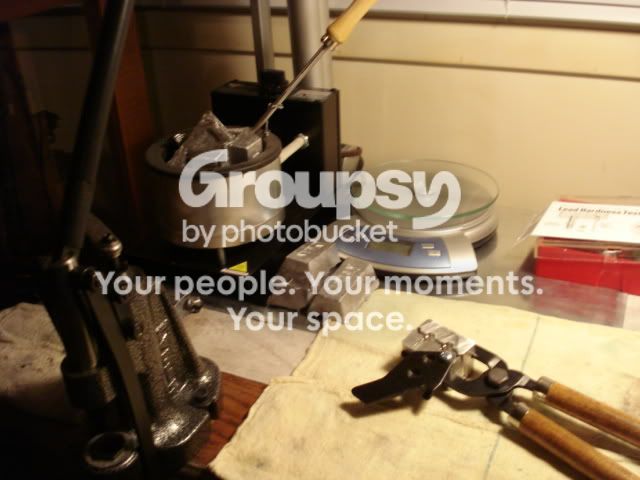
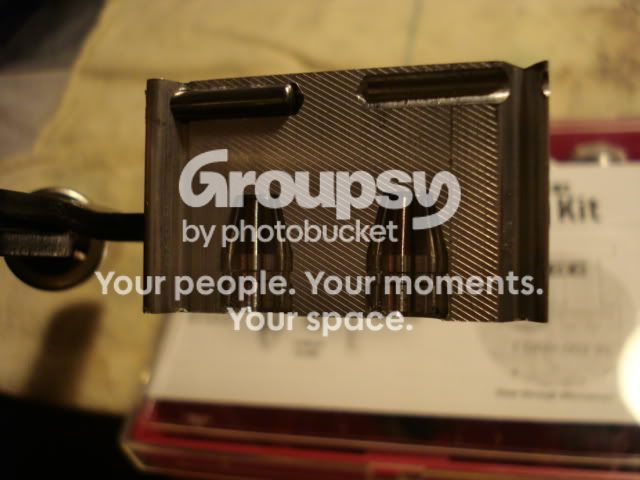
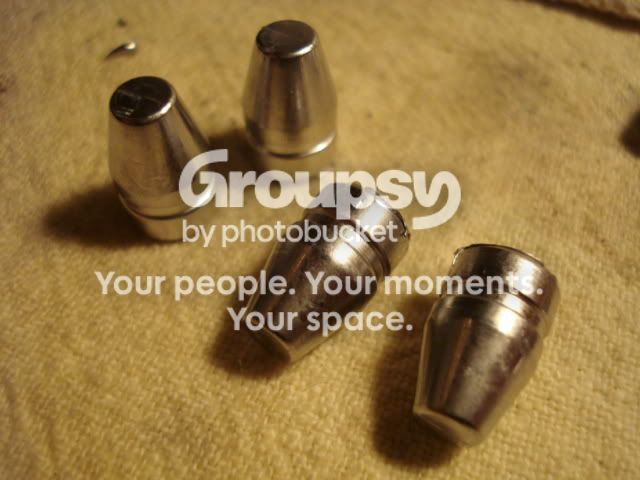
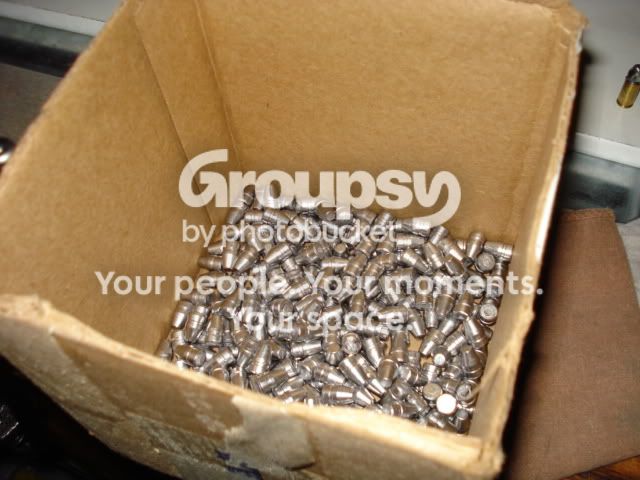
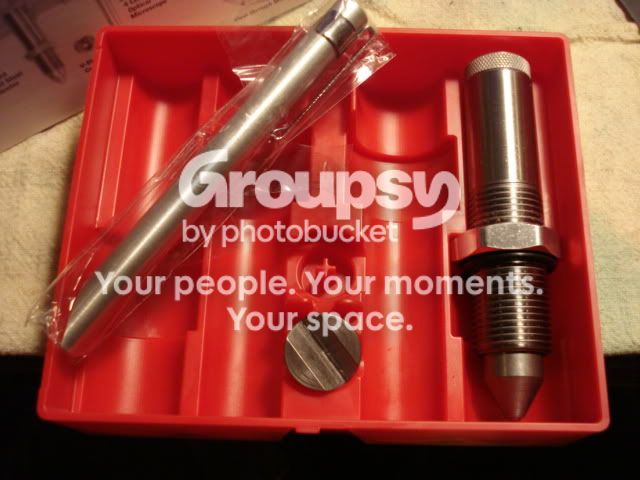
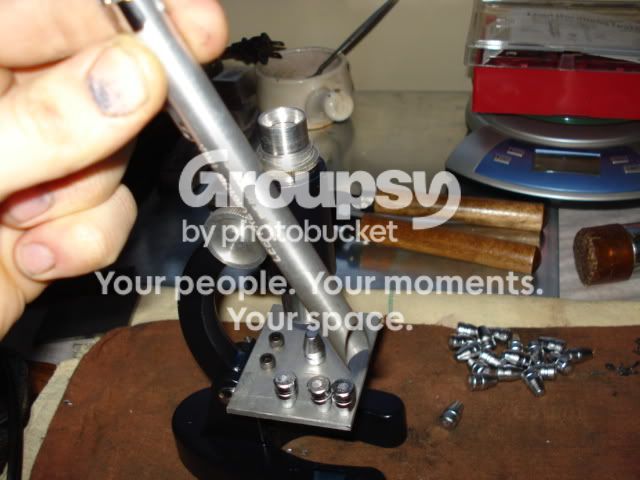
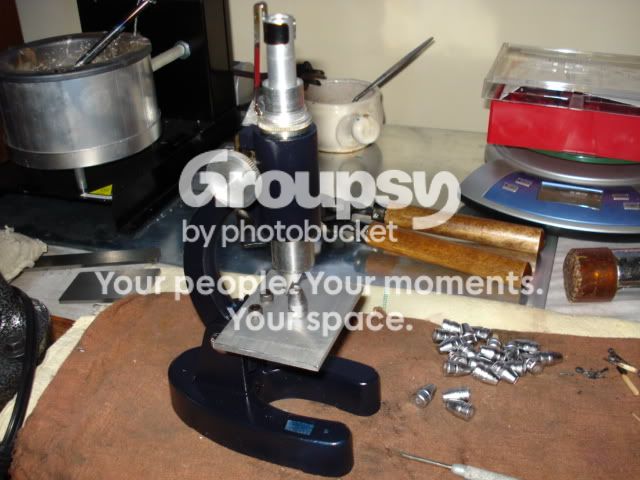
I'm going to lightly cover my casting equipment. Currently I do my finished casting in a lyman electric furnace. It also came in kit form like my press. It was lymans master casting kit and comes with their 4500 sizing press, the pot, dipper and ingot mould, different lubes, and the lyman casting handbook,, very nice to have
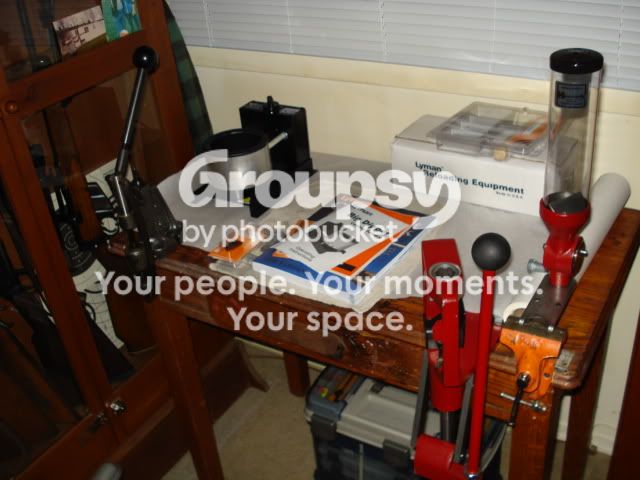
soon after I got my casting equipment, I felt pretty set up. now I'll begin to get more technical in my following posts..
Pictures and more updates later
Finally I calmed down and thought out what I wanted in my reloading gear. Its very easy to go over the top with this stuff. There is just soo much available. For any beginner the single stage units are going to be the best dollar and most convienient stations available. Your decision will essentially become what is easily available to you and what also has good product support. These single stage units allow you to focus on each stage of your reloading. They are also fairly compact and fit the bill for a recreational reloader. Personally I cant justify a progressive kit. I prefer to take my time with each stage and produce a smaller batch of perfected ammo. Another thing to consider is the construction of the press. Many are of aluminum construction and use a 'c' shaped frame. Depending on the size or calibre you are loading, those c shaped frames can be distorted. The Hornady single stage press has a solid frame, with support in the front and rear to promote proportional stresses on the press. Often presses will come in kit forms and include many of the required items in the kit. This is why Hornady won out for me with their Lock-&-Load Classic kit. This kit will do very well for any pistol calibers and also doubles for rifle cases.
The kit included;
-Press frame
-all metal powder drop (comes with rifle insert/rotor only!, needs pistol rotor to drop smaller powder loads)
-GS-1500 Scale, works great for the cost but lacks in some ways. (review below)
-hand priming tray,, works very well
-The Hornady Reloading Handbook,, great info!
-powder trickler
-One Shot spray case lube,, it works but really dry lube
-3 lock and load bushings included,, will need more for each die set up if you dont remove them from your dies setups
-de-burring tool for chamfering cases
-loading tray for rifle and pistol cases,
-powder funnel,
Requires;
-dies
-shell holders,, per calibre
-pistol rotor for powder drop if you intend to load pistol.. $40
On top of the press I've acquired more gear to set up my bench. For anyone wondering if sonic cleaners are worth the money,, they really are! I was very doubtfull that they would do such a great job. Be aware, sonic cleaners clean the inside of the cases beautifully with just a few cycles. It also cleans primer pockets effectively, but usually with help of a brush or q-tip before the wash. A tumbler does NOT clean inside of cases or primer pockets, tumblers simply polish and are completely cosmetic. I feel a sonic cleaner is a necessary piece of equipment. I picked up an inexpensive hornady cleaner for under $60, and it works beautifully and does a bunch of brass efficently.
I'm going to lightly cover my casting equipment. Currently I do my finished casting in a lyman electric furnace. It also came in kit form like my press. It was lymans master casting kit and comes with their 4500 sizing press, the pot, dipper and ingot mould, different lubes, and the lyman casting handbook,, very nice to have
soon after I got my casting equipment, I felt pretty set up. now I'll begin to get more technical in my following posts..
Pictures and more updates later
Last edited:

 I know...it's more cost but you appear to have purchased very fine quality equipment and this is the health our you and your family.
























