


ninepointer
CGN frequent flyer
- Location
- Central Ontario
Although the bucks eluded me in 2014, I used some of these long winter evenings to take care of some antlers that had piled up from seasons past.
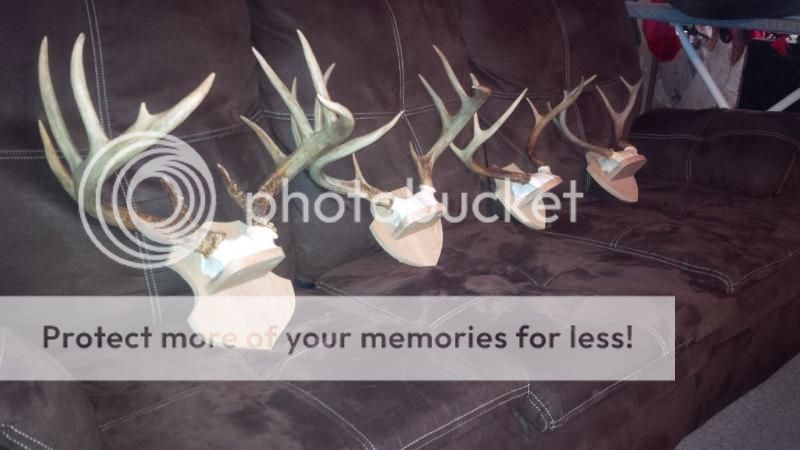
Here the plaques have been cut, drilled, and test-assembled, before taking everything apart for finishing:
The final product; sanded, glued, screwed, stained and varathaned. This big 12-point and his smaller cousin belong to a friend...

...and these 2 "monsters" are mine!")

I've been doing them this way for years, with the antlers resting on a small shelf to achieve a more natural upright position. The longest part is the antler prep and whitening. I used to get fancy and router the edges of the wood, but my router bit the dust. Someone with more skills than me and with a real workshop with table equipment could crank out the plaques in no time.
Here the plaques have been cut, drilled, and test-assembled, before taking everything apart for finishing:

The final product; sanded, glued, screwed, stained and varathaned. This big 12-point and his smaller cousin belong to a friend...

...and these 2 "monsters" are mine!

I've been doing them this way for years, with the antlers resting on a small shelf to achieve a more natural upright position. The longest part is the antler prep and whitening. I used to get fancy and router the edges of the wood, but my router bit the dust. Someone with more skills than me and with a real workshop with table equipment could crank out the plaques in no time.
Last edited:


