building a muzzleloader

Evanguy

CGN Ultra frequent flyer
Rating - 100%
105   0   0
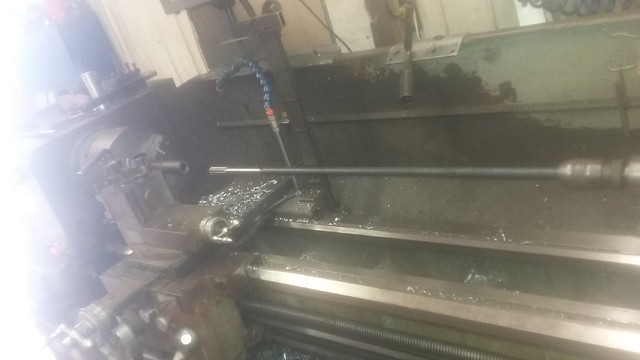
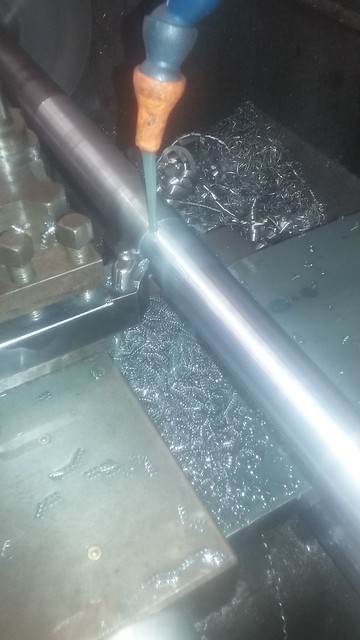
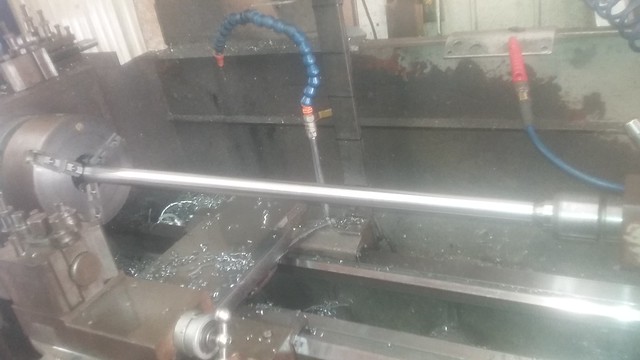
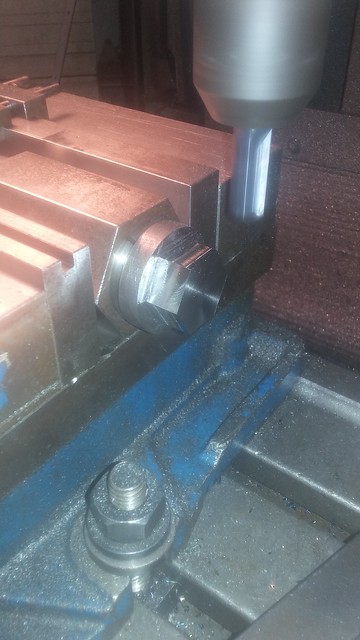
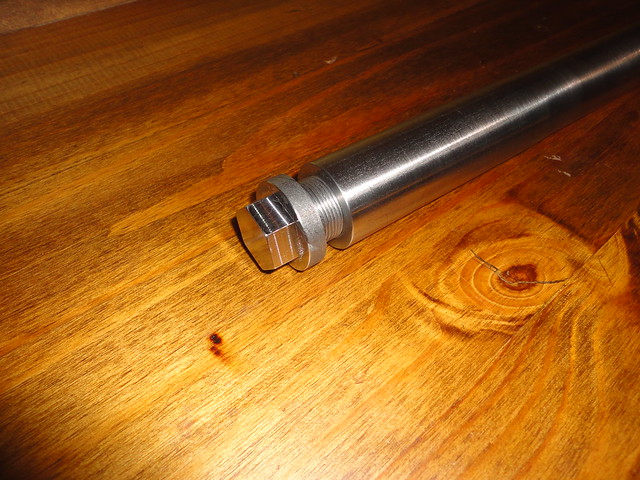
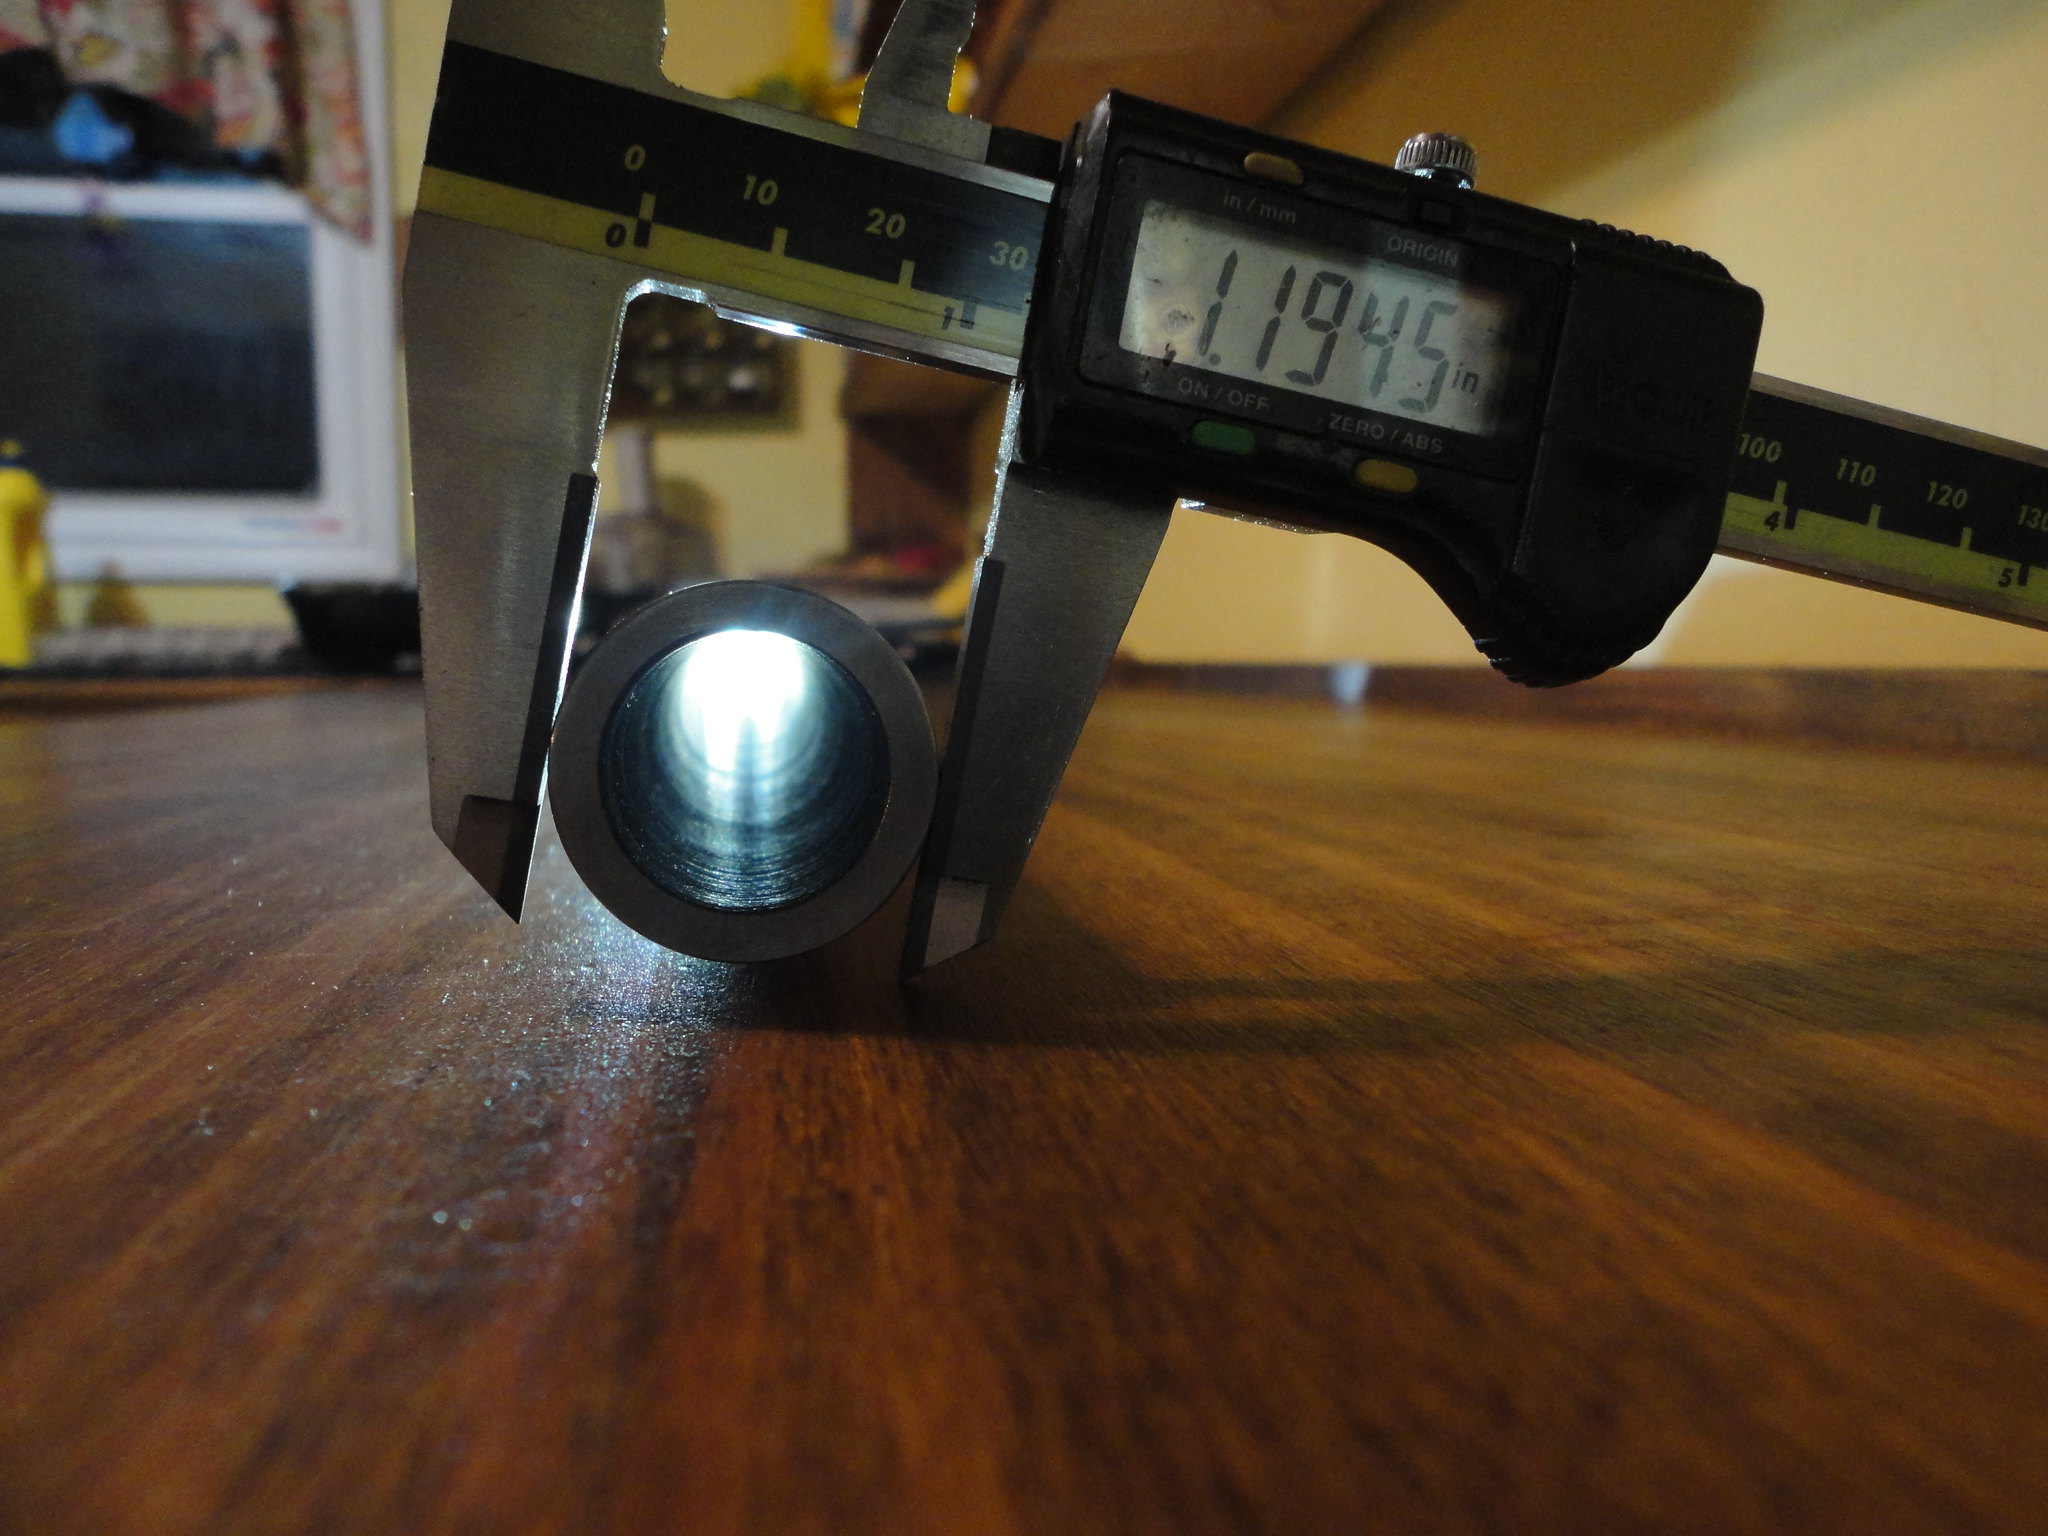
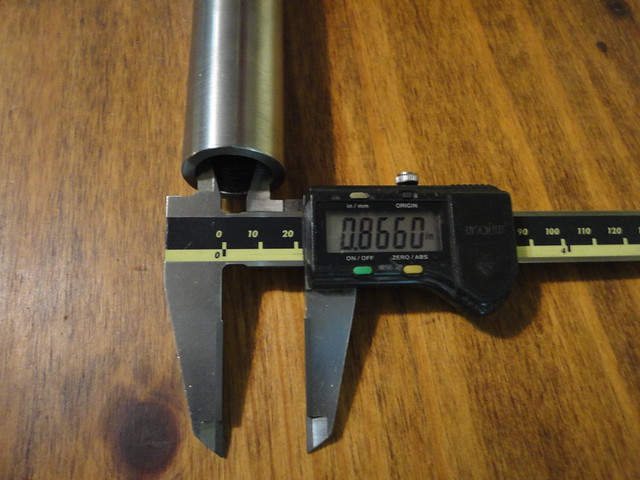
so over the last few months I've been wanting to build a large smooth bore muzzleloader, i finally got around to starting it this week. its a 7 bore, (22.0mm) so it will shoot 1000gr lead balls and also ill use shot in it. its a 36" long chunk of 1 1/2" 4140, its been drilled and reemed. the barrel is straight for 6" then starts a taper that takes off .150" per side at the tip. the barrel now weighs 9.4 pounds with the breech plug, thats made of the same material as the barrel, those threads are M27x1.5

so far ive only made the barrel and breech plug. i hope to finish the lock next, its going to be a percussion cap rifle.

i have a large chunk of maple that i will use for a stock

i'm kind of just building it as i go, i don't really have any plans or anything, just starting a part (the barrel) and making the rest of the rifle around it.

here are some pics so far, ill update this thread as i finish parts


37650505152_00cd10a576_z.jpg

37012039983_7cc8439ec2_z.jpg

37683196751_9ac54d308c_z.jpg

37650486282_db2d186b46_z.jpg

37012019373_414998d686_z.jpg

37650292582_b9ab4b969d_z.jpg

37633872406_7991b80924_z.jpg

37650279492_43767e7810_z.jpg

37682946821_1538e3db52_z.jpg

37011820763_78bb18c5be_z.jpg

23829714368_2db5e934eb_k.jpg

37012112463_850edb9de6_z.jpg
 
Well im not sure what im doing with the stock. I want it to be 1 peice and the wood is only 48" long. So with a short LOP i can go full wood. But i wanted like 15" LOP so the barrel may stick out a few inches. So im not sure exactly what im going to do. Ill probably look at pics of some muskets and see what looks good.
 
Love it - now that's a big bore muzzleloader all the way! Keep us posted looks like a great project.

Sounding almost like a "pigeon gun" or one of those massive Newfoundland waterfowlers. JPC has a 9 bore on the EE; so IF you wanted to go that route, have a look at pics of that.

Did you use a deep hole drill for the initial bore? Or peck'n'pull? Thats a long chunk of drilling either way.
 
I'm pretty excited about it, its going well so far, i will defiantly keep you guys updated on the build. and that rifle JPC has up I've been watching it since the first time he had it listed, if the price ever fell low enough i was going to buy it. and i have saw one of those Newfoundland waterfowlers before, that was a cool rifle.

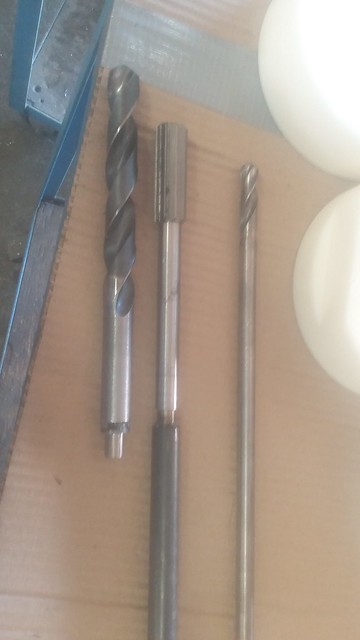
i started the whole with a normal drill then after after about 6" i had to start the peck n pull method, i would go in with the 1/2" bit for about 4 inches then chase it with the 21.5mm bit and then go back to the 1/2" bit and repeat, then i ran out of 1/2" drill at 28" and then just sent the 21.5mm the rest of the way with no pilot hole.

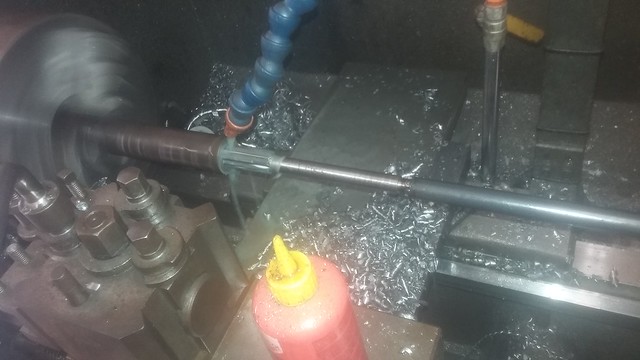
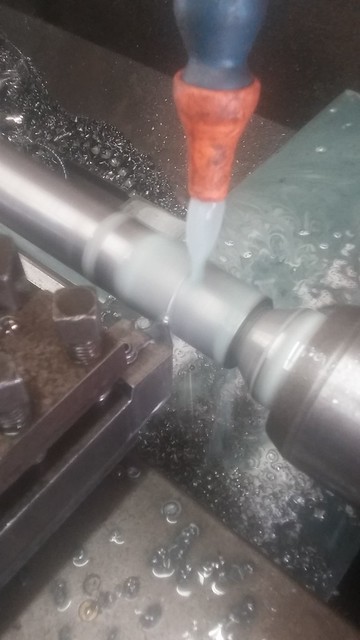
it was .100" per peck, on the big drill, i didnt want to risk the bit binding up and twisting off. i also peck n puled the reemer, but that was 3 inch long pecks as it was only taking .25mm (0.010") per side. it was a total of 10 minutes per inch if i add all the operations together from solid bar to reamed barrel (not counting the od turning which went well and was only 2 hours including setup)

the end hole came out 3mm off center but during the taper turning i held it using the bore of the barrel so the OD has been turned true to the bore. To turn the taper that long i just offset the tail stock 0.150" and used the carriage as normal turning. the chamber has a 8mm wall and the muzzle has a 4mm wall.

i tried to make a gundrill using a "K tip drill" insert in a piece of seamless pipe as to have through coolant but that only went a few inches before twisting the carbide off (i should have silver soldered it not tig welded it on lol)
 
I've got a muzzle loader that uses an easily removed plug. But instead of a hex cap like you have it uses a large diameter set screw. The opening on the plug then fits a tang with a stub pin that mounts in the stock. This makes it easy to mount and unmount the barrel for cleaning. And for cleaning it's pretty normal to use some sort of variation on this idea. Your hex cap plug won't really allow you to do that and solidly secure the rear of the barrel with any reasonably easy manner that I can thing of.

I'm also thinking that a lapping operation for the bore would be a good idea. It would give you an even better finish than the reamer.
 
I'm pretty excited about it, its going well so far, i will defiantly keep you guys updated on the build. and that rifle JPC has up I've been watching it since the first time he had it listed, if the price ever fell low enough i was going to buy it. and i have saw one of those Newfoundland waterfowlers before, that was a cool rifle.

i started the whole with a normal drill then after after about 6" i had to start the peck n pull method, i would go in with the 1/2" bit for about 4 inches then chase it with the 21.5mm bit and then go back to the 1/2" bit and repeat, then i ran out of 1/2" drill at 28" and then just sent the 21.5mm the rest of the way with no pilot hole.

it was .100" per peck, on the big drill, i didnt want to risk the bit binding up and twisting off. i also peck n puled the reemer, but that was 3 inch long pecks as it was only taking .25mm (0.010") per side. it was a total of 10 minutes per inch if i add all the operations together from solid bar to reamed barrel (not counting the od turning which went well and was only 2 hours including setup)

the end hole came out 3mm off center but during the taper turning i held it using the bore of the barrel so the OD has been turned true to the bore. To turn the taper that long i just offset the tail stock 0.150" and used the carriage as normal turning. the chamber has a 8mm wall and the muzzle has a 4mm wall.

i tried to make a gundrill using a "K tip drill" insert in a piece of seamless pipe as to have through coolant but that only went a few inches before twisting the carbide off (i should have silver soldered it not tig welded it on lol)

Well, nice work! I can only imagine how long that must have taken. Well worth it though it looks great. Can't wait to see the progress!
 
yes lapping the bore would help it im sure, the reamer got worse towards the muzzle of it, its still pretty smooth though. im still temped to send a 23mm reamer down it to see if i can clean it up a bit and get the bore a little bigger. i also may lap the barrel too, but ill be cloth patching the ball, and ill be using shot lose in the bore and im sure it will get fouled up too, so i may just try it as is first.

so i got a bit more work done on this rig today, i figured out the barrel locking system, well, attaching system i guess. i figured i had to add some type of recoil lug the the barrel that i could use to manage the recoil and keep it secure to the stock.

the plan is to set the stock up like a bolt action stock in the scene that you can remove the bolt out of the back of the receiver, i plan to leave behind the breech plug open, so it can be removed with the barrel still in the stock using a 1" wrench, even though the barrel will be very easy to remove.

i ended up with a system that uses 3 8mm pins to hold the barrel attached to the stock, and a large lug to hold the recoil, after bedding the base into the stock and welding the insert to the barrel. i plan to tig weld it on with a 7018 for a filler rod with some preheat on it.

both parts of the attaching system of made of 4140, i was lucky to find square stock at work, 95% of the stuff we have is just round stock.

pictures will show how it works. it adds almost 2 pounds to the rifle, it may be a bit bulky lol so that brings the total of the rifle weight to 11 pounds even. i hope to have all the metal of the rifle combined to weigh 12 pounds or under, I'm not sure how much weight the stock will add.

37032100004_a44d0e5c02_z.jpg


37071091113_06ccded203_z.jpg


37692943336_5e170c8b40_z.jpg


37709673332_50d0f9050f_z.jpg


37032222354_2798f8d240_z.jpg


37032160124_bd2aede551_z.jpg
 
Last edited:
I have a technical question for you on your drilling/reaming operation. When drilling with twist drills as you have done here, I have noticed that very few drills drill to "size". Most every one will drill an oversized hole from 4 to over 10 thou. sometimes ( the tougher the material , such as 4140, will have a larger "oversize"). The twist of the drill obviously "torks" & opens up a smidge during drilling.

I have never done any "machine reaming" to pipes/cylinders but will have need to do a bunch coming up shortly, and my question to you is before I purchase the size reamer I need, " will a reamer ream to exact size or will it also produce a marginally oversized hole.

Enjoying this thread immensely.
 
Well i never though really thought of the drill untwisting. I figured it would be just not sharpened bang on so it cuts over size.

And normaly reamers will cut an h7 tollarence about 0.001" over size. When used in a mill. But most lathes the tail stock sits a bit low so i find reamers will cut a bit big ( a few thou). If the setup is correct they will ream with a 1 to 2 thou consitancy.

My barrel came out at 0.001" over size but the shank of the reamer was 30" long so it was flexable enough to follow the bore. Dont choke up on it.

Also make sure the speed and feed is corrrect to get a good finish. Lots of cutting oil. Also make sure you leave enough to ream. In a hole over 5mm i leave 1mm to ream out of the hole. They want to cut but not too much.
 
Thank you for the answer, helps a bunch...you could be right about the unequal sharpening thing as well, from what I've read an unequal sharpening job will result in a lot of "drill walk" on a long hole. You did an extremely good job on yours, only having a 3mm off-center walk in that distance of drilling with a twist drill.
 
Back in my hydraulic steering days we had a similarly arranged assembly fail at an unexpectedly low pressure.

It turned out (Ha!) that the hydrostatic pressure was expanding the wall of the cylinder outwards while shrinking the plug inwards. That caused the threads (which were relatively fine to keep the assembly OD compact) to "ride up" each other until only the upper parts were touching, which then sheared due to the axial pressure and popped the plug out. Eventually we solved it by moving the seal to the base of the threads, so the thread area was no longer under combined hydrostatic/shear loading.

Long and short of it: Watch out for interface changes from loaded deformation.
 
Fingers284, no problem man and thanks i was pleased with the outcome. A few guys at work told me not to be surprized if the drill started coming out of the side of the round bar before it makes it to the end. Lucky for my it worked well. It still alowed me to have a 4.5mm wall at the muzzle.

Rayleigh, interesting. Thanks for the warning. My breach plug seals at the end of it. The bore is 22mm and the end of the breach plug is 25mm and there is a 0.010 gap at the back when threaded in tight so i know its sealing on the face and the threads are not exposed to the pressures/gasses. But after the proof loads i do plan on measuring barrel swell in a few places and checking the back and forth movment of the threads.

The tenth pic in the first post shows the seal face inside of the barrel

My load i want to shot is 250gr black powder using a 1000gr cloth patched lead ball, im going to proof it with 350gr of FFG. And fire 5 proofing loads via a string.
 
well i have the barrel lug block welded to the barrel, so now removing the barrel form the gun should only take a minute at most, just 3 tapered pins to knock out. it also allows me to make more barrels (different bores) for it and just drop them in place as long as the ignition system is adjusted on the barrel to a count for if the barrel is a small outside diameter. i also have some pics for you all

that's a Lee Enfield no1mkIII barrel in the pic with it to help show size, pics just don't do it justice though

37072186724_72b9c9dae9_z.jpg


37111723943_6f90089625_z.jpg


37072656504_33410f57d8_z.jpg


37749898872_f820783b7a_z.jpg
 
Just did a google search for weldability of 4140HT steel.
First hit suggested it is not recommended because of cracking.
Are you sure it is OK?
 
its been stress relieved after heat treatment and is only 26Rc hardness, so its by no means hardened 4140. and the extra preheat temp and heat soak time helps to anneal it before welding starts

it was preheated quite hot before welding, also welded with 7018 stick rod with flux broke off for a filler rod and cooled very slowly(over a few hours), it should be fine, there are quite a few very experienced welders at my work, 4140htSR can be welded and if done properly it will be just fine but takes extra preheat and a little heat soak time, but if not preheat right and cooled fast, yes it can very easily crack. the other option was silver solder and the only reason i didn't go that route was talking to a few of the welders, and was informed if its done properly its fine

also when i had the silver solder idea, i was also going to drill and tap 6 holes and use M5 set screws that go though the welded block, sit flush and into the barrel a 6mm, i may still do that just for safety reasons (that's actually why there is 2 cutouts in the block, thats where i was going to drill and tap it so i didnt have to go all the way though the block)
 
Last edited:
i added a little reinforcement to the welded on part, i went a little over board on it though lol, there is 10 x M5 setscrews 8mm long. i figured i mite as well add them, i had the barrel at work with me anyway, I'm not worried about the weight and safety first i suppose

37802658241_1f8b21d9e0_z.jpg

37754433286_05c970af40_z.jpg
 
no problem at all, i like reading other projects too, I'm always getting ideas from other projects i see.

and the answer was up 2 or 3 posts but it wasn't the full answer, really the reason is its just not needed its already longer then the mating part, also i wanted to drill and tap between the lugs and figured to mill it opposed to counter boring for no real reason really

the actual back lug on the barrel is 32mm long annealed 4140 and it butts up against only a 12mm think wall of the same material in the stock part of the assembly and takes the recoil, the 3 holes are just for pins to hold the barrel from moving up and down.

this will just be holding the barrel in the stock, and applying the barrel recoil to the stock with the stock part of the assembly bolted though the wood to a bottom metal plate, sandwiching the wood
ill have 6 M6 screws into the floor plate and a large epoxy bedded 4041 block in the stock to hold things still. its just a quick release method i came up with, i could have done a barrel band and a tang at the breach, i don't know, Im just making this up as i go
 
Last edited:
Back
Top Bottom