


Binrat1978
Member
- Location
- CFB Trenton, On
Hi,
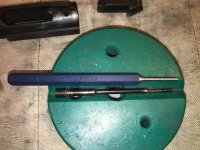
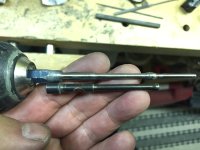
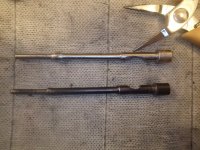
Some of the rifles I repair need new firing pins. I have noticed that the older rimfire rifles (early 1900's and older) have a fairly simple shape to them.
I have this idea of using old centre punches and filing the tip down to replicate the original firing pin shape. After that I would just cut off at the appropriate length.
I think this would be cheaper than buying a $30 USD firing pin from Numrich but end up paying close to $60 Cdn after conversion, shipping, and other fees.
Thoughts on this idea? Is the punch metal strong enough for rimfire?
,Jason

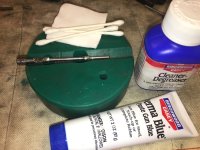
 . What I neglected to mention was to make sure you degrease before tempering.
")


