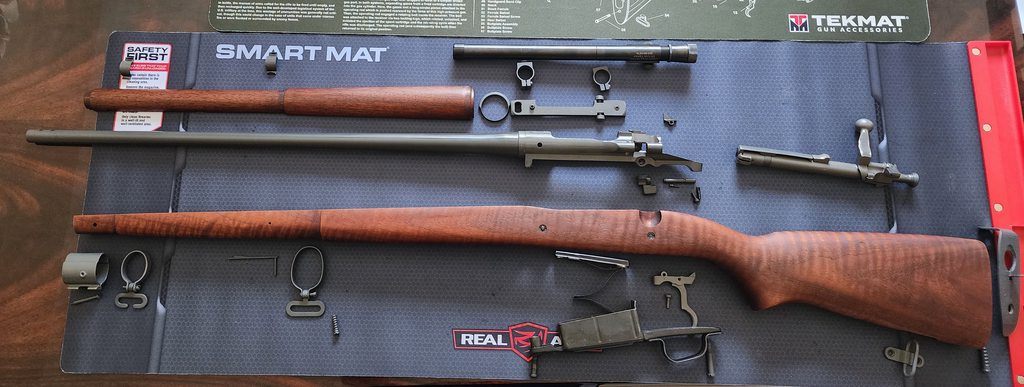
Small update on this project. With Vulcan Refinishing apparently being sold, I decided to try parkerizing on my own. Wanting that green/grey finish on what we see today I decided to go for a zinc phosphate solution. I applied some Quick Strip with a brush to the hardware to begin the removal process and then media blasted them with what I had at work. It's a 240 grit media and it leaves a smooth but fine textured finish so that the solution can adhere to it.
I used a tall 4L stainless steel pot with a removable basket along with a portable induction stove top so I can do this outside. To minimize the amount of material I needed, I went for a 1.5L solution, just enough to sit above the parts. Instructions calls for a 1:25 oz ratio that's equaled to about 2oz:50oz / 60mL:1500mL mixture. Solution was heated to below boiling at approximately 80 C and the parts were dipped in for about 5-10 minutes or so. Removed and dipped into water and applied oil.
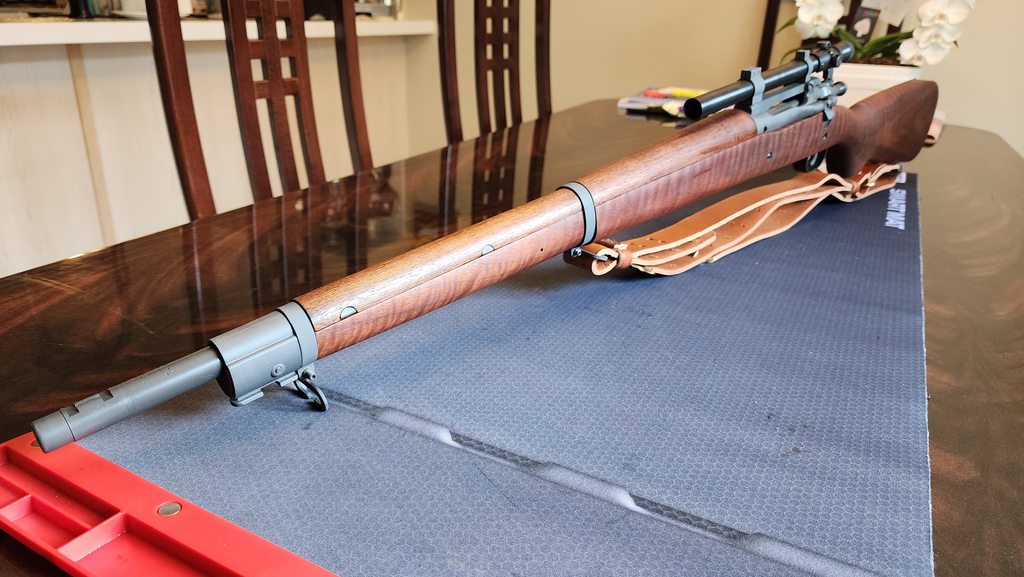
I'm pretty happy with the results. I wish I grabbed a better before photo though.


I'm looking to the buttplate, and the bolt assembly next. Correct me if I'm wrong but from what I see online, everything besides the striker pin, striker sleeve and spring can be parked. Are the lugs and bolt face also parkerized? I can lower the media pressure if needed when doing those areas or tape them when blasting and just degrease them prior to dipping.
I used a tall 4L stainless steel pot with a removable basket along with a portable induction stove top so I can do this outside. To minimize the amount of material I needed, I went for a 1.5L solution, just enough to sit above the parts. Instructions calls for a 1:25 oz ratio that's equaled to about 2oz:50oz / 60mL:1500mL mixture. Solution was heated to below boiling at approximately 80 C and the parts were dipped in for about 5-10 minutes or so. Removed and dipped into water and applied oil.
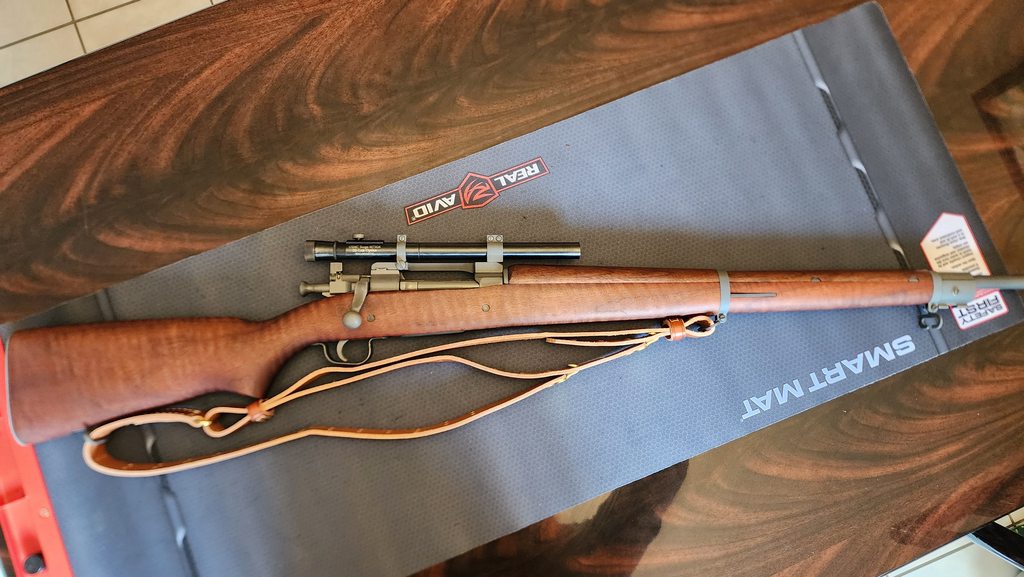
I'm pretty happy with the results. I wish I grabbed a better before photo though.
I'm looking to the buttplate, and the bolt assembly next. Correct me if I'm wrong but from what I see online, everything besides the striker pin, striker sleeve and spring can be parked. Are the lugs and bolt face also parkerized? I can lower the media pressure if needed when doing those areas or tape them when blasting and just degrease them prior to dipping.