












































polishing a Lee die mandrel... how to

herbeapuce

Regular
Rating - 100%
35   0   0
Location
Montreal
Hi.

my Lee Deluxe Rifle Die set says:
" for a tighter fit, you can polish the decapper mandrel .001 smaller..."

for those how have done this, can you tell what is the best way to polish the mandrel, and is there a section that is more critical than others?

thank you

stef.
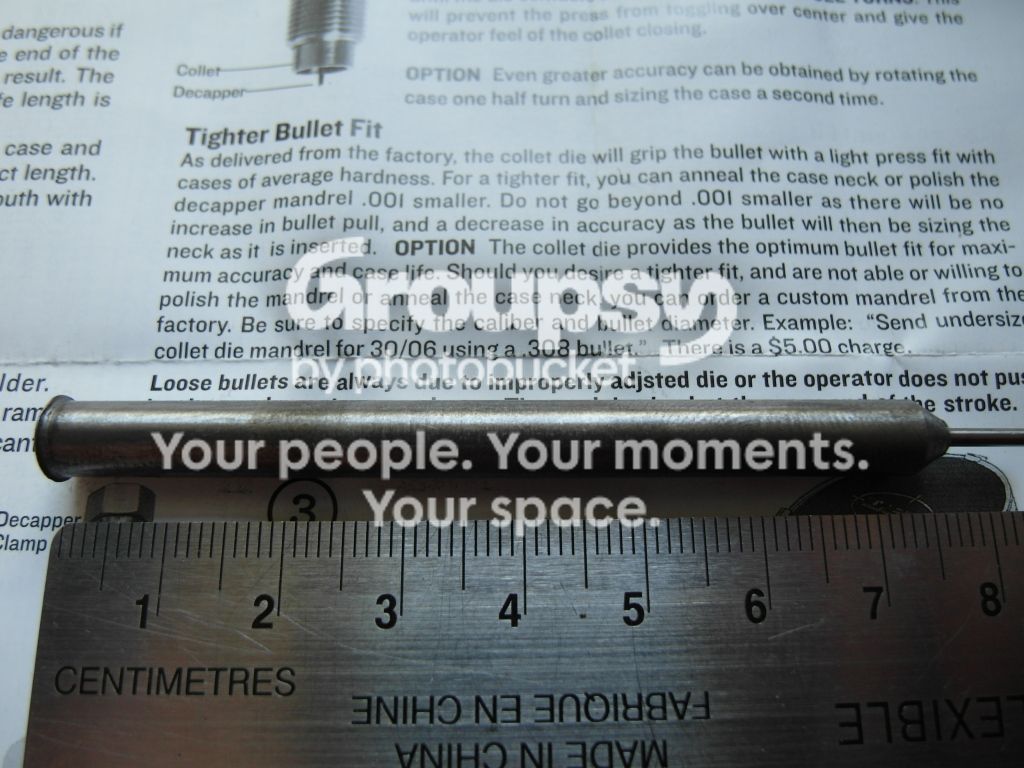
SAM_1126-1.jpg
 
If you could figure out a way to chuck it into a drill press (a lathe would be much easier), you could use a strip of very fine emery paper to polish it down. It would be slow and you would need to make frequent stops to check progress with a micrometer, but I think it would work. Not precisely what you were looking for, I know, but it's a start.
 
Last edited:
I chucked mine in a drill then secured the drill in a vice. I used 220 sand paper to reduce the mandrel by .002" then polished with 600 wet/dry paper oiled with ATF. After reducing only the top half where the sizing takes place I found that the bottom half opened the neck up again when I removed the case from the die. Back to the drill and repeat the process on the bottom half. Worked out great, much better neck tension, I could move the bullet by hand with the factory size.
 
Been there, did that.
I wrapped the mandrel in a piece of brass so as to not bugger the flared end. I did mine in a lathe at work (shhhh.....don't tell them ;)) but a drill press should work.

Find some high # emery paper. The higher # the better, but it will also polish/cut slower. 60X Garnet is not acceptable:p. Use a little oil and measure often.

The mandrel sits in a collet sleeve in the die. As you have your die apart, take a look at where it protrudes from said sleeve, and polish it from there down.

(E) :cool:
 
thanks everyone for your help.

Of course.....I went too far with the sanding... it was .255 when I started, it's now .250...

now not sure if this is a no go....

I did some test and the bullets seated just as easily and the case doesn't seem to deform.... so I will load a few and see how it goes....
I hope I don't have to buy a new one..... classic live and learn here.... ho well....
 
Jeez man. Enough with the hand wringing already! :)

Order a couple replacements in. They will cost about what the postage will, if not less. Then you have a few to play with.

Cheers
Trev
 
Remember the old adage "measure twice and cut once"?

A very handy thing to have before doing anything of this sort is a measuring caliper. Digital readout models are widely available for cheap these days. Or if you're like me and find that they always seem to have a dead battery in them then pay a little more and buy one of the dial guages. Or if your eyes are razor sharp even one of the vernier models.

My eyes are getting old so I rely on the dial versions which always work because they don't use batteries....:D You don't need anything fancy. The cheap imports are fine. Just don't drop them. Actually work hard on never dropping ANY measuring tool. You can't trust them once they've made a trip to the floor until calibrated again.

Measure the shaft before polishing. Then try a little, wipe clean and check your progress. As you already found out it takes only a little work to remove a single thou or three.

Another good reason for a caliper or micrometer for this stuff is that you can check to ensure that the diameter is even along the whole working length to be sure you're polishing the item evenly.

And they come in super handy for so many things when you are working on reloading projects there simply is no excuse for not having one or two of them around.
 
Back
Top Bottom





















