













































Afternoon everyone, I thought it would be fun to have an ongoing thread for us blackpowder guys to post in like all the other forums.
Since most of the guys I have met or heard of who are into blackpowder tend to like tinkering and projects this would be a good place to post em so we could all enjoy. Most of us it seems also have several projects going at the same time.
So first we have this little guy, I picked it up at a gunshow for 80 bucks. It was a 22 gauge percussion shotgun in really bad shape.
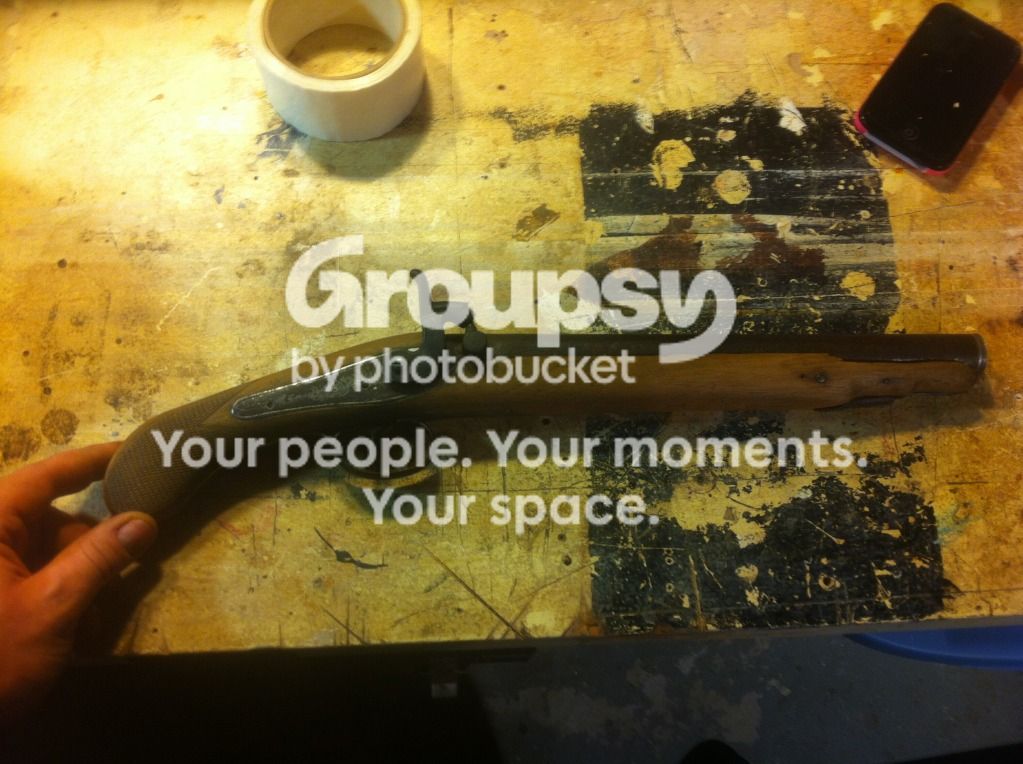
Someone years ago had tried to take the breachplug out with a pair of vice grips and it had deep gashes all around the breech area of the barrel. It is antique as the belgian proof marks show, also the stock was in bad shape. So I figured it desered a refinish. I started by stripping the stock and reshaping it a little. Touched up the inletting and trimming the barrel back a bit.
Next I took to filing the barrel to get all the pittin and big gashes out. It took me about 20 hours to get it all out. I managed to save one proof mark as the others were destroyed by the vice grips. Here is sits with the barrel filed and all assembled.
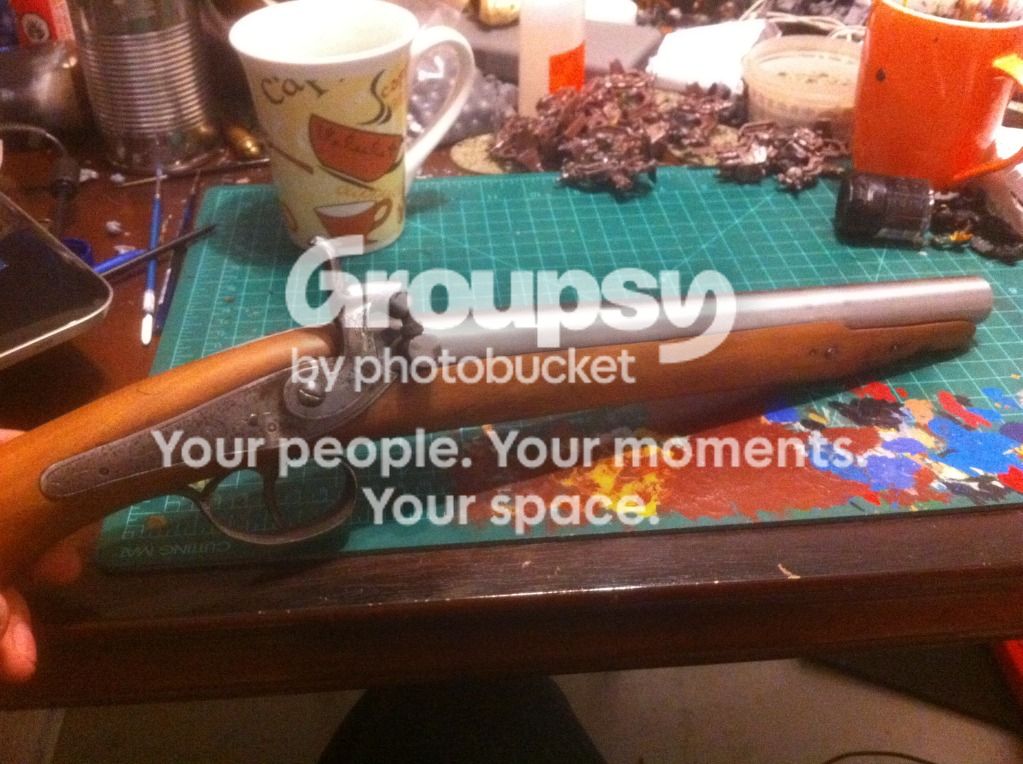
After that I restained the stock with two coats of wood filler follwed by about 12 coats of walnut stain every 30mins rubbed by hand after each application. I wanted to give it an old used look so I didnt polish it up with oil and left it dull instead.
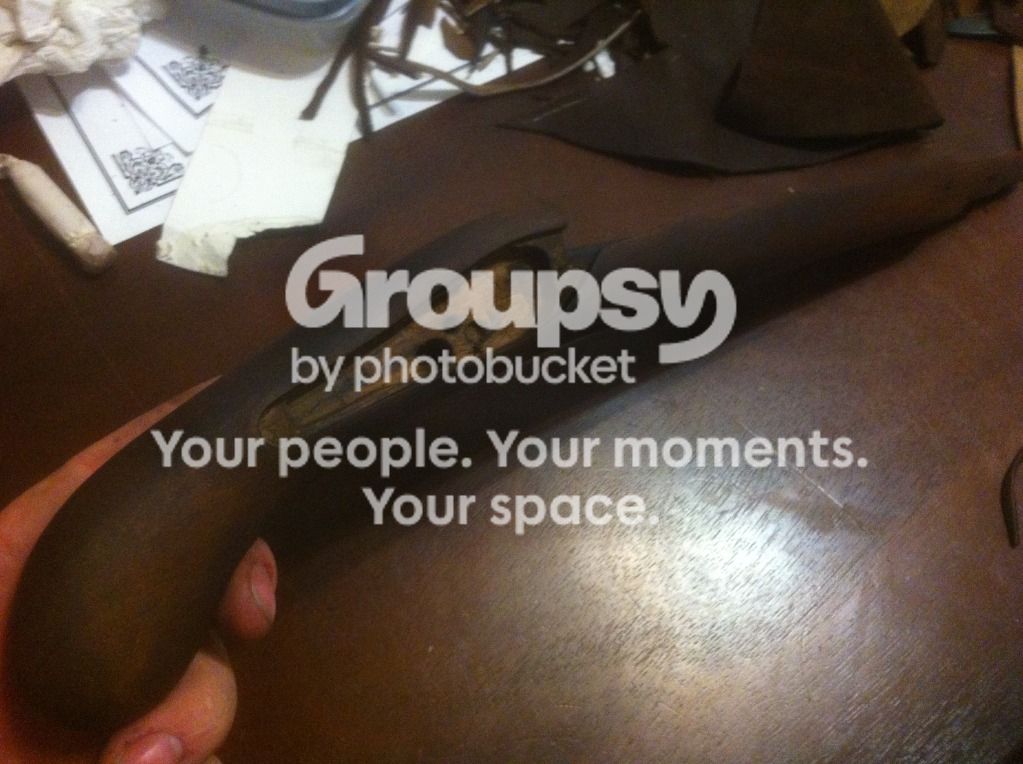

Now im in the process of sanding and polishing the metal up to 600 or so to reblue it, I havent decided yet if I will blue the lock plate or not.
Next on the projects is one that requires only a little more touching up and sanding. I got this matchlock on a trade on here a few months back and finally found some time to finish it. When I got it The hammer and trigger were very very basic, they worked but left alot to be desired in the looks department.
So here is the hammer when I got it with the new trigger i made.
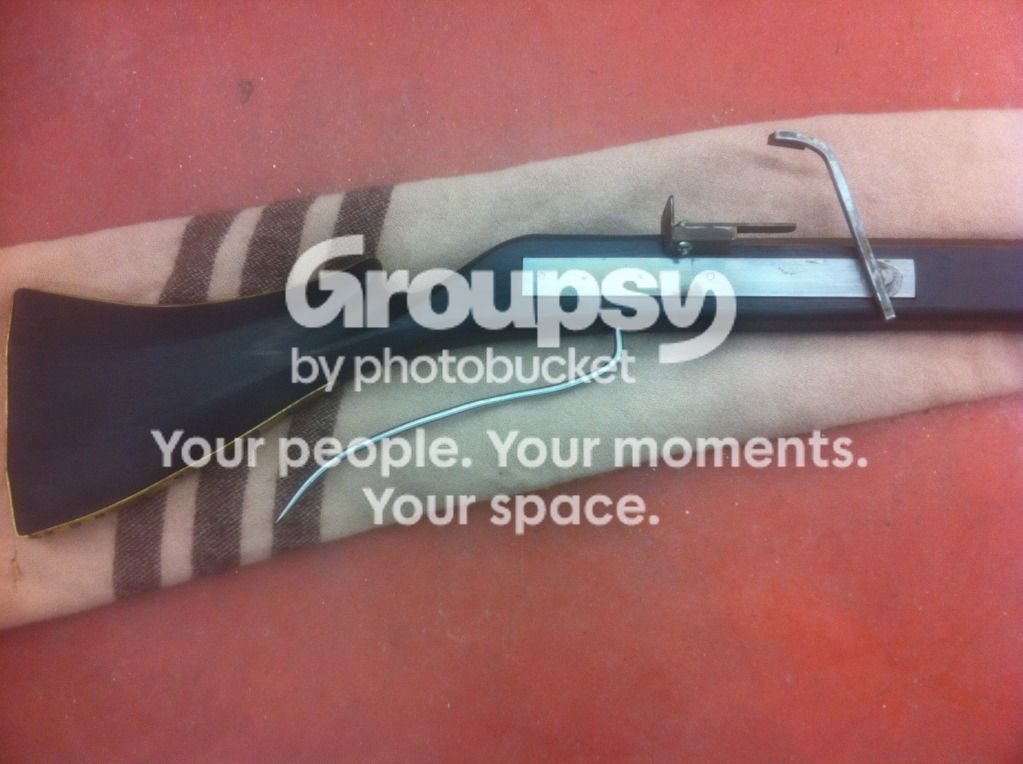
Next is the hammer I built, I took the original one and cut the hammer off to keep the screw stud in the back. I filed down the top to level it out then built up the area around it with weld. Next I took a 1/2" peice of steel and heated it up and twisted it with a tap wrench. I filed down one end into a notch and welded it into place, afterwards I filed it and ground it into a nice round shape. Afterwards i made two dragons head type things out of 1/8" plate then filed the twisted steel down to 1/8" in the center and welded the two heads onto it and shaped it.
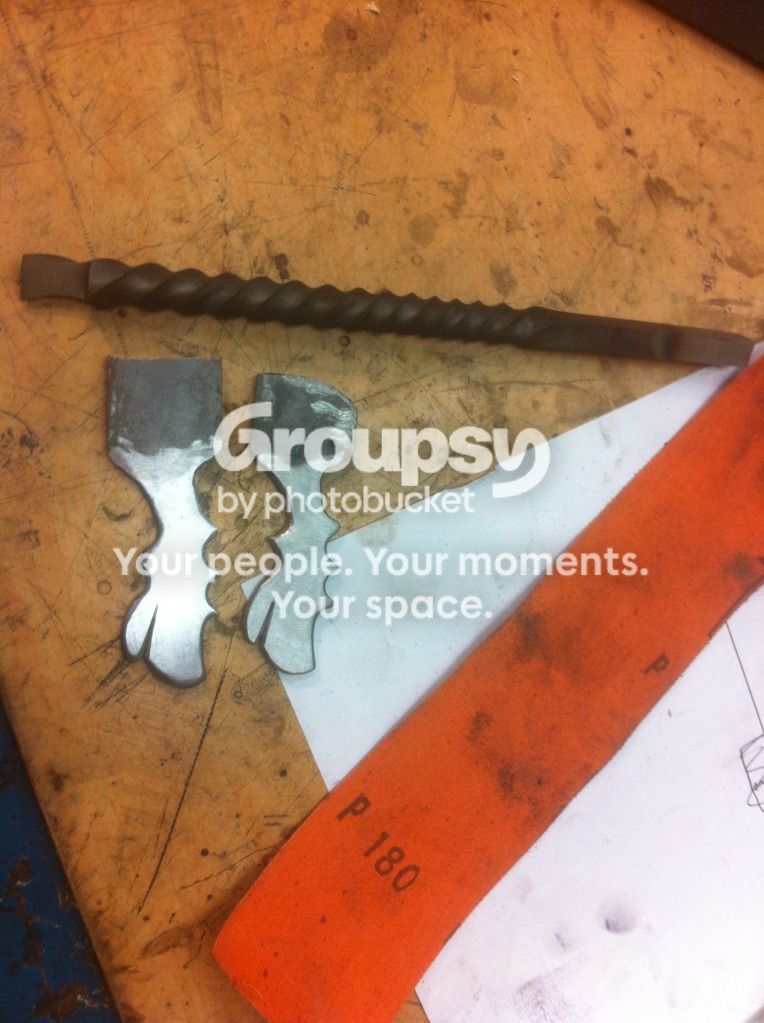
After all that I heated it up and bent it to get the right throw. Like an idiot when I had it all done I went to mount it and it was 45 degrees in the wrong direction. So I had to heat up the screw in the back and twist it to get it to throw right.
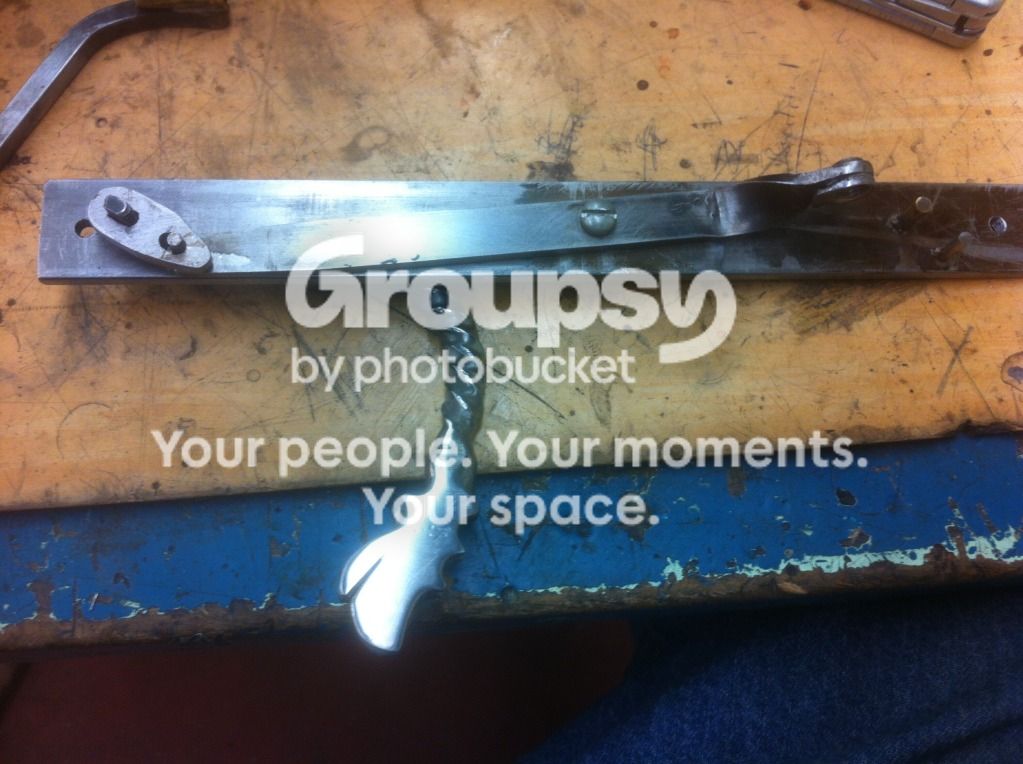
The last thing to do was bend the heads out a little to get enough space for the matchcord. Then I drilled a hole through tapped one side and made a turnscrew to tighten it around the cord. All that is left now is to polish and file it.
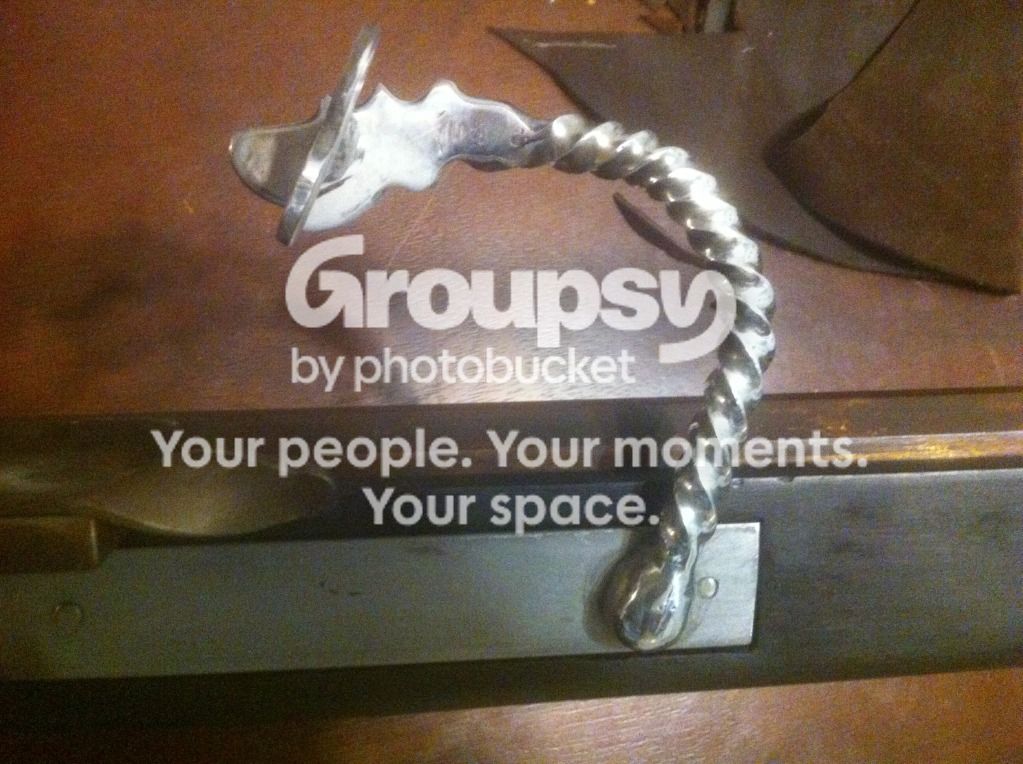
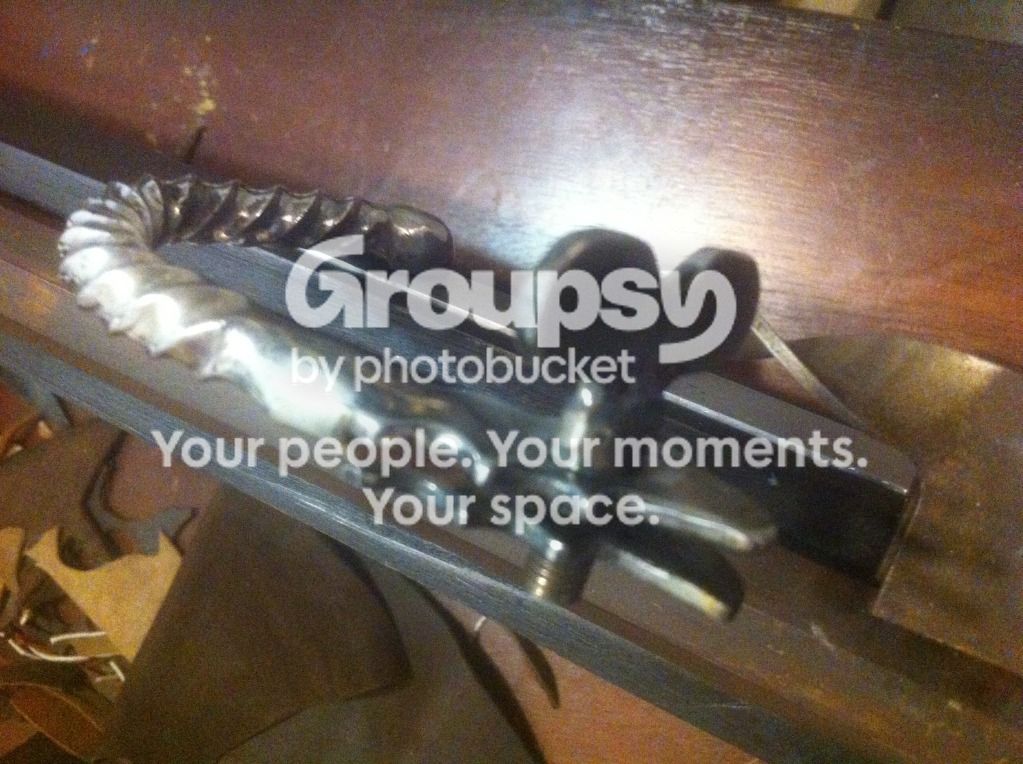
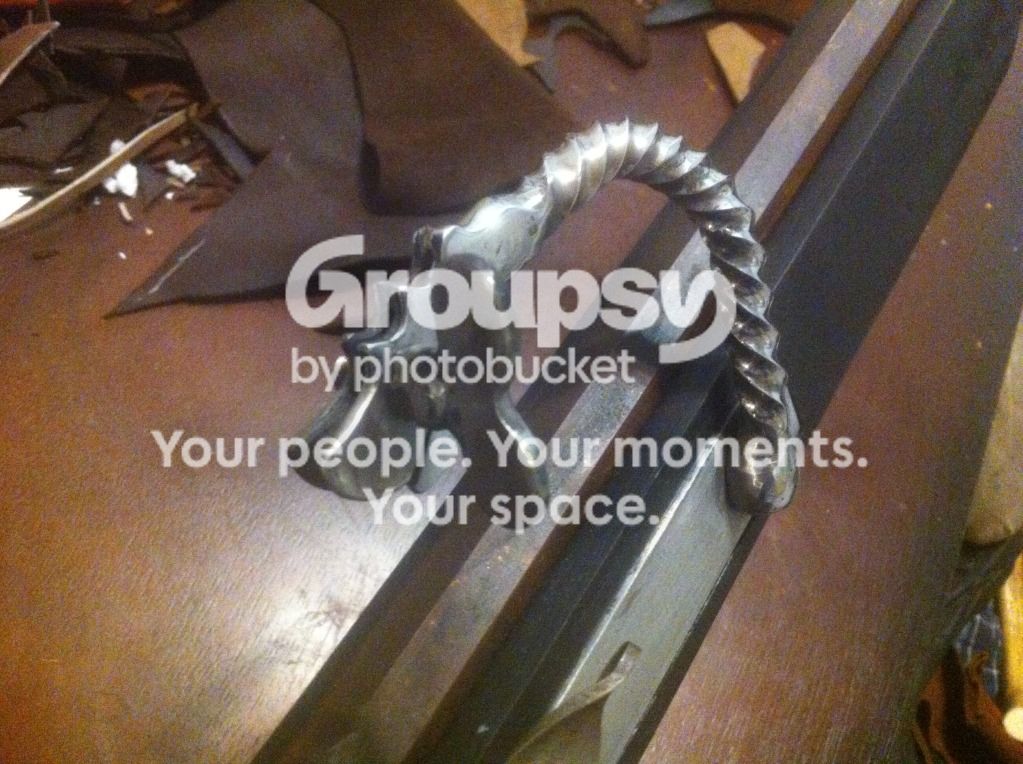
After I had the gun finished I realized it was way to heavy to hold up off hand comfortably. So I made this on the lathe and forged the top part much the same way as the hammer so they matched. Still have to polish and finish filing it.
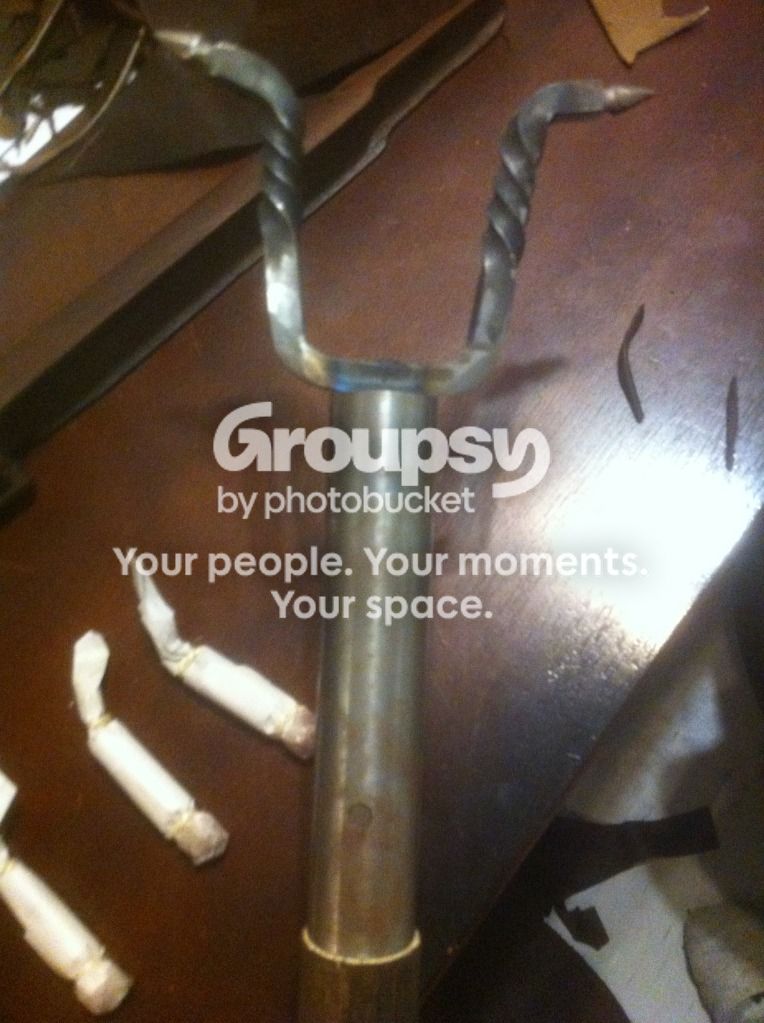
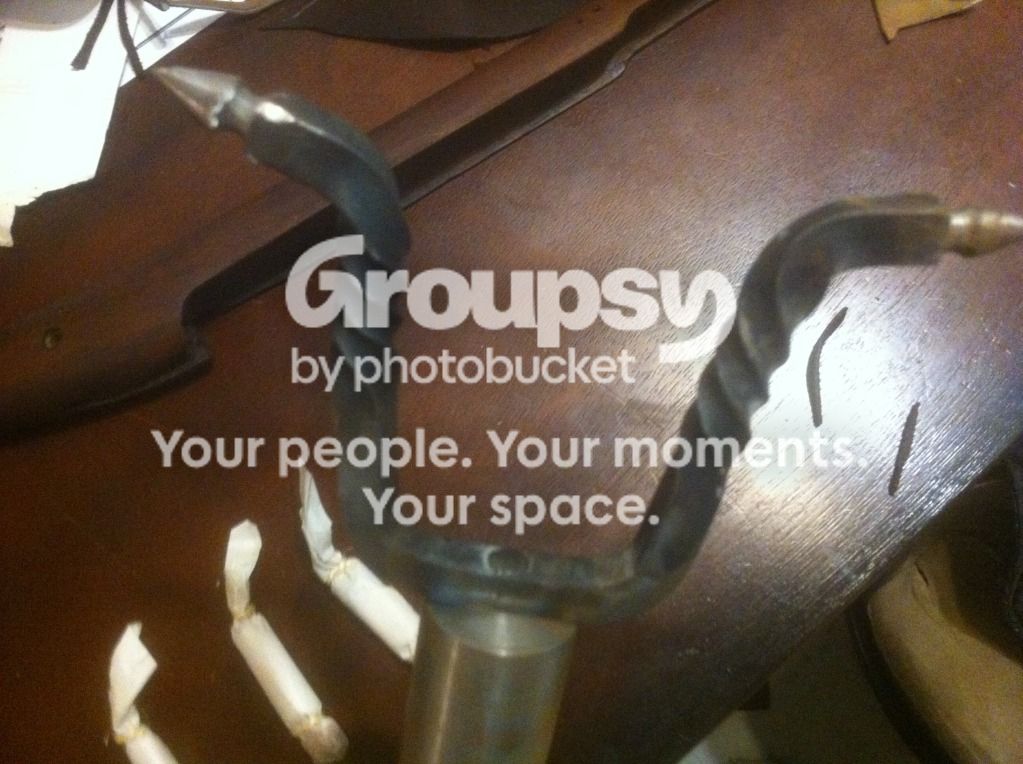
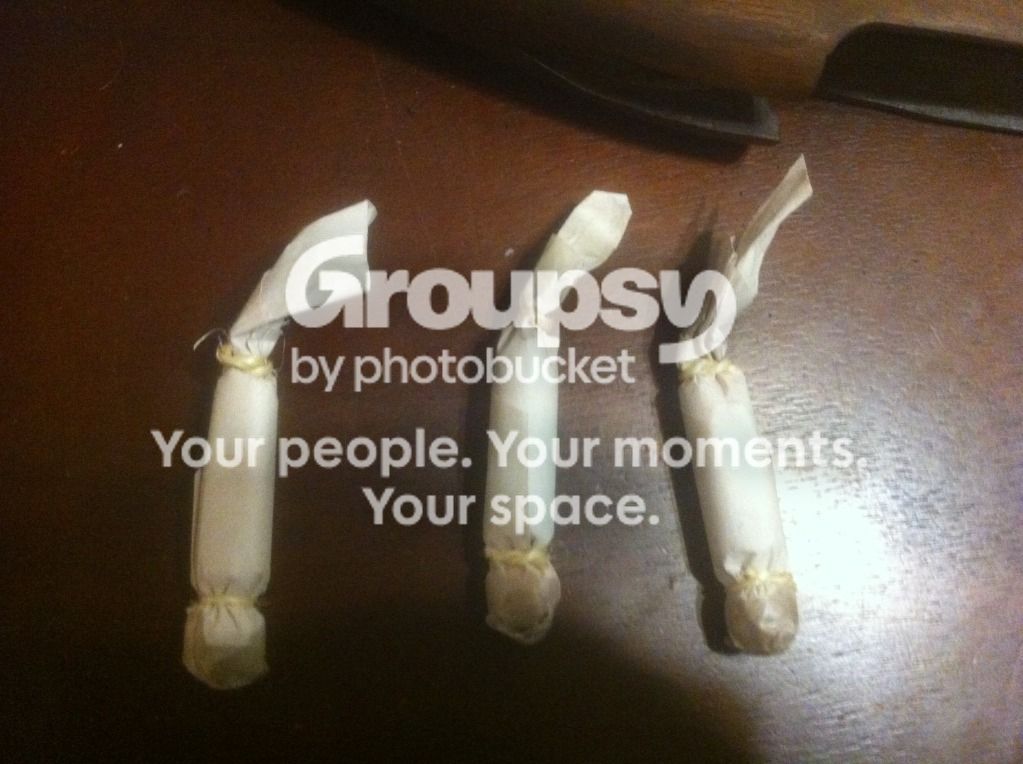
Also I spent a month or so trying out different kinds of paper and designs to find a good cartridge for loading my flintlocks. I finally found that the best paper is those big booklets you see in schools for teacher to draw on. I took a dowel sized to the caliber and cut the paper in a sort of triangle shape with sqaure edge. I wrapped the paper around the dowel with the ball then dipped the end in heated candle wax. Next a quick tie with some string, pour 80grns of powder in the end and tie it off.
Works great for several shots without cleaning, and also makes reloading alot faster.
Cheers, McLean .L. Welsh
Since most of the guys I have met or heard of who are into blackpowder tend to like tinkering and projects this would be a good place to post em so we could all enjoy. Most of us it seems also have several projects going at the same time.
So first we have this little guy, I picked it up at a gunshow for 80 bucks. It was a 22 gauge percussion shotgun in really bad shape.
Someone years ago had tried to take the breachplug out with a pair of vice grips and it had deep gashes all around the breech area of the barrel. It is antique as the belgian proof marks show, also the stock was in bad shape. So I figured it desered a refinish. I started by stripping the stock and reshaping it a little. Touched up the inletting and trimming the barrel back a bit.
Next I took to filing the barrel to get all the pittin and big gashes out. It took me about 20 hours to get it all out. I managed to save one proof mark as the others were destroyed by the vice grips. Here is sits with the barrel filed and all assembled.
After that I restained the stock with two coats of wood filler follwed by about 12 coats of walnut stain every 30mins rubbed by hand after each application. I wanted to give it an old used look so I didnt polish it up with oil and left it dull instead.
Now im in the process of sanding and polishing the metal up to 600 or so to reblue it, I havent decided yet if I will blue the lock plate or not.
Next on the projects is one that requires only a little more touching up and sanding. I got this matchlock on a trade on here a few months back and finally found some time to finish it. When I got it The hammer and trigger were very very basic, they worked but left alot to be desired in the looks department.
So here is the hammer when I got it with the new trigger i made.
Next is the hammer I built, I took the original one and cut the hammer off to keep the screw stud in the back. I filed down the top to level it out then built up the area around it with weld. Next I took a 1/2" peice of steel and heated it up and twisted it with a tap wrench. I filed down one end into a notch and welded it into place, afterwards I filed it and ground it into a nice round shape. Afterwards i made two dragons head type things out of 1/8" plate then filed the twisted steel down to 1/8" in the center and welded the two heads onto it and shaped it.
After all that I heated it up and bent it to get the right throw. Like an idiot when I had it all done I went to mount it and it was 45 degrees in the wrong direction. So I had to heat up the screw in the back and twist it to get it to throw right.
The last thing to do was bend the heads out a little to get enough space for the matchcord. Then I drilled a hole through tapped one side and made a turnscrew to tighten it around the cord. All that is left now is to polish and file it.
After I had the gun finished I realized it was way to heavy to hold up off hand comfortably. So I made this on the lathe and forged the top part much the same way as the hammer so they matched. Still have to polish and finish filing it.
Also I spent a month or so trying out different kinds of paper and designs to find a good cartridge for loading my flintlocks. I finally found that the best paper is those big booklets you see in schools for teacher to draw on. I took a dowel sized to the caliber and cut the paper in a sort of triangle shape with sqaure edge. I wrapped the paper around the dowel with the ball then dipped the end in heated candle wax. Next a quick tie with some string, pour 80grns of powder in the end and tie it off.
Works great for several shots without cleaning, and also makes reloading alot faster.
Cheers, McLean .L. Welsh
























