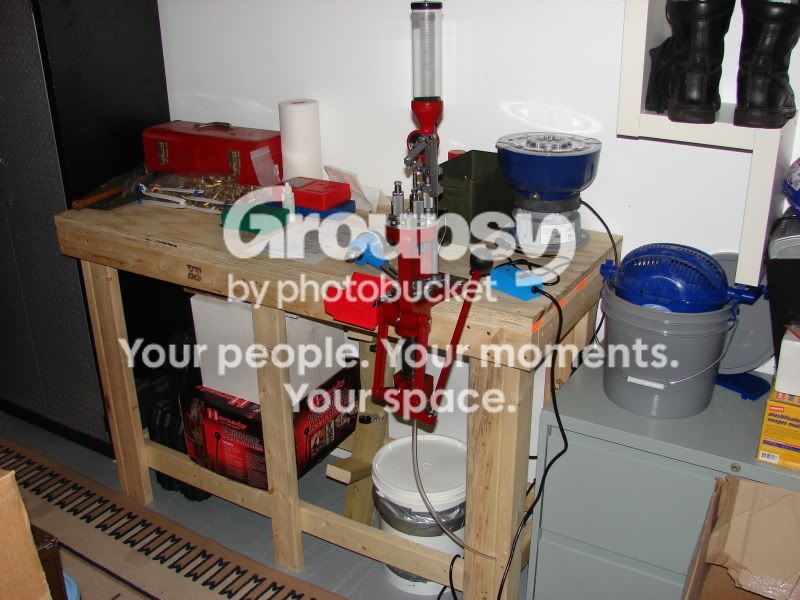
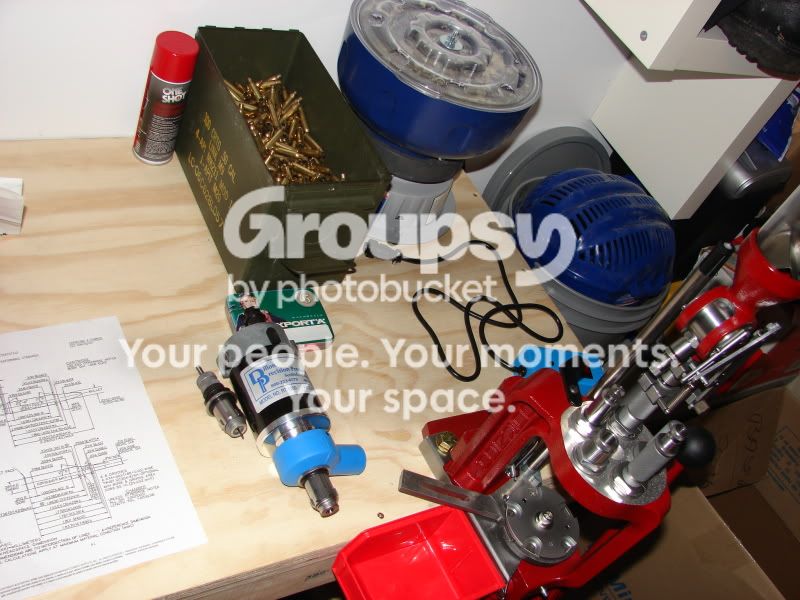
reloading bench top

jewraffe

Regular
EE Expired
Rating - 100%
4   0   0
I am setting up my gun room to begin reloading. I am using a section of kitchen cabinet I salvaged when we reno-ed our house. The existing countertop in the cabinet is 3/4inch particle board. I don't feel this would be strong enough to mount my dillan 650 and have it survive, so I plan on putting a layer of 3/4 inch osb or plywood overtop, constrction adhesived and screwed to the existing top and then a layer of melamine hardboard on that (for a nice smooth finish).

My questions,

1) do you think this is secure enough for the 650, as guys I have watched exert quite a bit of force on that handle.

2) Which end of the bench would be the best to mount the press, the bench is a little better then 5 feet long. I am right handed, and as I mentioned Dillon 650

3) Is there a better bench top surface you would recommend, besides the melamine (I figured white to contrast any small parts, and smooth to wipe easily).
 
I`d go with the plywood myself, but i`m a terrible carpenter. My bench is 3/4 plywood over 2x6 with legs spiked into the floor. Haven`t used a 650 dillon but i`m sure somebody with one will chime in. I tend to over build things, don`t like repairing what i just made.
 
There's lots of posts on benchs and their tops and pics of them as well. Reusing those cabinets seems like a great idea to me. Put some thought into your height though. And not just for the standing vs sitting debate. I left out the shelves in the plan I used and kicked myself after. Not because of the shelves, but because the scale wasn't at eye level. But this may not be much of an issue with a Dillion, if you won't be scaling much.
I used 2x6's for the top of my bench, then topped it with 1x6 maple for a top.
Clint
 
Definitely use Plywood and not OSB. Use glue & screws to bond the Counter Top and the Plywood together to make a single piece of wood.

I'm right handed, using a single stage press, on a 6' long bench ... and I foudn that having the press mounted right in the middle works best for me. This lets me have components on each side of the press as I cycle through each step in the process.

Case trimmer is on the for right, powder thrower is a little to the left of the trimmer.
 
I've put my single stage lee classic cast press, on the end of a partical board counter top, made sure the screws went right through into the wood frame of the cabinet below. I can hang off the handle of the press and it doesn't even so much as wiggle. I also love the counter top, with the back splash up the back, and the rolled up lip at the front, really helps stopping stuff from falling off the back or the front, plus it makes it really easy to clean as well.
 
I used 1" plywood and 1/4" melamine. It still flexes a bit sometimes and I'm not doing any really serious sizing or forming. Not coming apart or anything.

Not sure that I would want to go much heavier but if a guy was worried he could maybe add 12"X12" chunk of 3/16 steel plate on the underside to stiffen things up under thinner material.
 
i have an old workbench made from 2x4's and i put a couple sheets of lexan on the top for easy clean up and to keep #### from falling down in the cracks. My rock chucker is on the far right side and the trimmer is at the left end and the scale is elevated in the middle behind the powder measure. Everything is screwed to the top with the exception of the press, which is bolted thru the top. I am right handed as well.
 
I have a 650 and I mounted it on the left edge of the bench. 5 min later I realized I had no room for my components(bullets mostly) on the left. Quickly moved it to the right hand side, leaving about a foot of room on the right edge of the table. It stays out of the way so you have the rest of the table to work with and doesn't cramp actual reloading space. Best set up I've tried so far.
 
Thanks for the replies everyone. I was hoping not to mount it in the center so it is not in the way of other tasks. Sounds to me like some 3/4" ply on top of the 3/4" part should be lots, and I had considered a steel plate underneath to reinforce at the press if flex is still a problem. We'll see what happens.

Cornbinder49, you mentioned a raised lip around the perimeter, how did you accomplish that and do you find it to be a pain in the arse.
 
I have a top made of 1 1/2 thick plywood from concrete form's with 5-6 coat's of varnish to smooth it out.
Under the press itself is a piece of 1/4 inch steel plate to re-inforce it all.
I drilled a 1 inch hole thru it all and fitted a 1 inch piece of pipe to move the spent primer's to a 1 gallon tin can.
My main press is a LEE turret press that 25 year's old.
 
My top is 2 layers of 3/4" factory fir glued together with a Formica finish.

My various presses bolt onto a 5/16" steel plate with tapped holes permanently fastened to the top. Rock-solid is an understatement. :)
 
I tried to build the strongest bench possible, so I bought a sheet of 2" plywood, cut it in half the long way (making two 2x8 pieces) then glued and screwed them together. Then proceeded to put on about 10 coats of urethane sealant on them and screwed them on to an angle iron frame with 1/4" screws. That bench isn't going anywhere. I can put a vibrating tumbler on one end and no vibrations are felt on the other end.
 
I just made my bench and I used 3/4" oneside finished/sanded plywood worked nicely

DSC03466.jpg

DSC03467.jpg
 
I found a 24x48 sheet of thin steel at Home Depot that I screwed to a piece of 3/4 plywood. Everything is now mounted to the board. I use a couple of C-clamps to keep the whole setup from moving on my work bench. I can now unclamp, pick up and move my entire set up anywhere I need.
 
I have a solid door that I cut to size and then a 3/4" plywood screwed and glued to the top of it and then I finished it off with some hardboard on top. I love the hardboard because as it is easy to wipe off and easy to see things on. I have a dock system that I bought from a guy off of castboolits website that is fantastic. You have plates that attaches to your various reloading machines and then you simply slide them in and out as you need. No more holes everywhere and trying to find the proper bolts etc. A little expensive but to me it is worth it.

Here is my original post on it.

http://www.canadiangunnutz.com/forum/showthread.php?t=650966
 
I think another sheet of ¾" ply is a good idea. Suggest you put down a good layer of carpenter's glue between them, then screw them together using 1¼" screws with countersunk heads. Enough screws and you won't have to worry about clamping and the glue will provide the most rigid join possible.

I'm also going to suggest a sheet of white melamine on top of everything else, glued down (clamp it by weighting it down with boxes of ammo or something). It makes cleanup much easier - my first bench was plain plywood and I couldn't believe the difference when I tried this for my second.


As to equipment placement, look on reloading as a factory flow exercise. Unformed cases enter the production line in one place and are resized. Primers enter the flow at another place, then propellant... The point is that, even with a progressive, you shouldn't have to be constantly flipping back and forth - there should be an orderly linear flow of components across your bench. It's much simpler in the long run to put some thought into it before you nail things down.
 
3 sheets of 5/8" MDF glued together with the top one being maple laminate. Edges trimmed in solid maple. Several coats of urethane.

Mounted on a welded square/rectangular steel tube frame. Doesn't flex, move, vibrate......
 
Back
Top Bottom