Here's what I have now.
This one is a build in progress. It's an LRB M25 with all GI parts. I bought the barrel but am waiting on it to be made. All I need now is to send it to Jon Wolfe when he has the barrel. It will eventually go into a SAGE chassis. I would have liked to have dropped it into a Blackfeather, but the barrel contour won't work with a standard or heavy operating rod guide (Proprietary barrel contour and ORG).

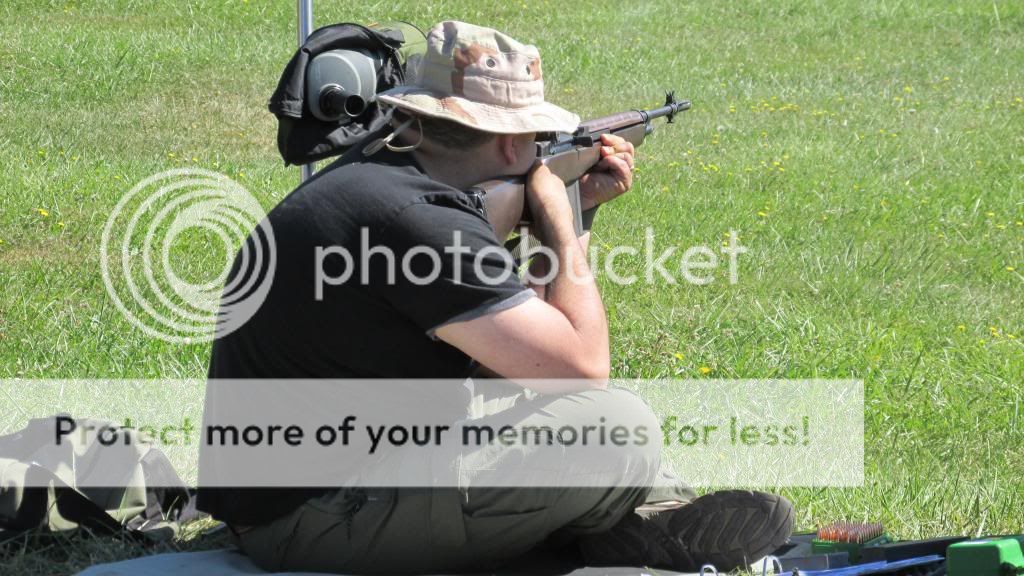
Here's my LRB M14SA. It was my first M14 and I wanted it to be a service rifle match gun. I finally shot my first match with it this weekend.
Receiver- LRB M14SA (barrelled by Ted Brown)
Barrel- Criterion 22" 1:12" twist chrome moly Saco-Lowell reproduction medium weight NM barrel (TFL group buy from a few years ago and TFL stamped). Headspace currently at 1.6315".
Bolt- TRW
Op-rod-SEI, fitted and installed by me
Gas cylinder- SEI, unitized by Cepilot (Mike Harlow)
Gas piston- GI
Trigger group- H&R all-GI trigger group
Flash suppressor- GI NM reamed by Ted Brown
Stock-Carbon-graphite-kevlar stock from Hueygunner, bedded by me with Marine-Tex
Scope mount- Bassett low Picatinny
Rings- Burriss Zee rings, Medium, lapped and aligned by me.
Scope- Zeiss Conquest 3-9x50 with Rapid-Z 600 reticle (bought off a friend who used to work for Zeiss)
Cheek rest- Bradley adjustable cheek rest
Spring guide- Sadlak NM spring guide
Rear sights- SEI NM sights
Handguard- GI, free-floated and bottom edges cleared by me


The rifle on the bottom is my standard M1A made in 1994. It's going to be my Blackfeather project.

Tony.
This one is a build in progress. It's an LRB M25 with all GI parts. I bought the barrel but am waiting on it to be made. All I need now is to send it to Jon Wolfe when he has the barrel. It will eventually go into a SAGE chassis. I would have liked to have dropped it into a Blackfeather, but the barrel contour won't work with a standard or heavy operating rod guide (Proprietary barrel contour and ORG).

Here's my LRB M14SA. It was my first M14 and I wanted it to be a service rifle match gun. I finally shot my first match with it this weekend.
Receiver- LRB M14SA (barrelled by Ted Brown)
Barrel- Criterion 22" 1:12" twist chrome moly Saco-Lowell reproduction medium weight NM barrel (TFL group buy from a few years ago and TFL stamped). Headspace currently at 1.6315".
Bolt- TRW
Op-rod-SEI, fitted and installed by me
Gas cylinder- SEI, unitized by Cepilot (Mike Harlow)
Gas piston- GI
Trigger group- H&R all-GI trigger group
Flash suppressor- GI NM reamed by Ted Brown
Stock-Carbon-graphite-kevlar stock from Hueygunner, bedded by me with Marine-Tex
Scope mount- Bassett low Picatinny
Rings- Burriss Zee rings, Medium, lapped and aligned by me.
Scope- Zeiss Conquest 3-9x50 with Rapid-Z 600 reticle (bought off a friend who used to work for Zeiss)
Cheek rest- Bradley adjustable cheek rest
Spring guide- Sadlak NM spring guide
Rear sights- SEI NM sights
Handguard- GI, free-floated and bottom edges cleared by me


The rifle on the bottom is my standard M1A made in 1994. It's going to be my Blackfeather project.

Tony.


