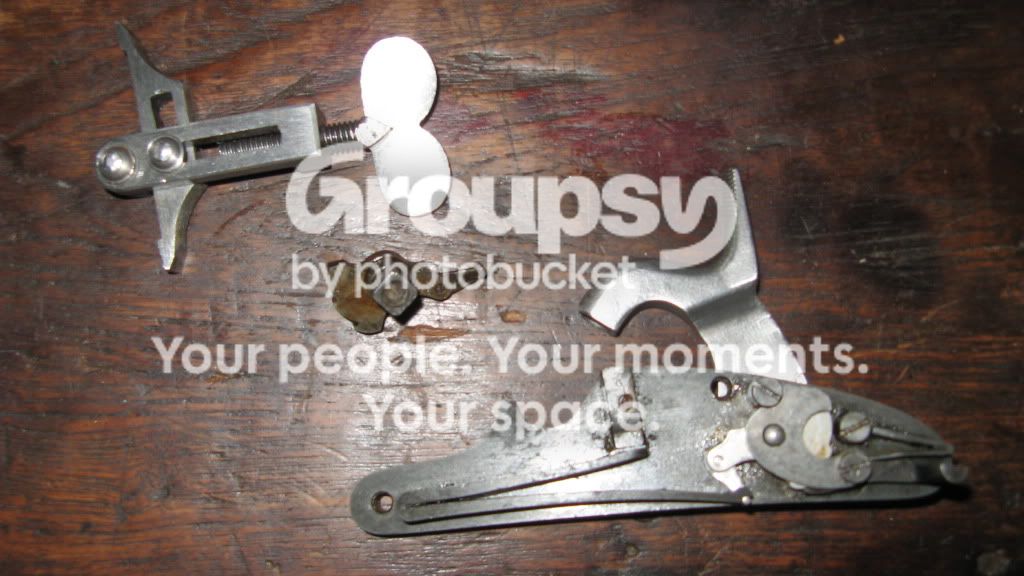
Finally success

Musketfire

CGN frequent flyer
EE Expired
Rating - 100%
11   0   0
Location
Algoma region
Gentlemen, after a year of trying everything and stripping countless sockets and destroying 2 musket nipple wrenches:mad:

After work this morning I gave it another try using my new mini torch.....

I achieved victory and became the first man in more then 100 years that moved this part.....

Her bore is shiny, her stock is all repaired....All I have to do now is clean out the bolster cavity put in the new nipple and then Im going to shoot her!!!!!

Ill post a few pictures of her tomorrow, but for now Gentlemen.....I give you......SUCCESS!!!!

She still needs a couple small parts, a strap and what not but this is really the bit that was holding the rest in stasis!!!!
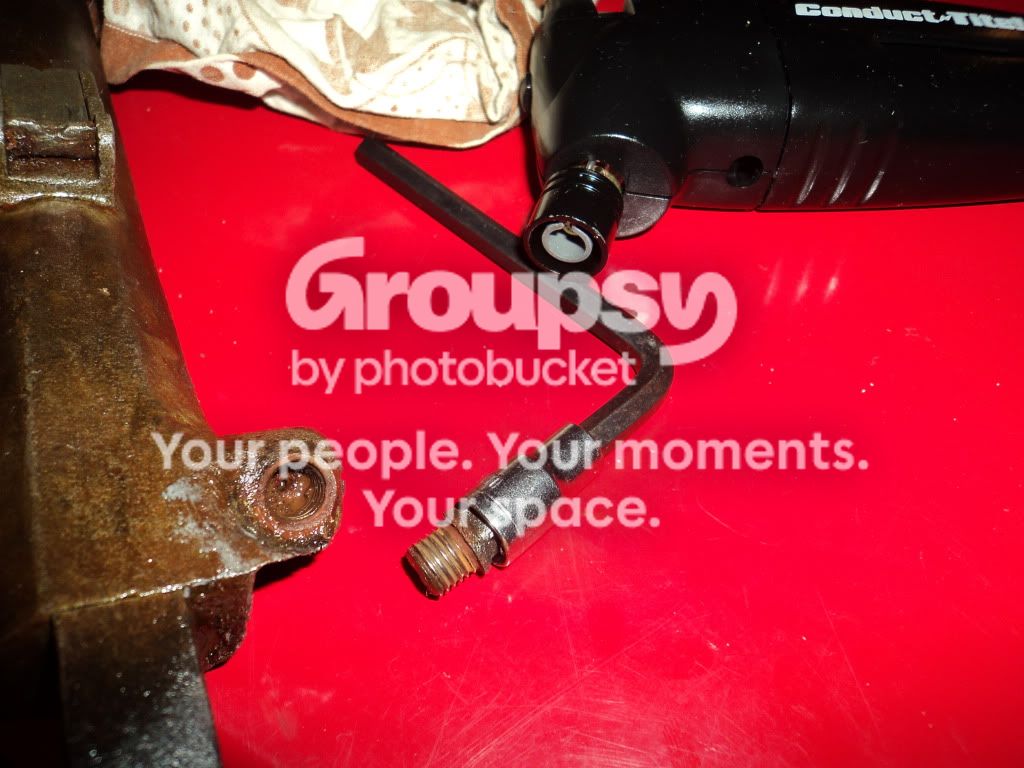

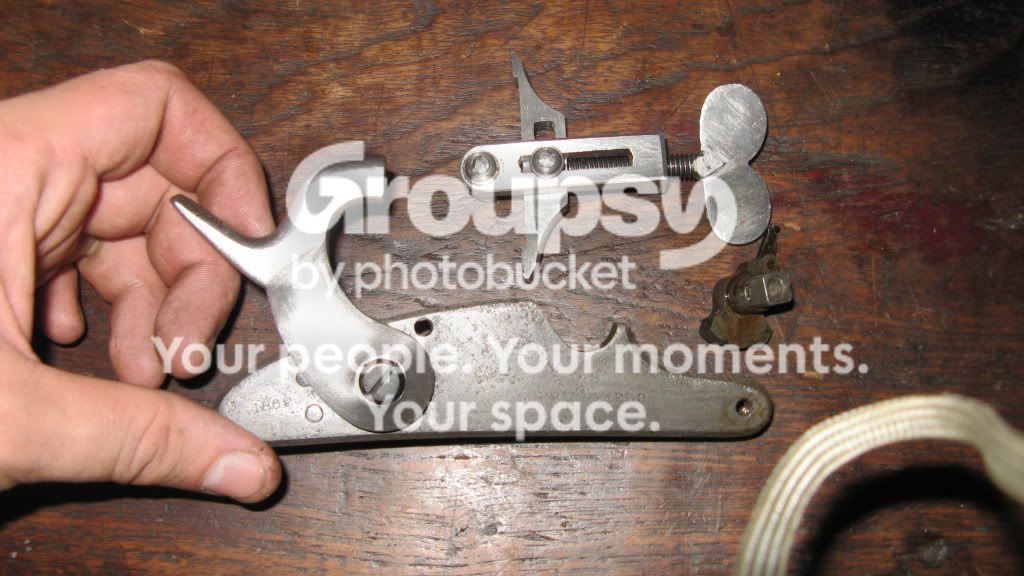
springfieldnippleout008.jpg
 
It is always good to move forward with a project, heating the part probably loosened it up. Look forward to seeing it in action.
 
You can see it was very tight no penatrating oil got in there hardly at all, the threads look bone dry.

Good Work getting it outwithout busting it off.
 
ain't it great when a plan comes together!
Congrats

little trick to get penetrating oil into threads is to heat it up then apply the oil as it cools...it will draw the oil into the threads where it may not otherwise do so.
 
Pics of the whole gun! Mandatory!

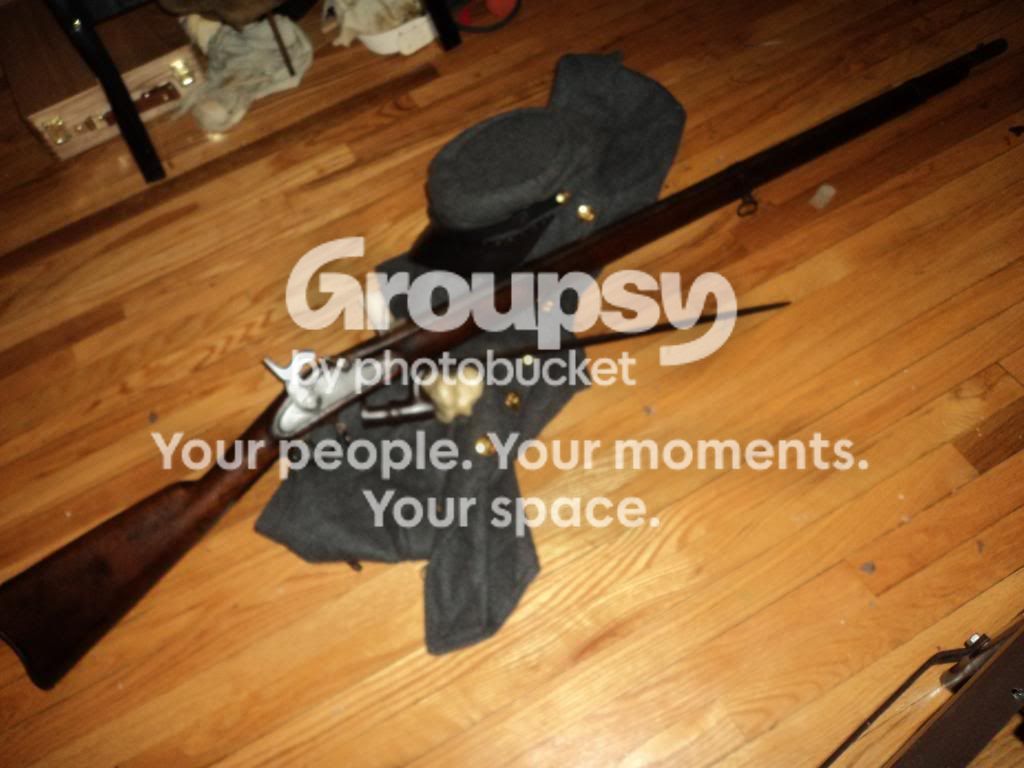
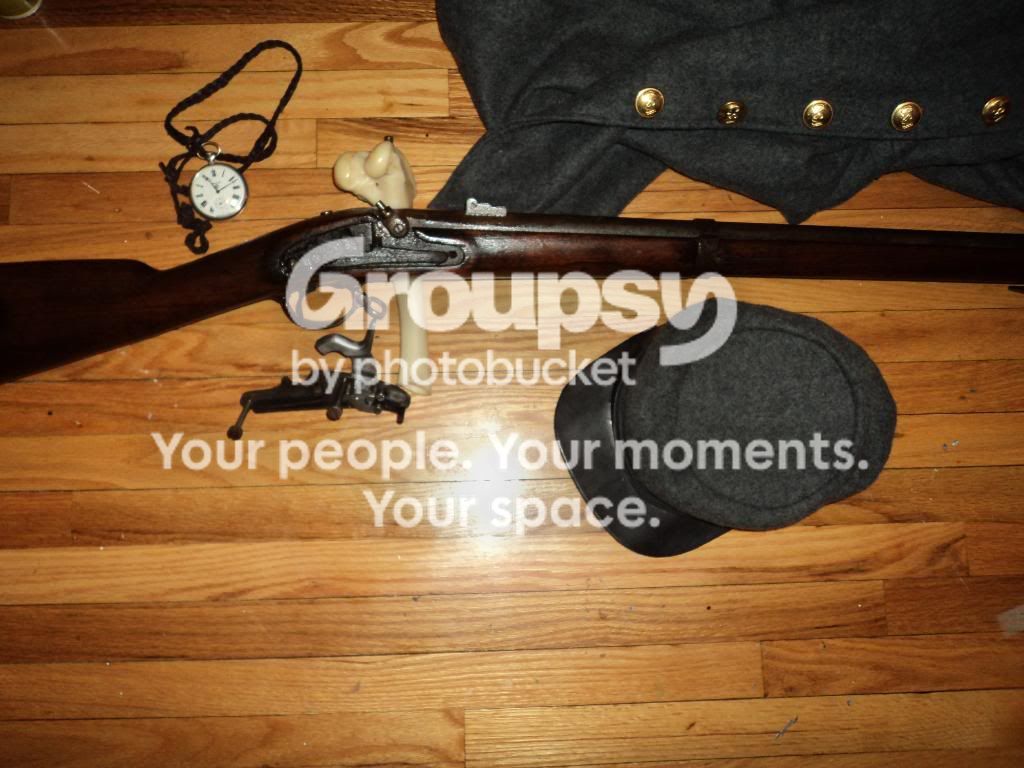
Here she is so far, new nipple hammer and lock internals, she still needs a few things.

200 yard sight leaf

ram rod

nipple protector and a strap

Hammer has to be fitted a smidgen closer to the lock plate "to center its strike on the nipple" and the hammer needs to be aged a bit;) Those things and a bit of detailing here and there...

Here she is Gentlemen after 151 years! "give or take a year or 2 ;)"

ressurectedspringfield005.jpg

ressurectedspringfield006.jpg

ressurectedspringfield007.jpg

ressurectedspringfield003.jpg


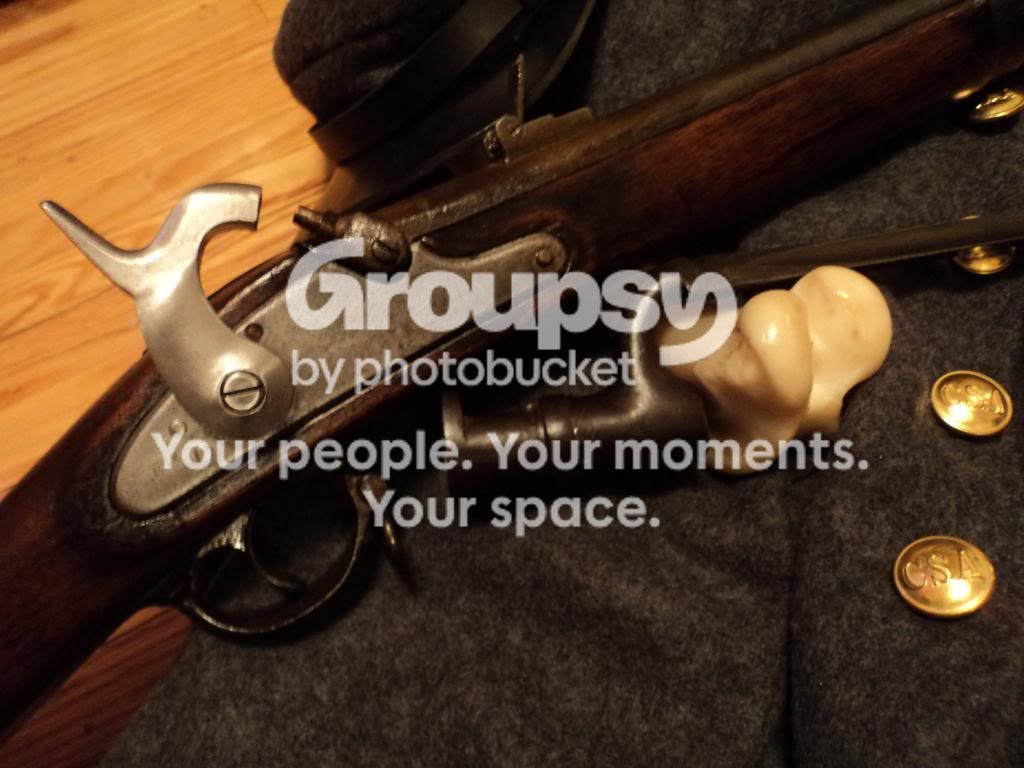
And the lock
61springfieldlocktoday003.jpg

61springfieldlocktoday001.jpg


http://www.youtube.com/watch?v=E0t0PQnlvoM
http://www.youtube.com/watch?v=vioW12KDMuE&feature=related
 
Last edited:
Shes a 1861 pattern springfield with a 1862 marked lock originally rifled in standard 58 cal rifle/musket bore....This one was lightly reamed into a smoothbore at some point in her life "after sold out of service I imagine???"
Though maybe ;) she was a fenian arm captured during that debacle.....?????

The bore now is quite shiny and smooth, with a bit of faint rifling remaining from the breach area to just above mid level....Shes not going to work a minie anymore;), I bet shes going to do just fine with a patched roundball.


I hope to use her reenacting this spring.
 
Last edited:
Good to hear, congrats on getting it done!

For future reference, what I do is soak small parts such as these in a little container (like an ice cream plastic box) full of Evapo-Rust. A barreled action could be stood vertically in such a box and only cover the part which needs loosening.

Just for comparison, I once found a pair of my pliers (cheap chicom brand) that I've accidentally left on the driveway under a small brush while fixing something on the truck. Due to the fact that they've been outside for probably 2-3 months (on the grass) and that we've had a lot of rain during that time, the freakin things were rusted and seized beyond belief, amost as if they had been welded solid. Pouring WD40 on them did nothing (and neither did literally soaking them in WD40 for over a day). So, as I was about to throw them into the garbage can, I decided to wipe them clean from WD40 and soak them in Evapo-Rust instead. I did that and, after just a few hours, they began unseizing and moving freely again, with LOTS of rusty & black stuff pouring out of the hinge. I moved them a few times and left them to soak a little longer each time. After a 24 hour period, all rust was gone inside and out and they were like new again (with black spots where rust used to be). I rinsed/dried them, greased the hinge with some WD40 and I still use them today with no issues. And the best part... almost all the Evapo-Rust used was recycled for the next time I forget a tool outside or I have a problem with anything that's seized due to rust. It's almost black magic, I tell you. :D

;)
 
To be honest, evapo rust-----Was used on all the metal parts of this rifle musket,
I actually made a post about it when I initially started this rifle/muskets restoration a couple years ago.....I think I made a post of the progress of the product back then.

It is a excellent product for taking off rust "and all original finish;) Use it with careful caution"

That bore still took alot of scrubbing to reach its present point, not to mention the stock and lock repairs, and hours of otherwise attention just to bring her to this point.

All the metal has been purposely cold blued to look its present browned state

You cannot expect a chemical or product to do all the work for you, but if you have actually worked in a machine/metal shop for a few months of your life ......you should know how to utilize the evapo-rust to meet your projects derusting/restoration ends.
 
So that nipple wouldn't give, even after being soaked in Evapo-Rust? I would've thought otherwise after my pliers experience mentioned above, but I guess anything's possible. The great thing about Evapo is that it's water based and gets into event he smallest crevices to do the work.

As for your other question, unfortunately I have nearly zero machine shop experience. However, I am currently looking into a CNC mill and a lathe which I will buy most likely this summer or in the fall (so I can start some interesting projects). I just met someone at a new job who converts regular mills into CNC setups with DIY parts and his mill does marvels out of blocks of steel, wood or aluminum. It cuts out precision pieces in 3D using 3D AutoCad drawings & measurements (thanks to having computer controlled X, Y and Z axis). I've never seen something like this before and I was simply amazed to see the demo at work! It makes a 3D metal part out of a block of metal right in front of your eyes... and fast! :eek:

Anyway, that should be lots of fun... but lots of learning / trial & error too with these things, apparently! A new challenge, basically... and a great way to give new life to beater antiques with missing parts. In other words my machine shop experience is brewing, but not quite here yet.

:)
 
So that nipple wouldn't give, even after being soaked in Evapo-Rust? I would've thought otherwise after my pliers experience mentioned above, but I guess anything's possible. The great thing about Evapo is that it's water based and gets into event he smallest crevices to do the work.

As for your other question, unfortunately I have nearly zero machine shop experience. However, I am currently looking into a CNC mill and a lathe which I will buy most likely this summer or in the fall (so I can start some interesting projects). I just met someone at a new job who converts regular mills into CNC setups with DIY parts and his mill does marvels out of blocks of steel, wood or aluminum. It cuts out precision pieces in 3D using 3D AutoCad drawings & measurements (thanks to having computer controlled X, Y and Z axis). I've never seen something like this before and I was simply amazed to see the demo at work! It makes a 3D metal part out of a block of metal right in front of your eyes... and fast! :eek:

Anyway, that should be lots of fun... but lots of learning / trial & error too with these things, apparently! A new challenge, basically... and a great way to give new life to beater antiques with missing parts. In other words my machine shop experience is brewing, but not quite here yet.

:)

Evapo Rust did not get into the threads of this old rifle muskets nipple, god was that a pain.....the best thing was "as it seems everyone knows cept me;)" was simple oil and heat.....a few stripped sockets and a broken nipple wrench or 2;)

Let me say frankly, seems to me that 19th century steel is harder then our present stuff in the average socket set....progress not so much in my opinion.


1860'S were putting out product where parts are easily interchangeable 100+ years after initial --WESTERN-- manufacture.....today its nearly impossible to find ANYTHING American or Canadian made.......let alone of any true quality.....
 
Just to thoroughly derail the thread - in my experience evaporust doesn't penetrate tremendously well... and in tight spaces it seems to have trouble eating the rust.

When I've lost all hope I have been known to resort to a hammer and an impact driver. I don't like doing it and usually spend a lot of time blocking and supporting the work piece to avoid damaging it, but they truly work wonders... especially on stuff that's too small, hidden or damaged to drill out or weld to to free up. Heat, try to unscrew, allow to cool, try to unscrew, heat gently, put penetrating oil in, tap lightly, retry unscrewing, then bring out the impact driver and break that SOB free :p

Musketfire - I'm still impressed with your rifle. Making me all jealous with your projects and snazzy guns and getting to go shooting ;)
 
Musketfire - I'm still impressed with your rifle. Making me all jealous with your projects and snazzy guns and getting to go shooting ;)


Thanks Wally!!

I really like this old rifle musket, lots of history to her!

These projects are a triple bonus for me, getting these old arms as damaged/neglected pieces keeps the hobby really affordable, satisfies my need to tinker with things.....And bringing them back preserves them as functional real historic items for future generations to enjoy.
 
Back
Top Bottom