There are not a lot of instructions I can give because it is mostly custom fitting each piece. There are not a lot exact measurements either. However, I will do my best to explain the process.
Parts needed:
SL8 factory stock with buttpad and screws
MP5 stock
Fiberglass body filler
Devcon II plastic glue
Click the picture for a larger view.
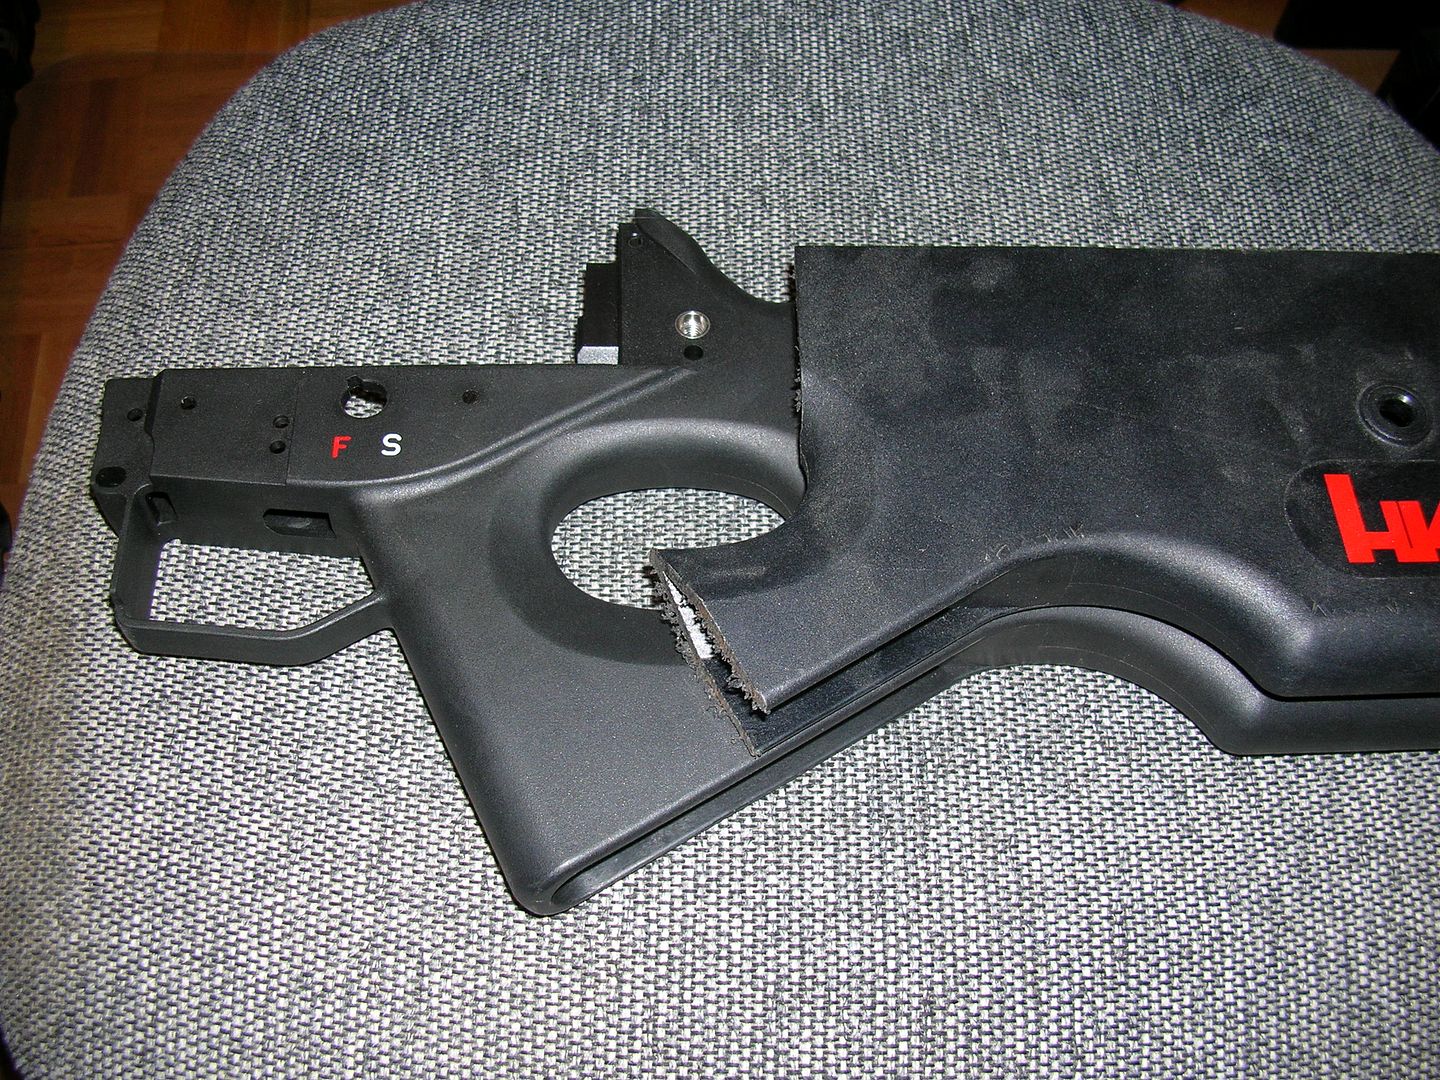
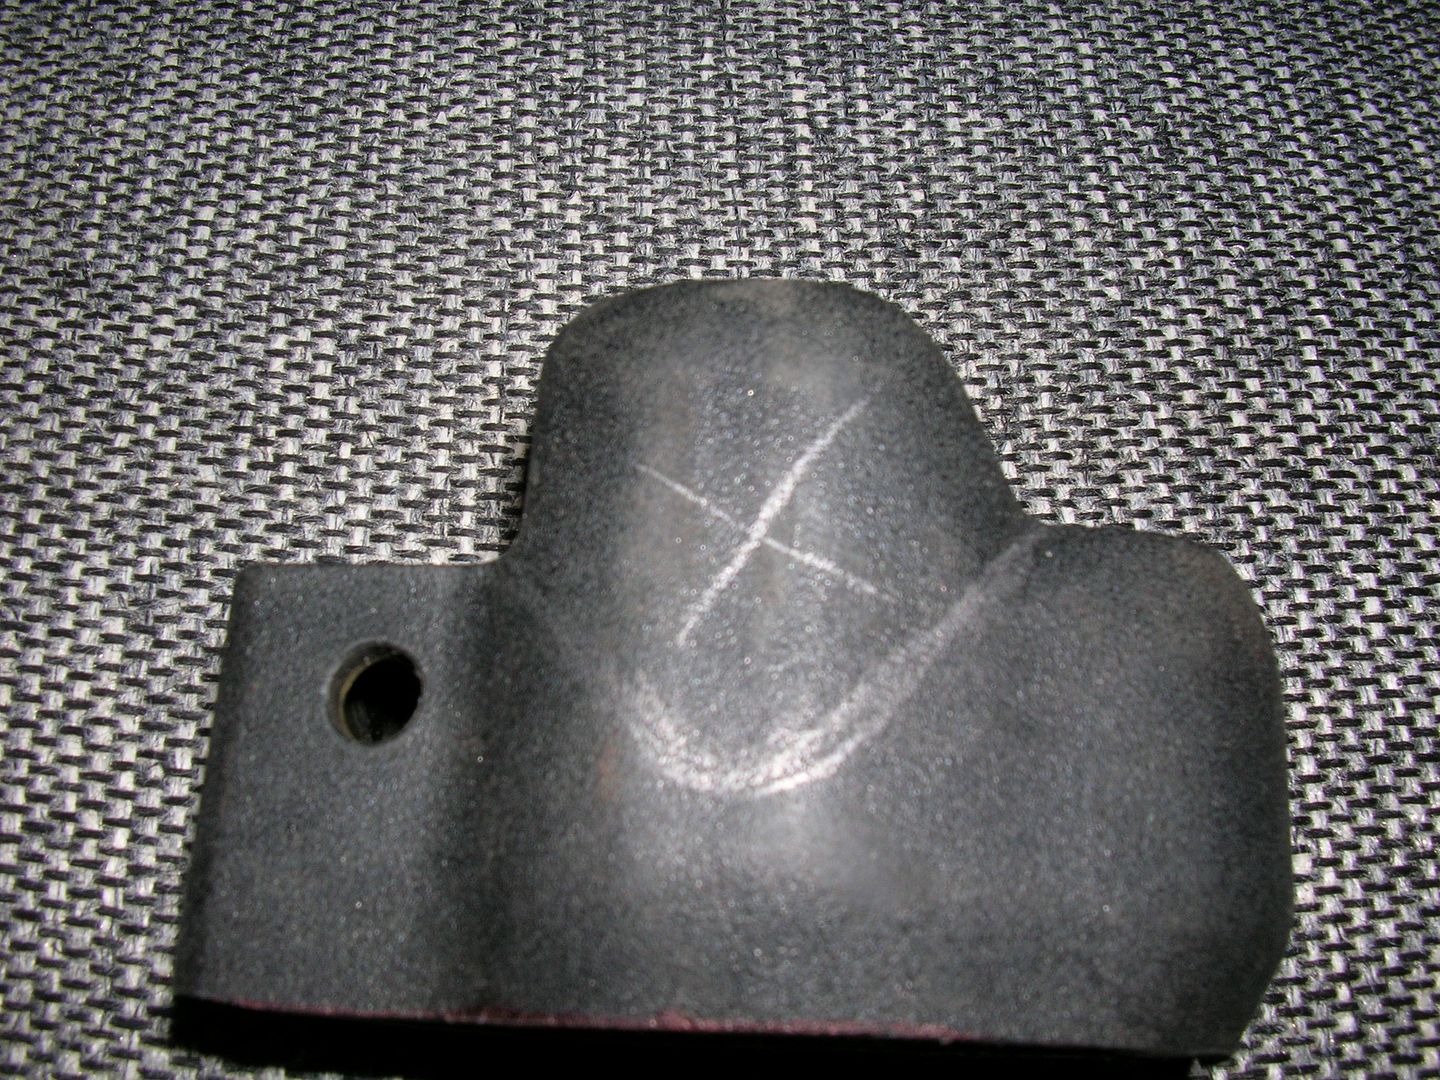
I cut the SL8 stock behind the mounting screws and the pistol grip. Then you cut out a small section behind the backplate. You will need to do a bit of trimming and sanding for a final fit with the MP5 stock.


Using a dowel inserted in the pistol grip to help form the shape, heat the plastic and shape it so that the two cut sides come together and blend it together. you can sand it down for a better finish. (I had mine covered in Line-X so it did not need to be perfect)
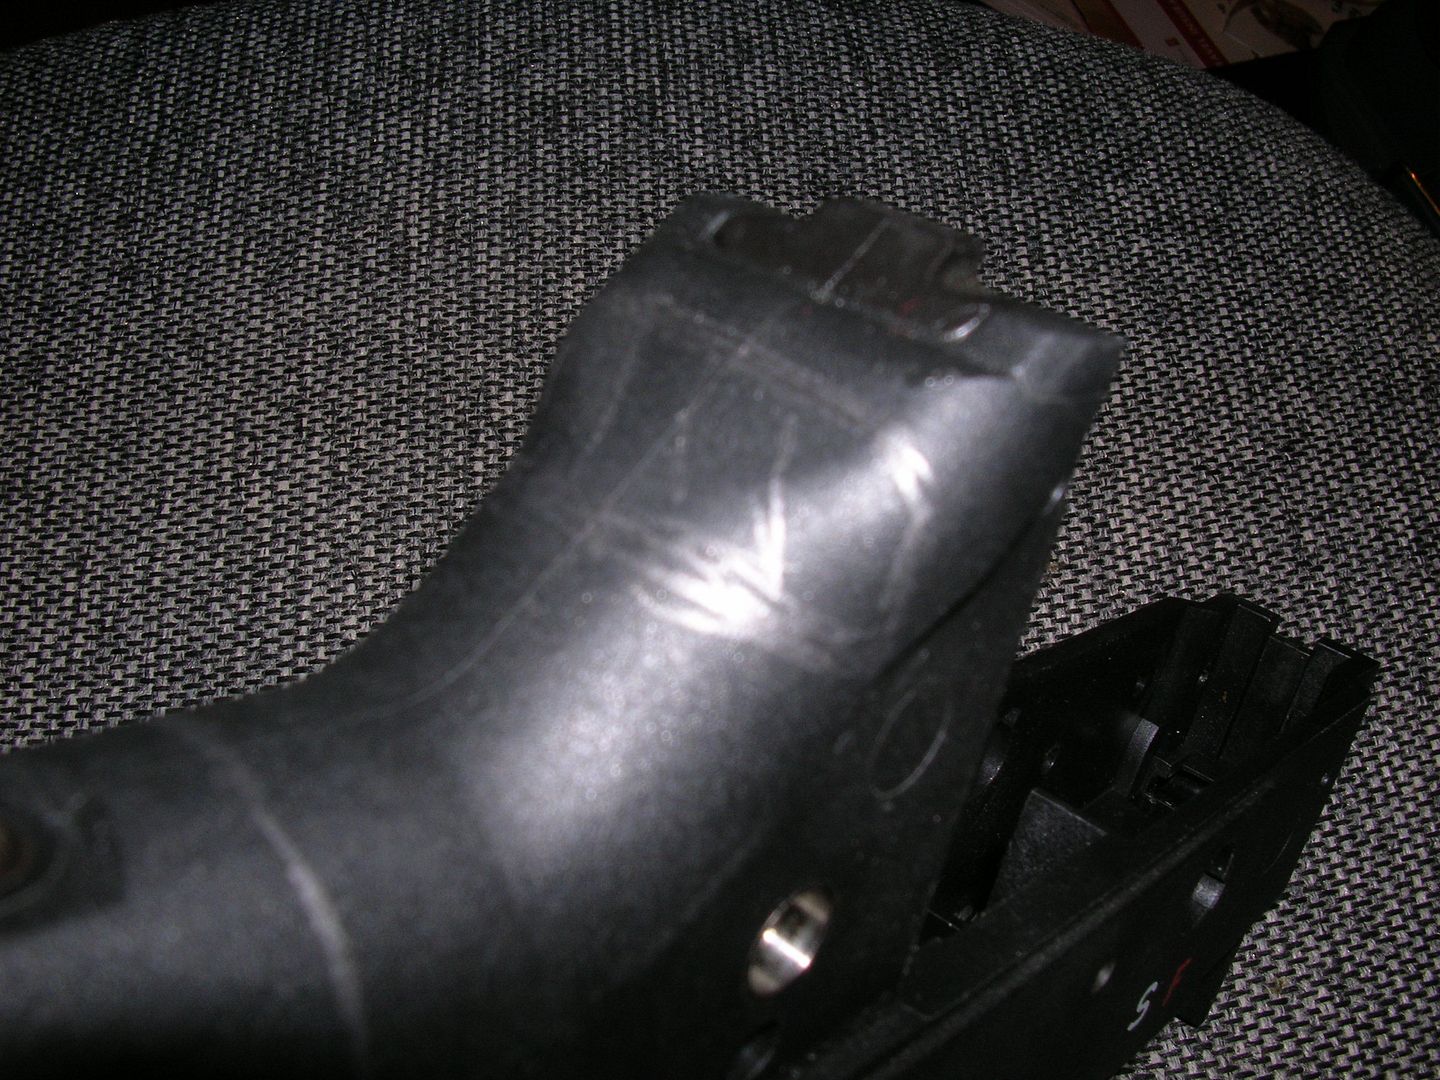
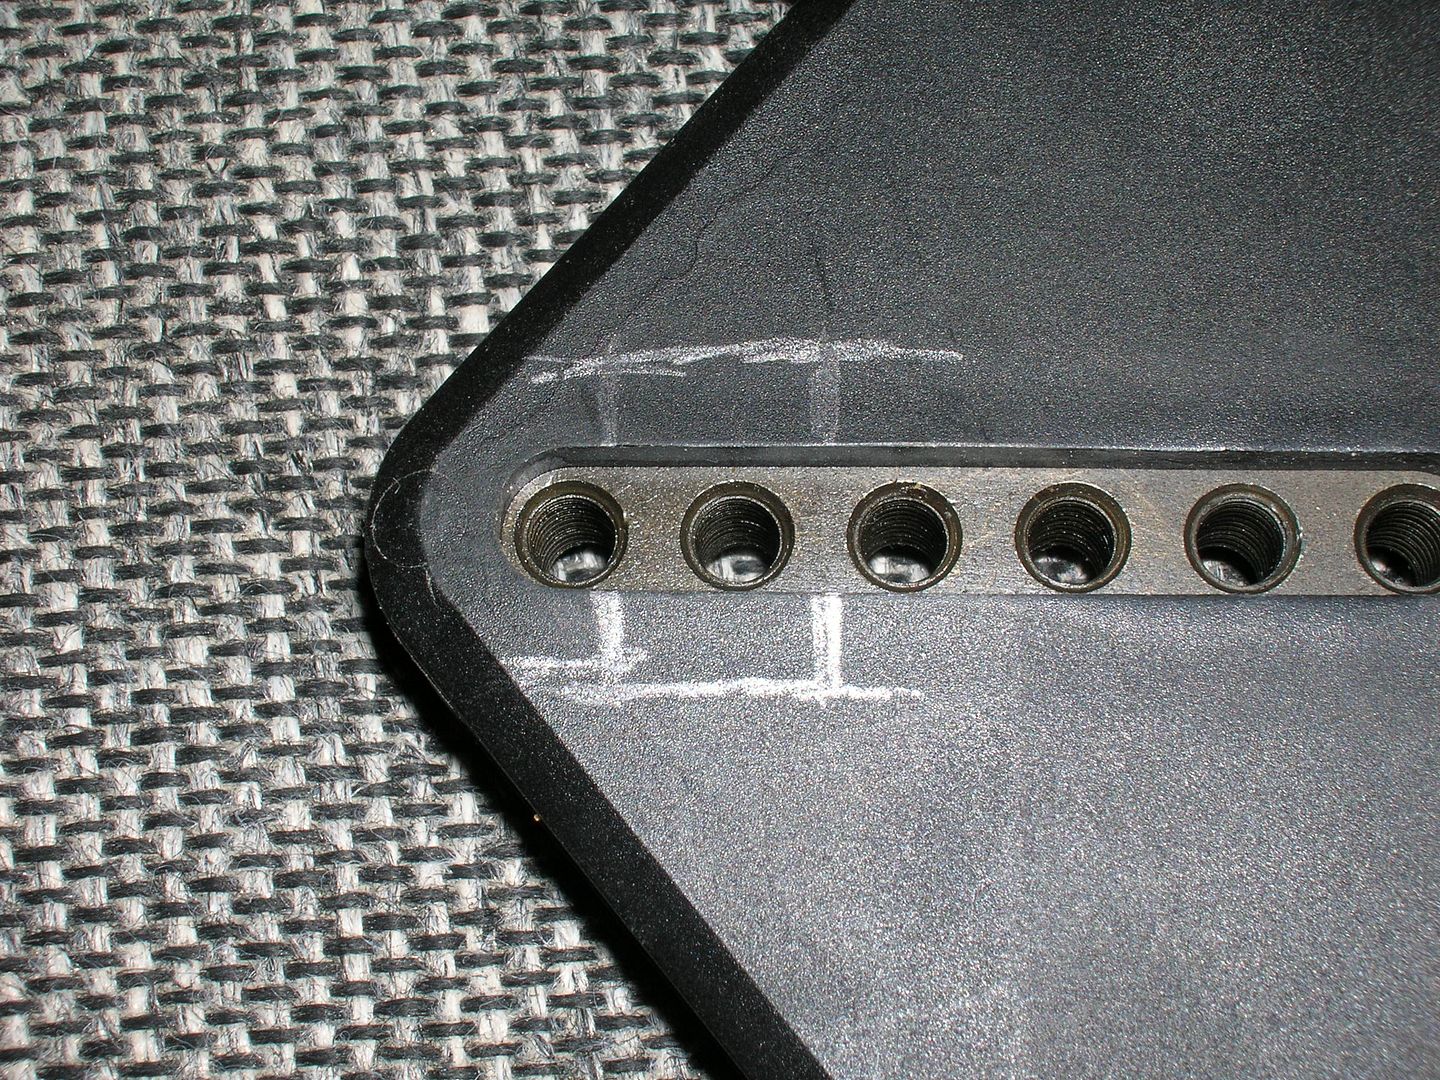
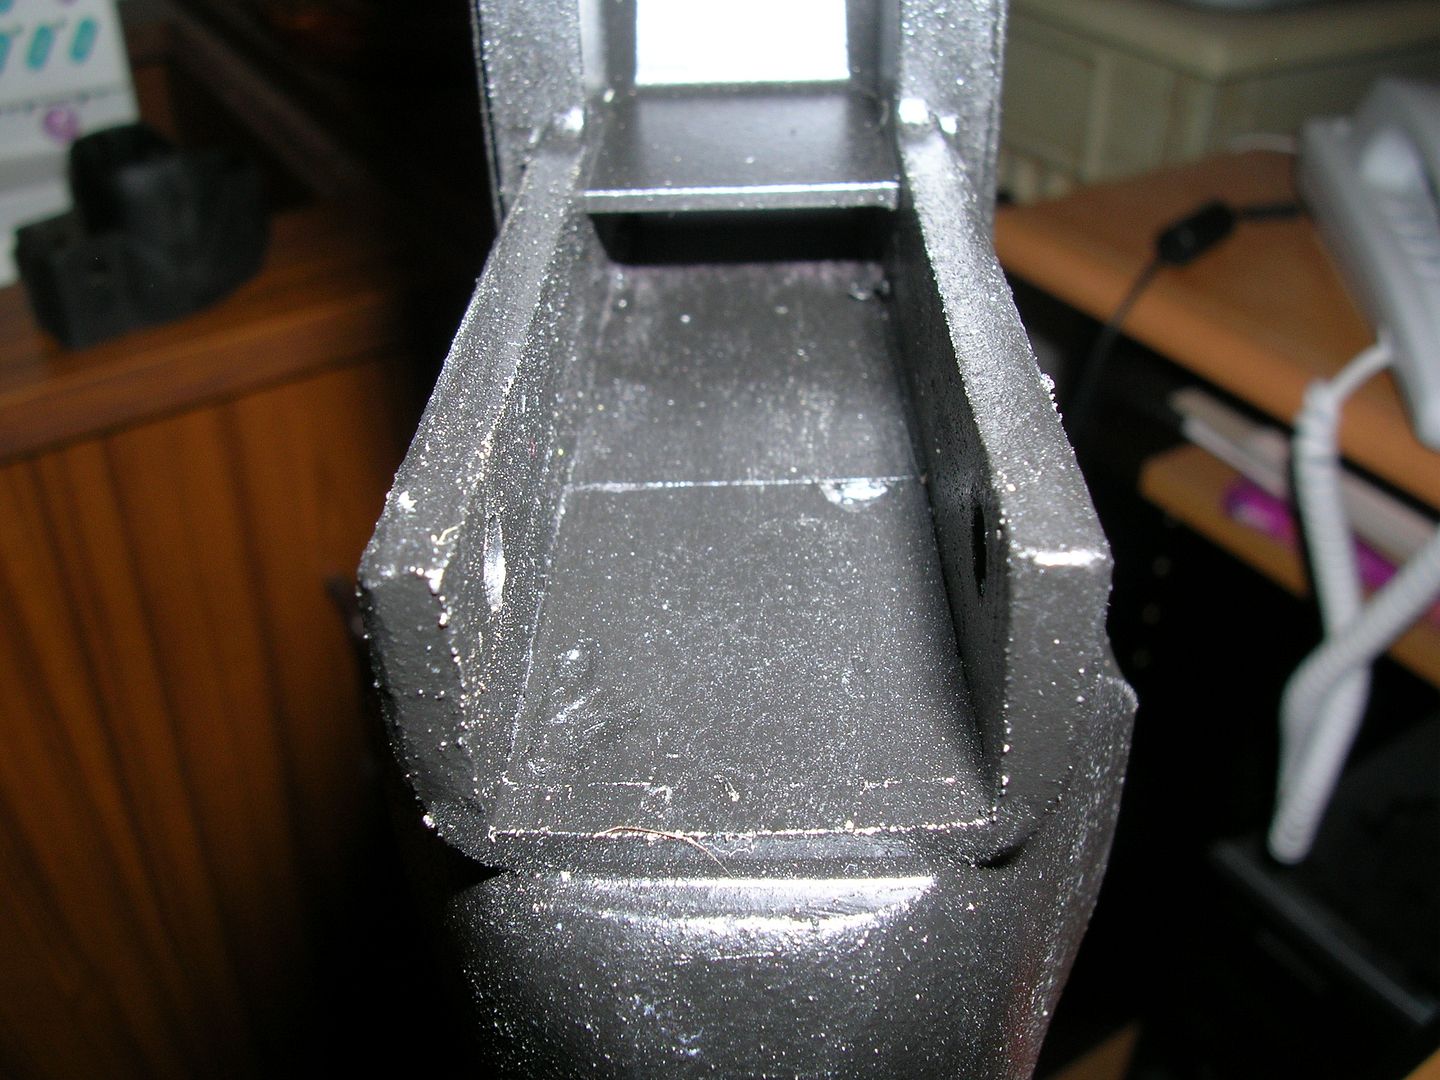
You then need to cut the MP5 stock to accommodate the mounting holes for the SL8 upper. You need to make sure the upper will fit into the cut out section and the mounting holes line on properly. You will need to remove some of the plastic inside the MP5 stock so it fits up against the SL8 lower Again you will need to to some trimming and sanding for a final fit.
(This is a piece left over from another project just to show the section to remove.)

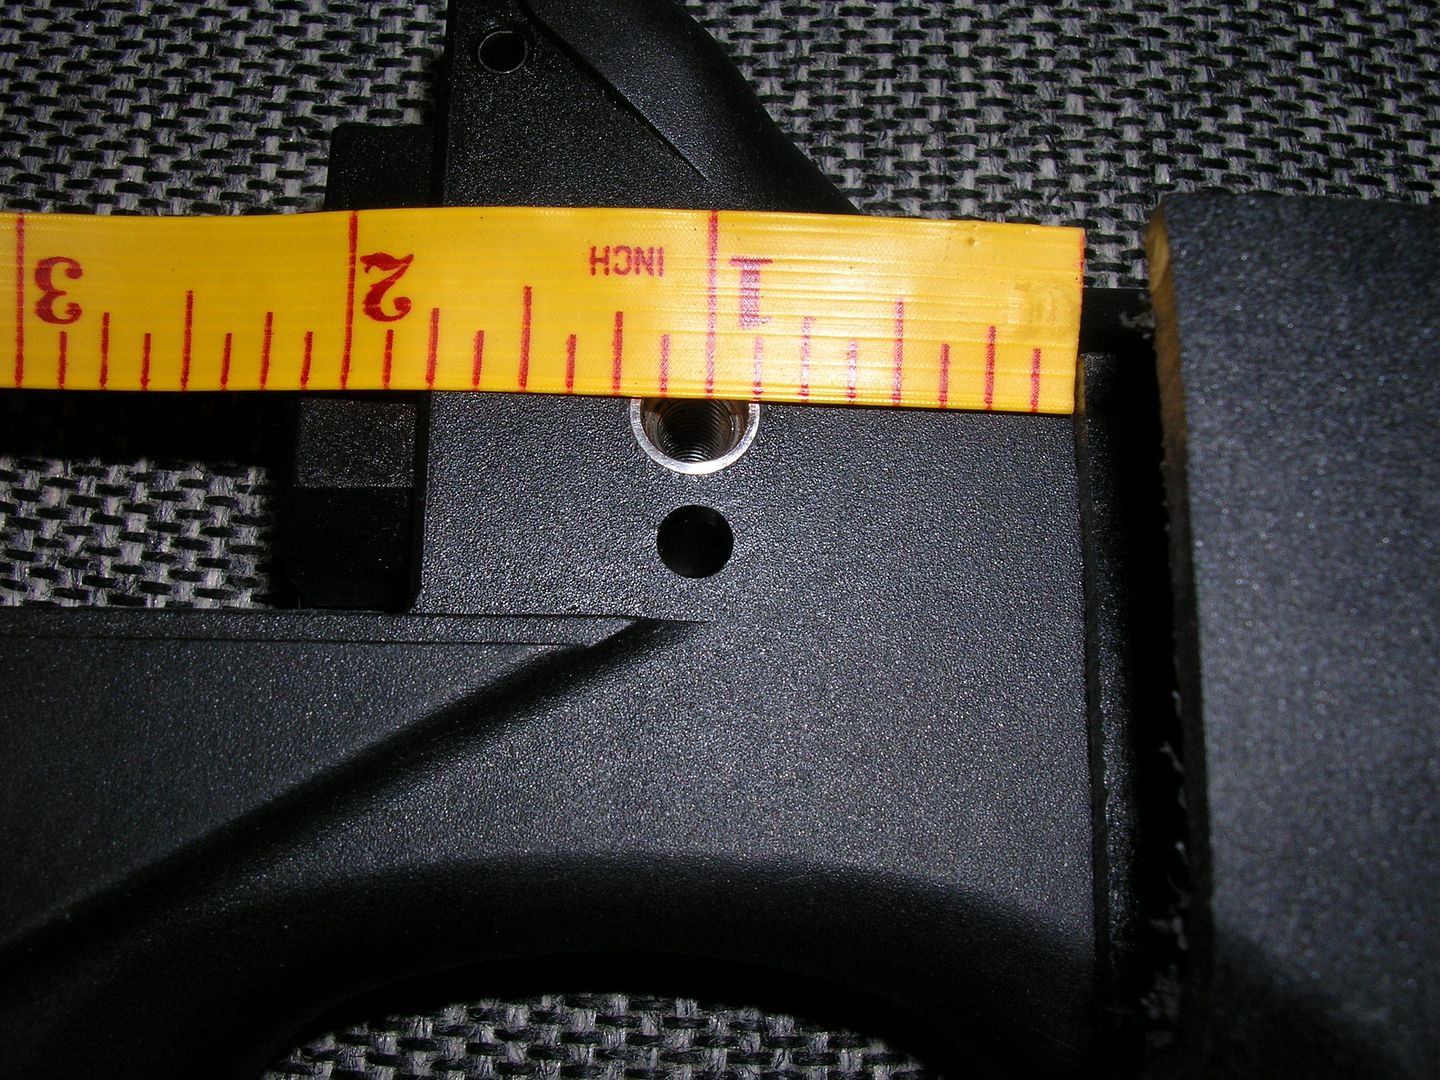
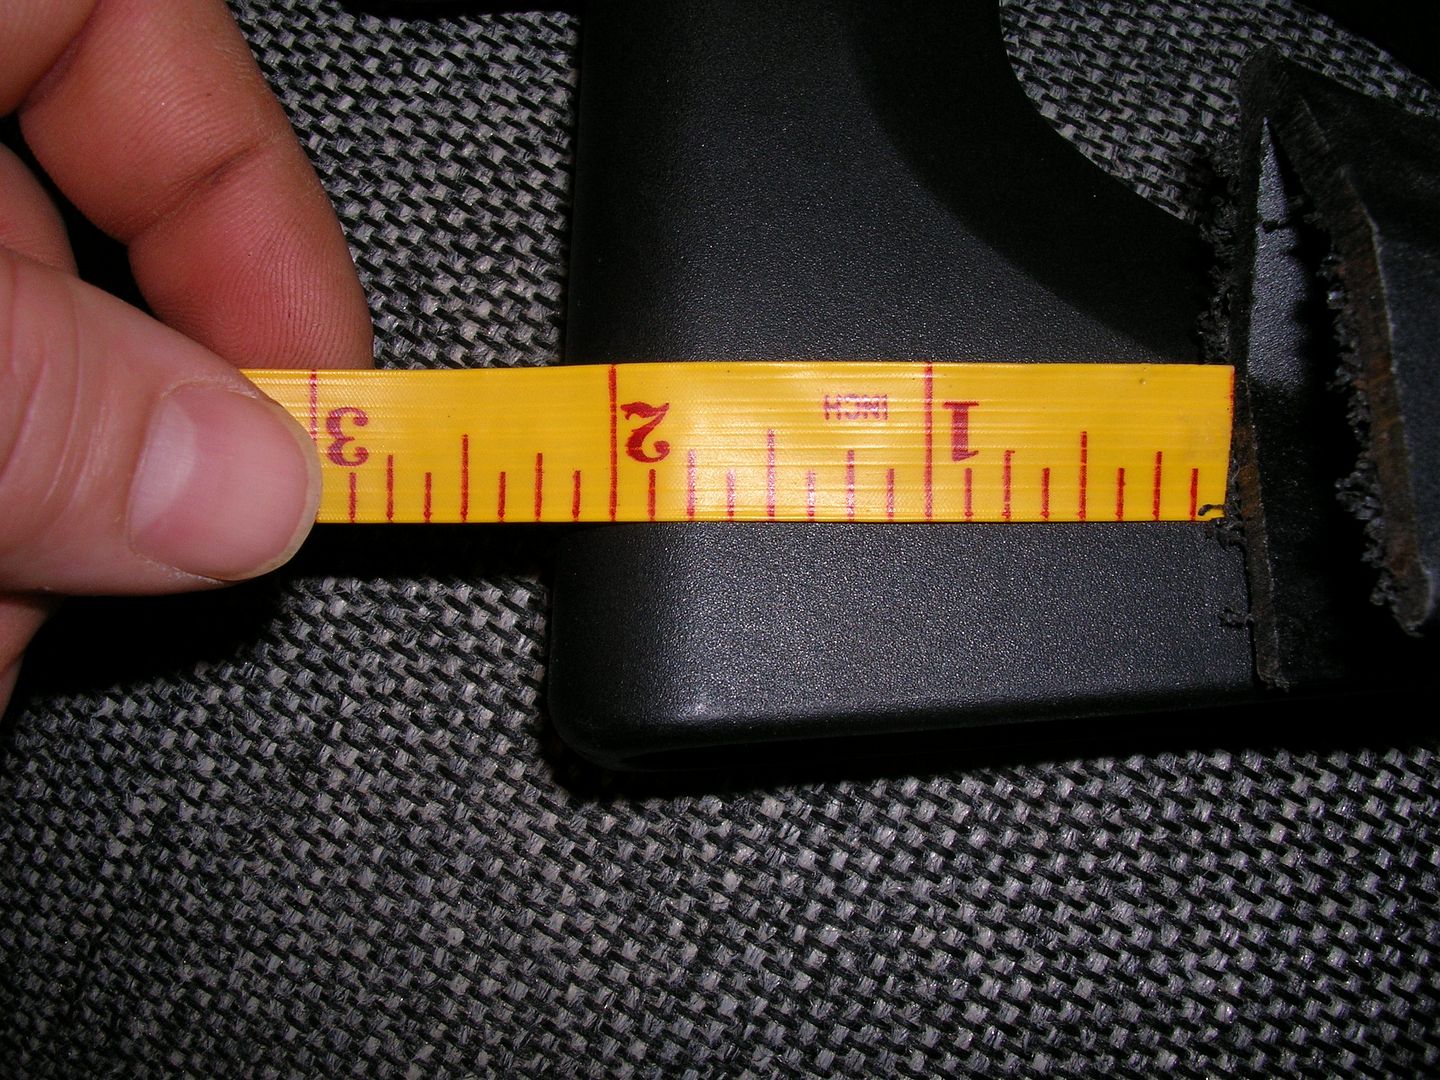
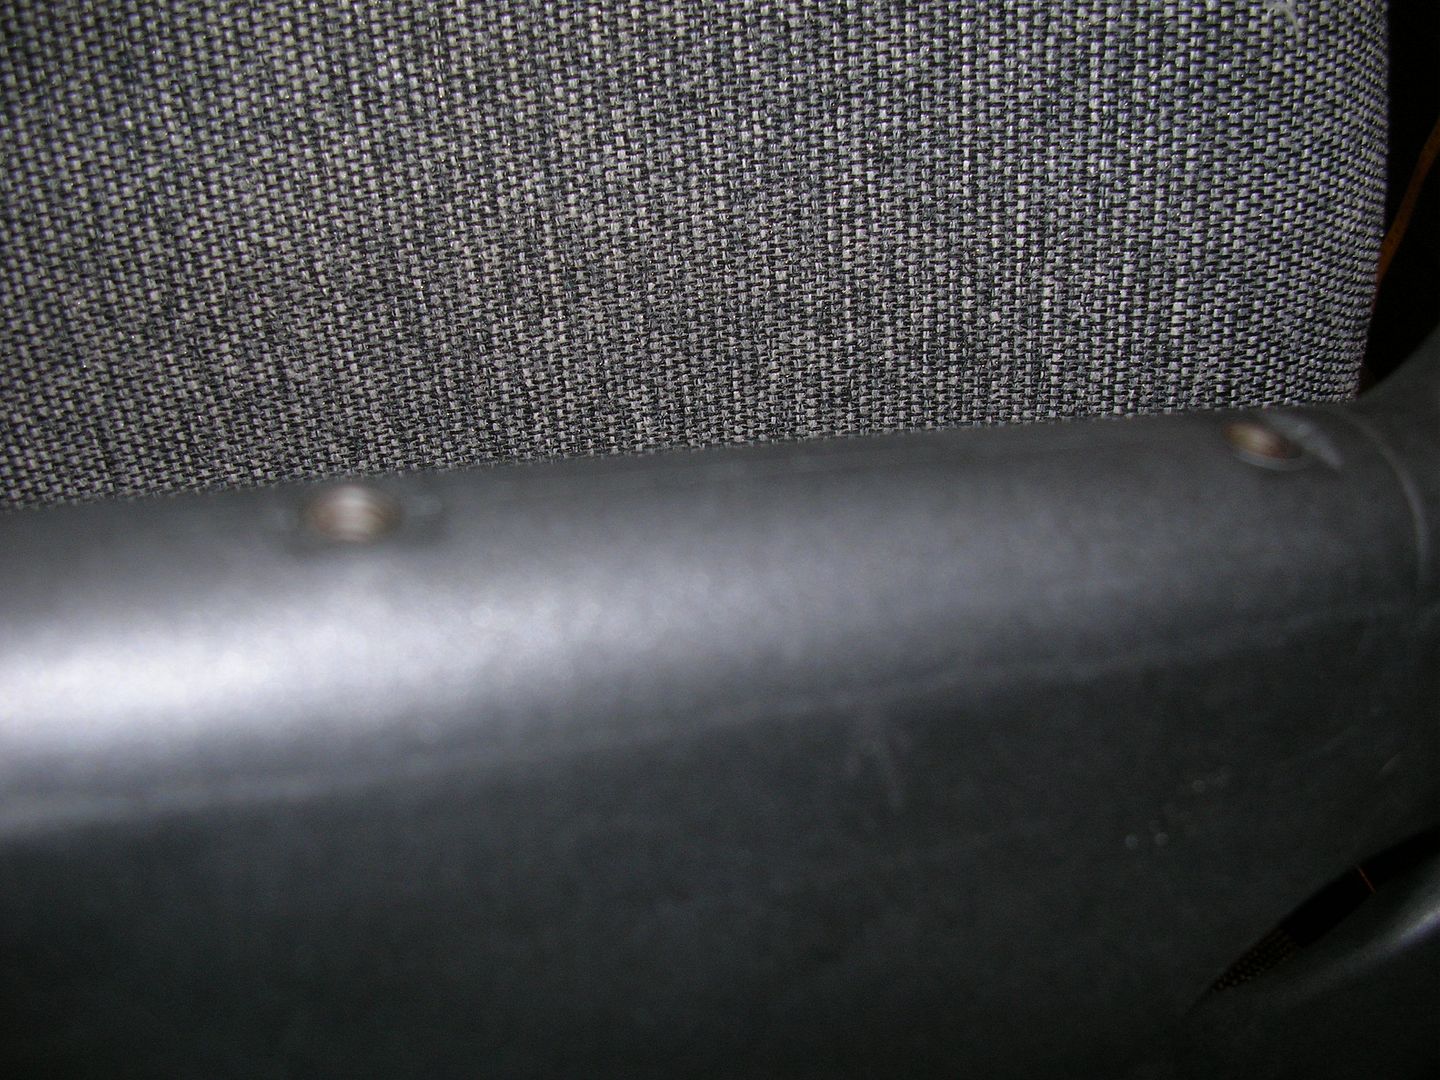
Once you have the final fit between the SL8 lower and the MP5 stock you need to drill the holes to mount the two together. With the two pieces fitted together, mark and drill the same size hole that is in the MP5 stick through the SL8 lower.
Now you need to take the SL8 buttpad and cut out a small section of the mounting holes to fit inside the SL8 lower and line it up with the hole you drilled though. Leave the plastic on the side of the piece you cut so it keep and even space for the mounting screws. Test fit the MP5 stock to make sure it all lines up. You may need to do a bit of sanding if the MP5 stock becomes to tight to line up with the holes.

You can use the buttpad mounting screws to hold the small piece in place and use the fiberglass filler to secure it. once it it set you can remove the screws.
You then drill and tap an 8-32 hole in the small upper circle of the metal back plate of the MP5 stock. You thread an 8-32 machine screw so the head protrudes into the empty space where you cut the notch in the SL8 lower. This just gives a bit of re-enforcement to the joint. Make sure the screw does not stick out to far that it interferes with the SL8 backplate.
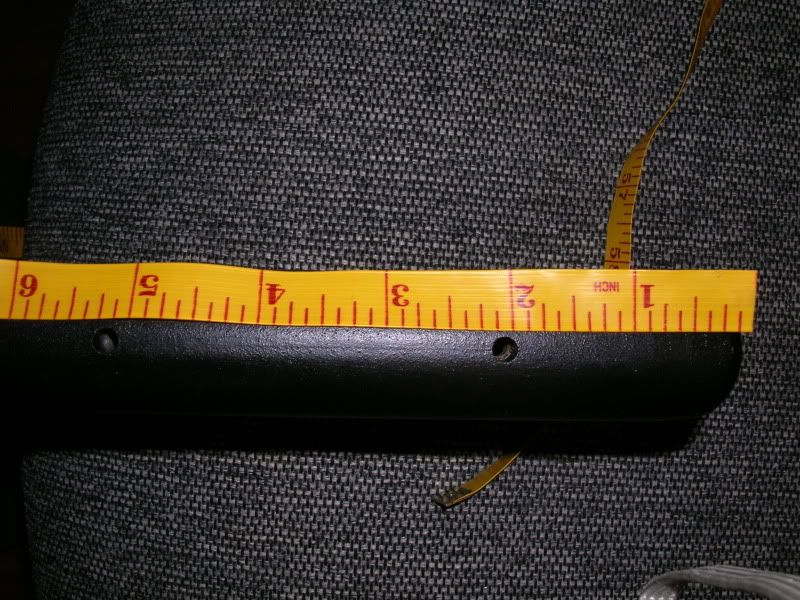
If you want to use the SL8 cheek rest you will need to score the MP5 stock at the seam and remove the buttpad. It is glued on at the factory. You will need to put the buttpad in a vise and wiggle the stock till the glue cracks. You may crack the entire stock so be careful. You need to save the buttpad to re-install it later.
You need to cut off the factory cheek piece mounting holes from The SL8 stock. Mark and drill the holes in the MP5 stock so the screws can pass through and thread into the piece you cut off the SL8 stock. You will need to trim the piece for the factory mounting screws to fit snugly into the MP5 stock. Make sure you leave space to put the buttpad back into the MP5 stock. Once everything is fitted and lined up you can use the Devcon II to secure the piece into the PM5 stock. Then use the Devcon II to re-attach the buttpad to the stock


Mix up enough fiberglass filler to fill the space in the MP5 stock and the space where the 8-32 screw protrudes into the SL8 stock. You want all the gaps filled. The fiberglass filler should be flush with the existing plastic behind the backplate and cover the 8-32 screw head. Use the buttpad screw to secure the MP5 stock to the SL8 lower. Remove the excess fiberglass. Once the fiberglass is set up you can sand it down so all the contours and lines match and make sure the upper fits properly.

Once the fiberglass had hardened I took out the screws holding the MP5 stock and SL8 lower together and re-installed them with permanent lock-tight. You will never need to remove these screws again.
Refinish the stock in a good quality coating. (I had a professional shop finish mine.) I then took it to a line-X shop to have the pistol grip finished.
Now you're done! (I think I covered it all.)
Full size pics:
It's that easy!